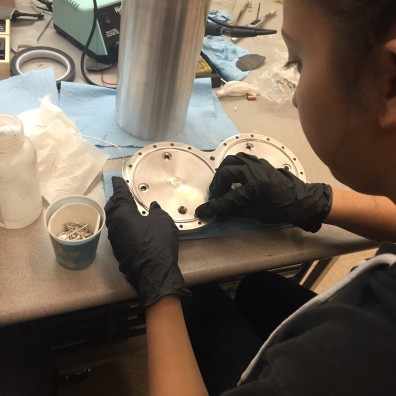
Finding a way to seal small, mobile molecules such as hydrogen and helium at cryogenic temperatures can be quite difficult. Most common seals break down at such cold temperatures, and even a tiny leak path can be catastrophic when working with flammable gasses and temperatures that can freeze the oxygen right out of the air. Luckily, we have wonder element 49: Indium. High purity indium has a lower melting point, and hardness than lead, making it malleable enough to be an effective sealing material. In addition, at high purities, indium readily pressure welds to itself, and bonds to other metals, glass, and ceramics.

In the HYPER lab, we’re set up to extrude 0.0625 inch (1.5875 mm) and 0.1 inch (2.54 mm) diameter wire, and therefore use this wire size most often. For most seals we create, this is a usable size, and allows us to standardize seal design and indium extrusion. Although much of our wire is recycled and re-extruded, we will occasionally buy new indium wire from Indium Wire Extrusion, currently priced at $150 /oz.
A good indium vacuum seal is designed to fill a small gap around the sealed volume with pure indium through an even application of pressure, usually using a bolted flange. Making things easier for us, Indium Wire Extrusion has some helpful guidelines for proper indium seal design. Indium Wire Extrusion recommends three types of indium seals:
- A semicircular indium seal. This seal is created by using a ball end mill to machine out a rounded ring in one side of the sealing flange. The other side of the sealing flange should be polished smooth to provide a good sealing surface. Recommended geometry is to use a ball end mill the same diameter as the wire you’re using and machine to a depth equal to half the wire diameter.
- A rectangular groove seal with mating surface. This seal is created by machining a rectangular step groove into one side of the flange, and a smaller rectangular step protrusion on the other side of the flange. This geometry has the advantage of not only providing a secure effective seal, but also self aligning the flanges so the seal occurs in the same place every time. Recommended geometry is a groove the same width as the the wire being used to seal and a gap area equal to ~80% of the wire cross sectional area. The protruded step should be chamfered to allow the indium to easily flow into the gap to the sides of the protrusion.
- Similar to the first sealing method, you can use a single seal on the flange, but with a square step groove. This can be machined with a standard flat nosed end mill. Again, the gap area of the seal should be 80% or slightly less of the cross sectional area of the wire.
Some other general suggestions when creating / using indium seals:
- While HYPER lab hasn’t done this extensively in the past, it can be very helpful to include a jack screw in the flange design. Indium seals after compression and cryo-cycling can be very difficult to pull apart and a jack screw will ensure that you can get the flange back apart for the next run!
- When creating the indium o-ring, cut the ends at as shallow an angle as possible. Ensure these ends are overlapping, so that one end of the indium wire will crush on the other to seal the ring together. A straight 90° cut will leave a gap between the ends of the indium wire in the ring, which can allow a leak path through the seal.
