In this past post, we discussed using cryo-cycling to identify and fix possible cold leaks before installing equipment in the cryostat. This prevents a lot of problems before they can happen, often saving days of cool-down and warm-up if a test has to be called off. What happens, however, when the leak opens up cold? Your experiment is happily running along at cryogenic temperatures and, all of a sudden, that last temperature cycle proves too much. A crack is allowed to widen through an epoxy joint until you have a little leak and the test has to be called off. When you warm up, the expansion of the epoxy seals the crack and the leak is gone! One option in this situation would be to disassemble the entire system, testing each possible leak location as previously discussed. If your system isn’t a simple one, this could be a serious time investment, and opens up a lot of opportunity for you to break something else, improperly re-install a component, or otherwise mess up something that was already working fine. It was for this reason we developed a system for cryo-cycling in place – using nothing more than a Styrofoam cup and some Silly Putty!
Cryo-cycling in place – Instructions based off ASTM E499/E499M – 11 Test Method A:
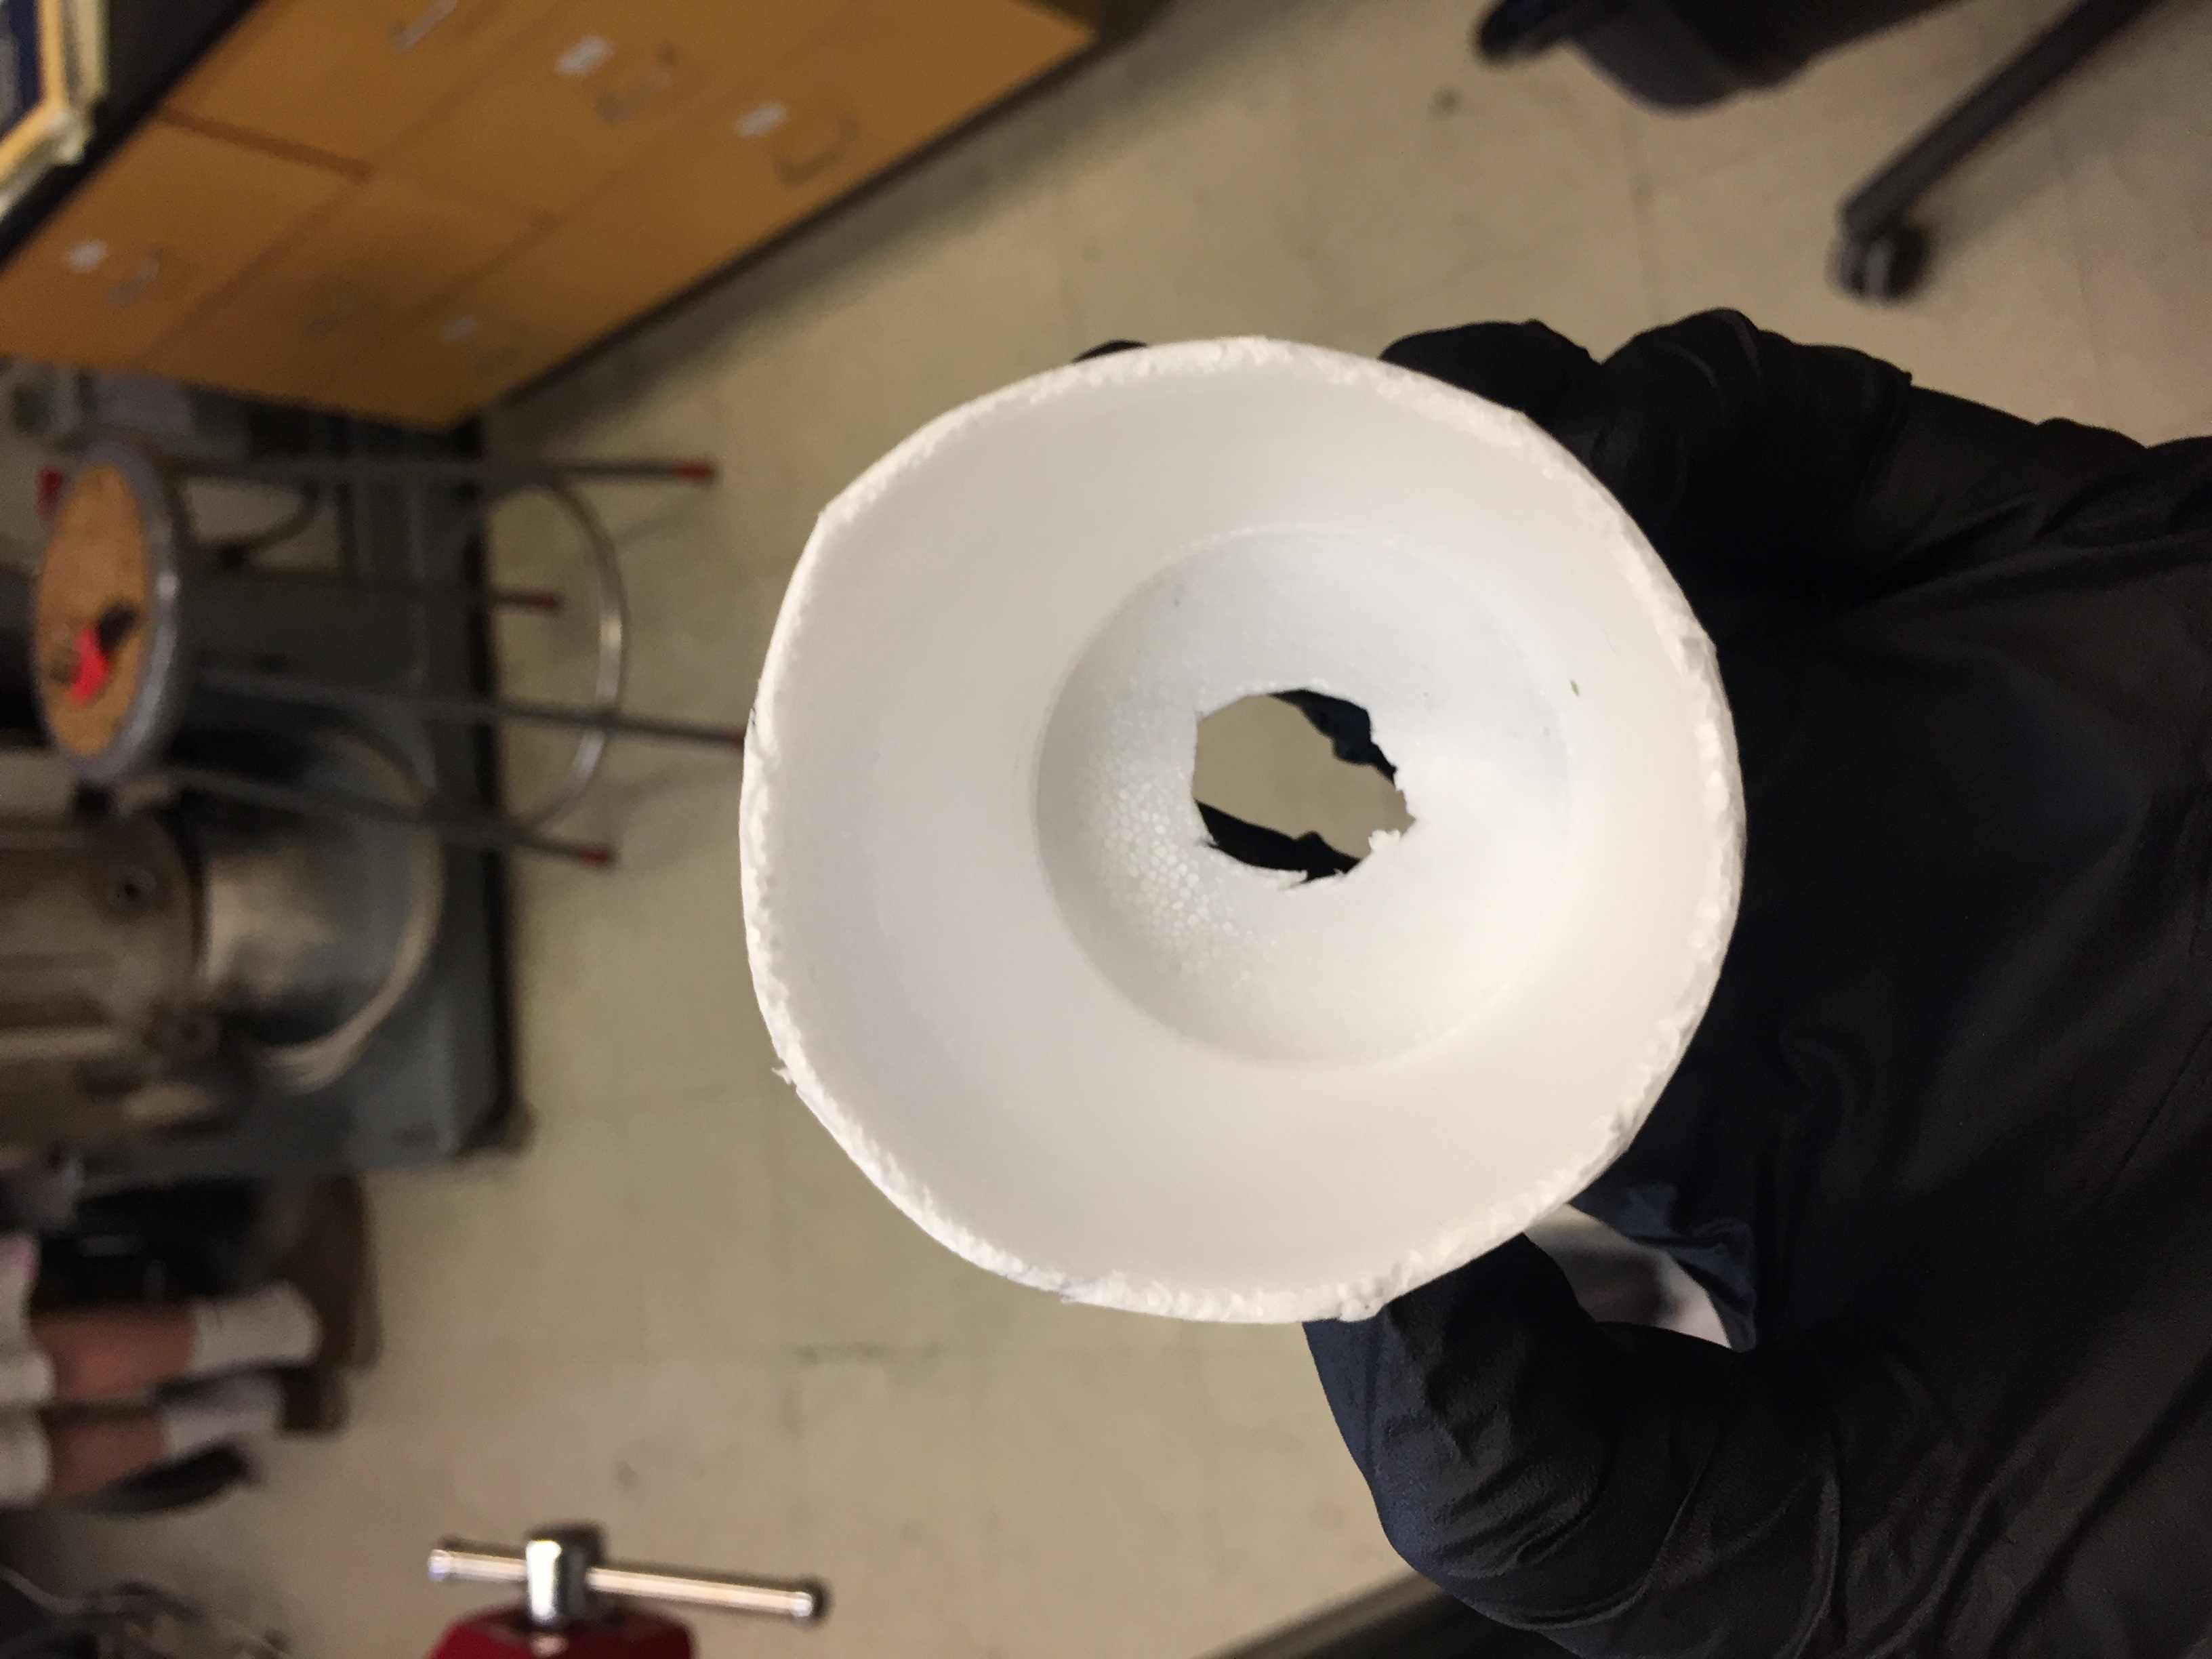
- Take a Styrofoam cup and cut a hole in the bottom or side of the cup just big enough to snugly fit around the test specimen.

A Styrofoam cup with hole cut in the bottom. - Wrap a thin ring of Silly Putty around the test specimen where the cup will seal against the specimen.
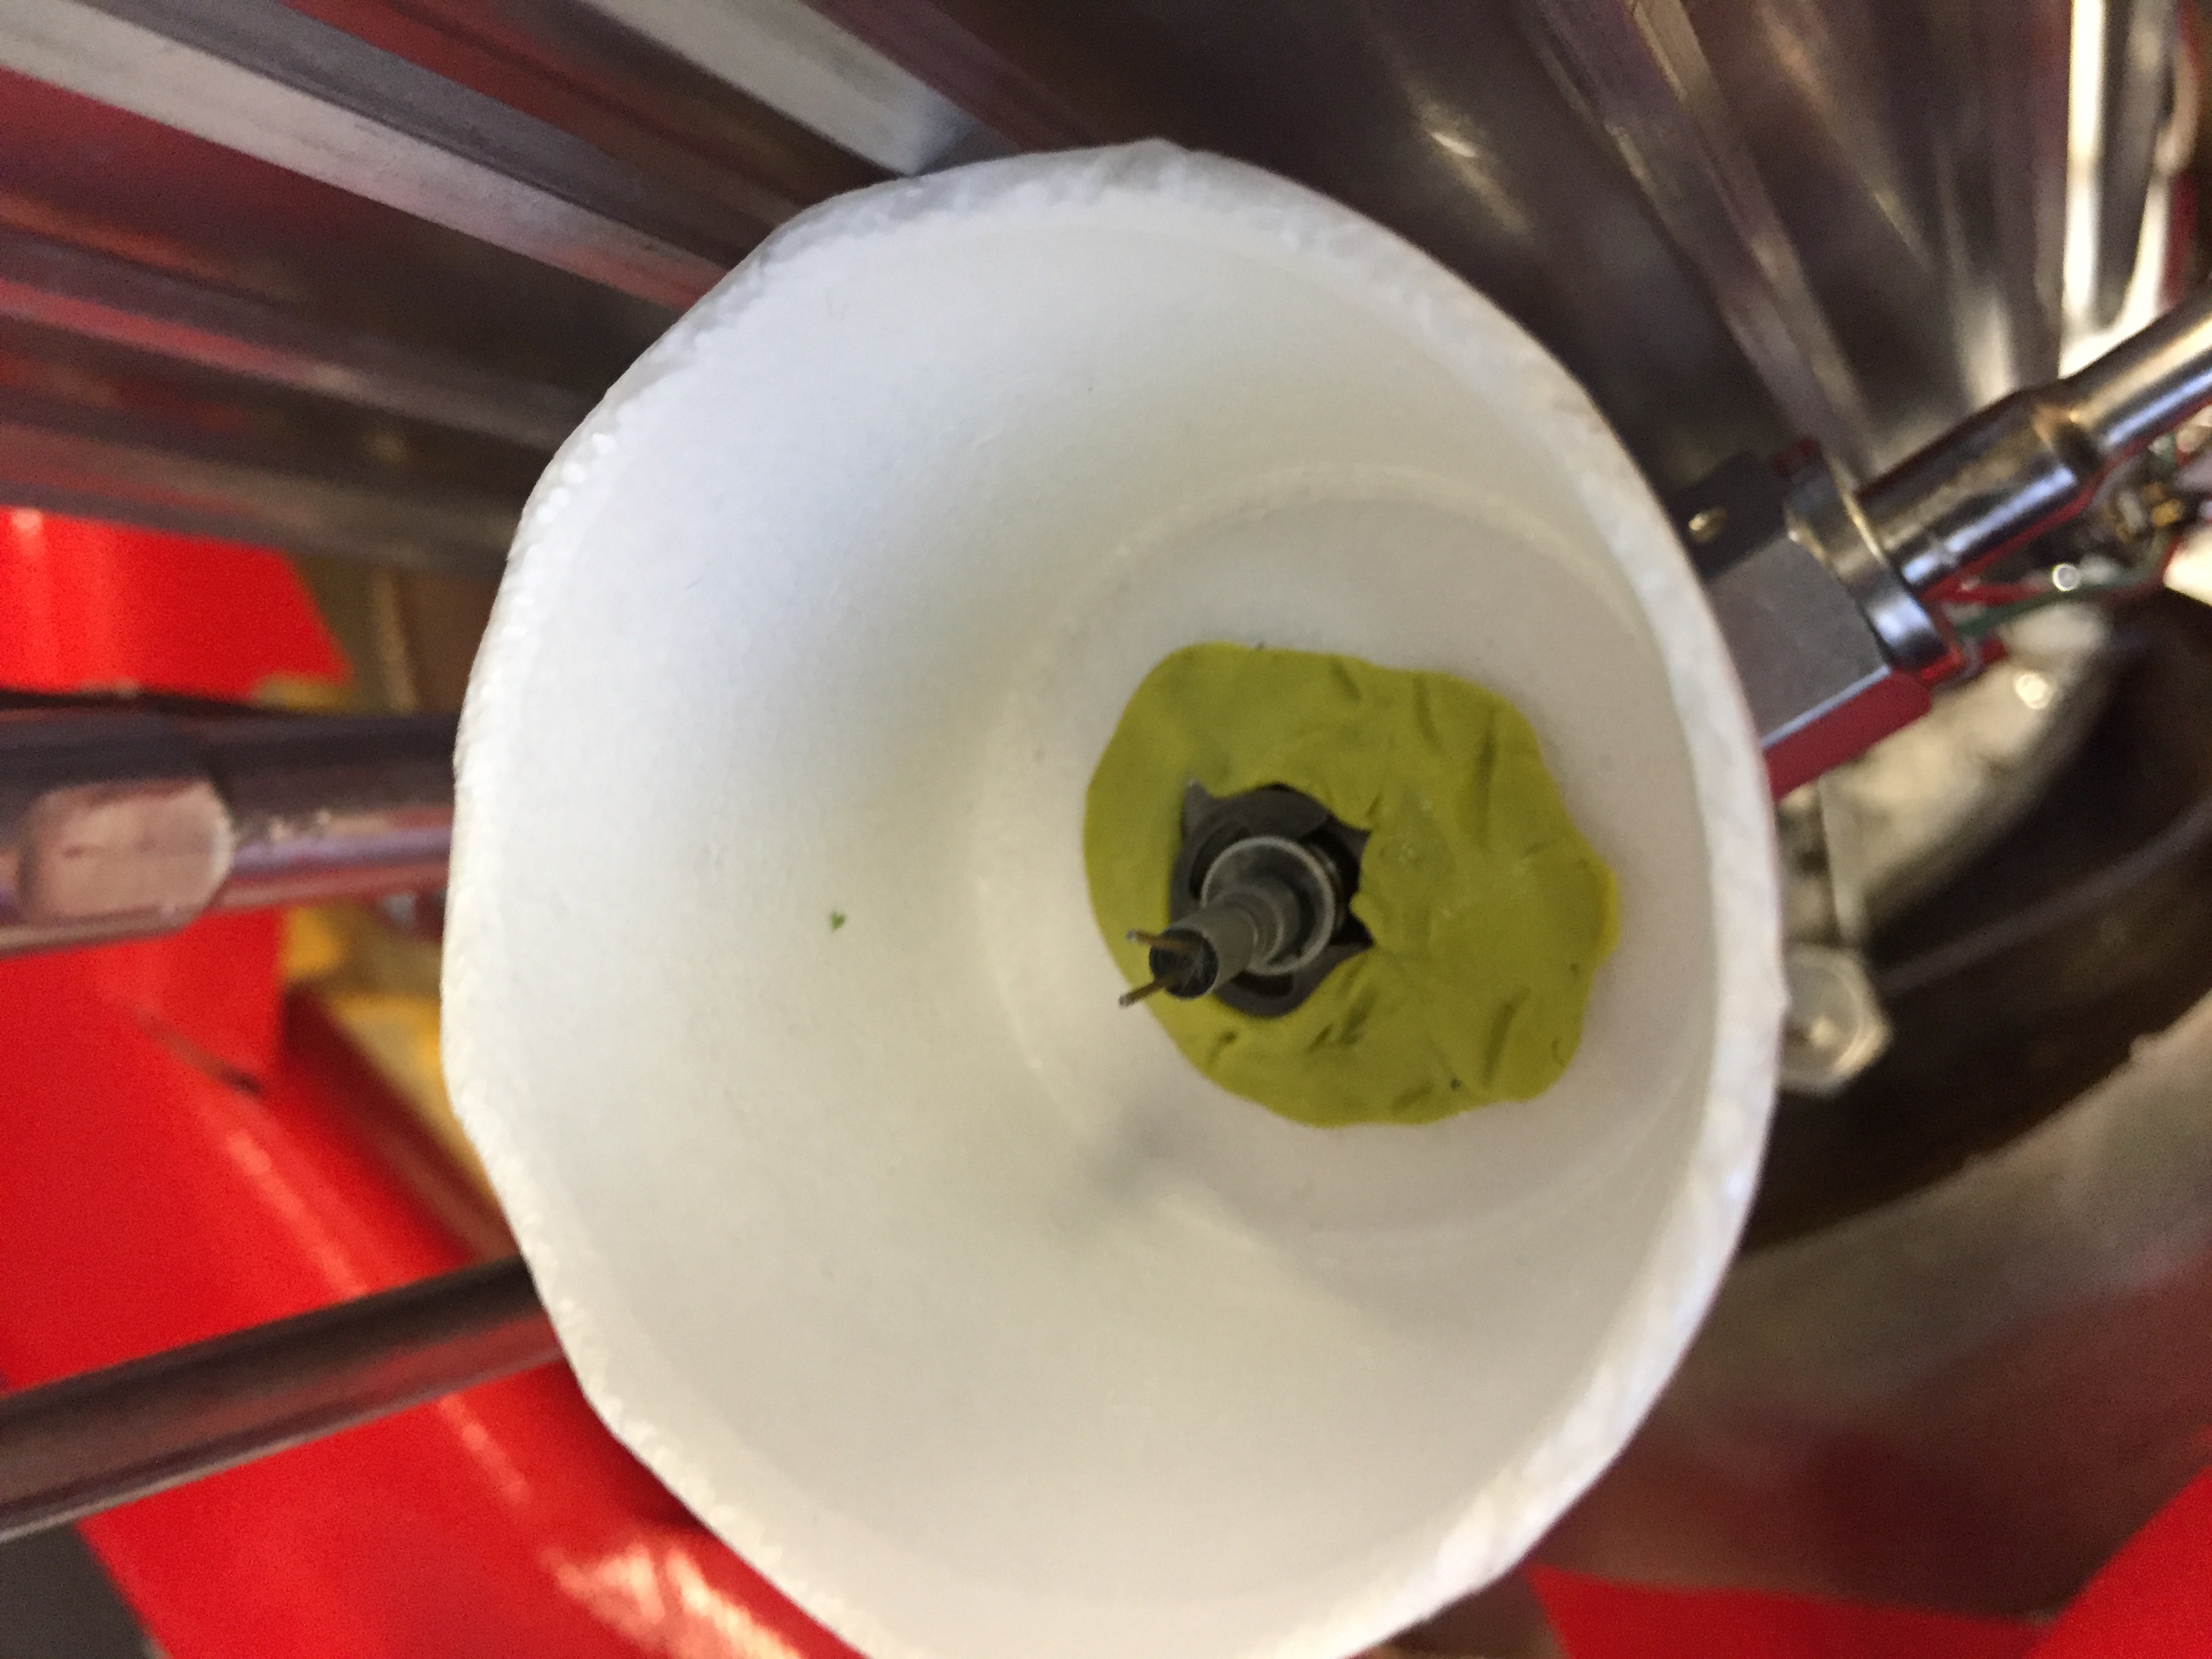
- Slide the Styrofoam cup onto the test specimen, the Silly putty should extrude into the cup a little bit and form a good seal against the cup and the test specimen.

Styrofoam cup in place. Notice the Silly Putty sticking through at the seal. - Apply more Silly Putty, wrapping it around the test specimen and the inside of the cup to completely seal the bottom of the cup.

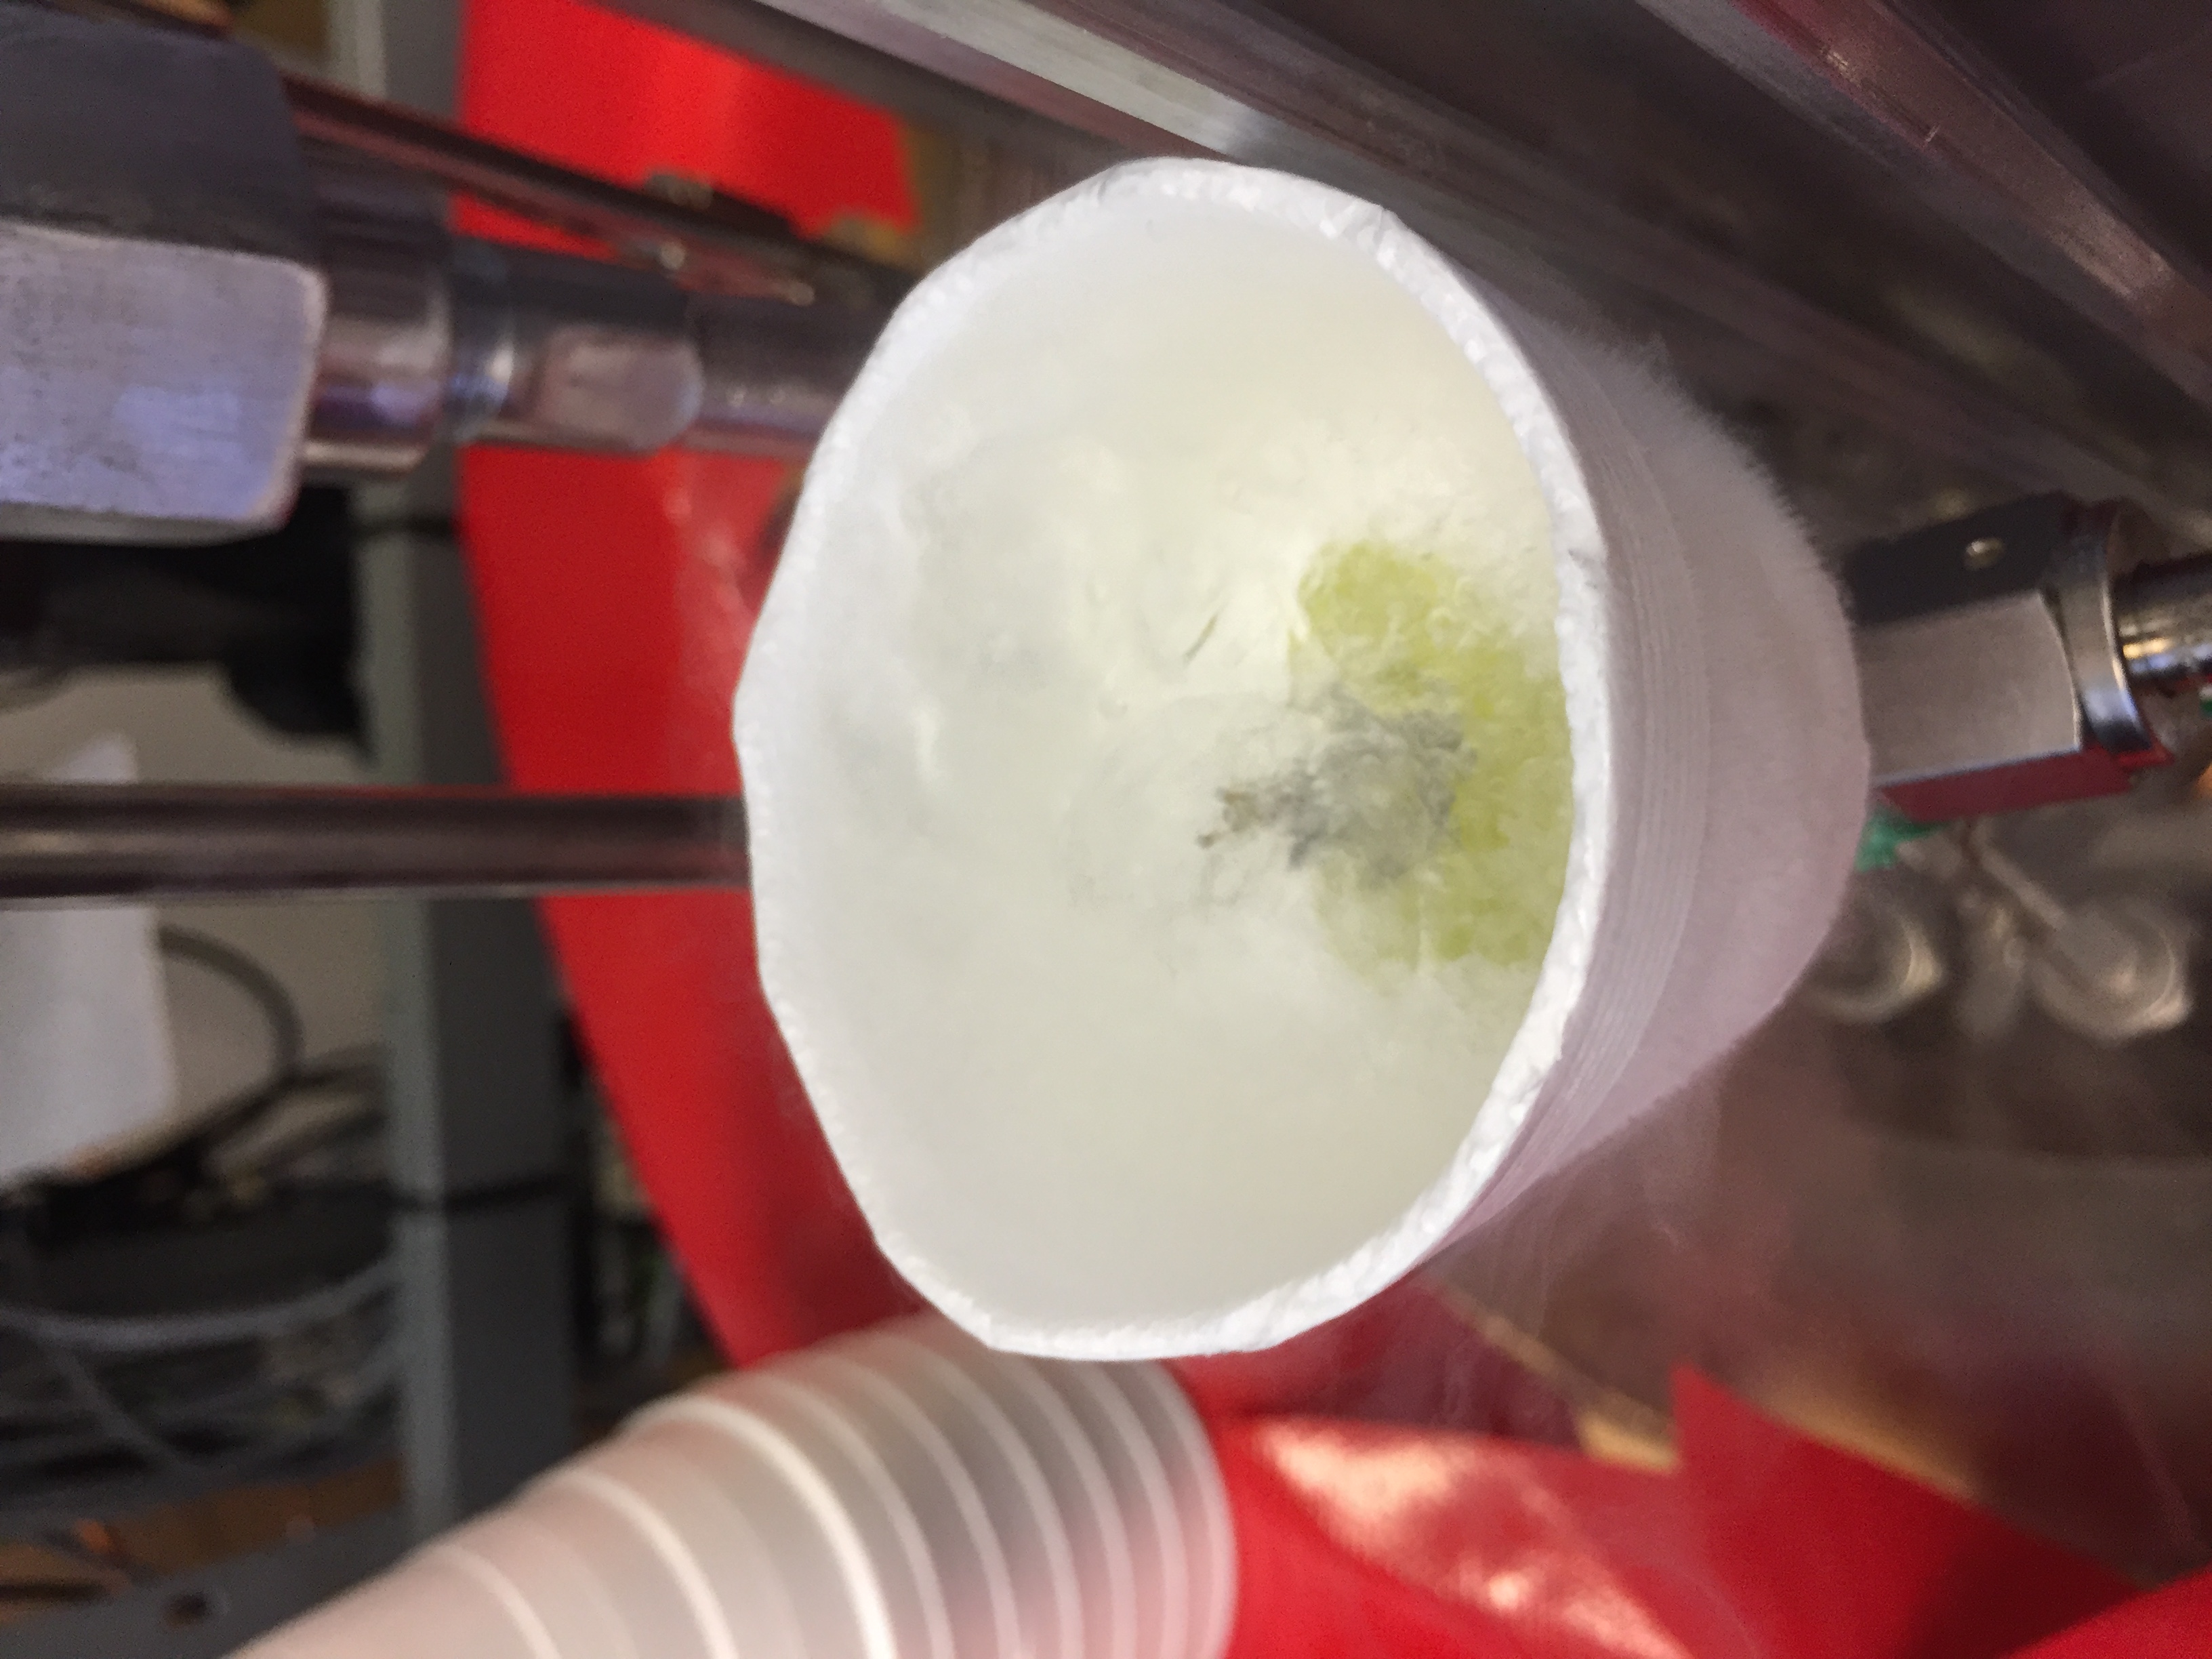
Filling in the Silly Putty for a complete seal. - Fill the cup with liquid nitrogen (LN2) to start cooling down the cup and test specimen. As it cools, the Silly Putty will quickly transition through it’s glass transition temperature, first turning rubbery and then becoming a hard plastic that will be a sturdy seal.
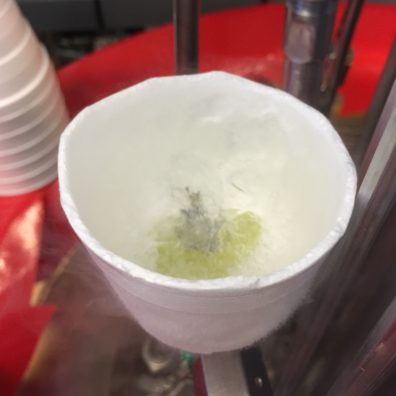
Sealed Styrofoam cup filled with LN2 - Sniff all fittings, welds, and solder joints with mass spectrometer by passing the sniffer probe over likely leak points. Start at the bottom of the assembly and work your way up, holding the probe on or not more than 1mm from the surface. Do not move the probe faster than 20mm/s.
- Continue sniffing in an orderly procedure from bottom to top. Mark any leaks so they can be remedied. Be aware that helium will rise, so a leak above a previously found leak may not actually exist. It is also important to be aware of the airflow in the room, as helium can be blown around the experiment and produce small “leaks” that don’t actually exist.
- If any leaks are identified, take corrective action and restart this procedure. You may have to let the Silly Putty warm up a while before it is soft enough to be removed.