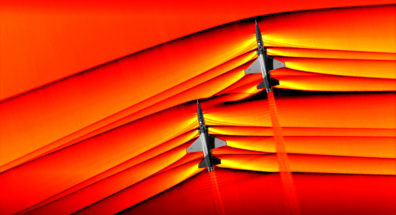
“Tell me what this image is.” I peered closer at the amazing image Jake was showing me. “Displacement?” I guessed nervously, glancing furtively at the inquisitor. “Not quite. Density,” Jake said. This was my interview, to which I had been 15 minutes late and in which I was already sweating profusely. I was in the deep end. Here is the image he showed me:
I was hired to the HYPER Lab despite my blunder, and worked on the Core Team (previously the General Team). By the time this project opportunity surfaced, nearly 6 months had passed since my interview, and the concept of Schlieren Imaging was still in the back of my mind. The concept is simple enough, but something Jake had mentioned was nagging at me. “NASA is looking for someone who can make the whole system handheld. They’ve been looking for someone for a while now.” Now that is some motivation. But, having just finished freshman year and having little engineering experience beyond a shop class and my year of studies, I decided to do something a bit simpler: unifying one side of the system.
Step 1: The Idea
How can I simplify the system?
Well, I could get rid of the mirror and just use a static background with some visual marker. This would eliminate the need for a filter on the camera side too.
No, that’s already been done (See Background Oriented Schlieren).
Okay, what if I was able to somehow able to use Schlieren but with a similar method to mass spectrometry?
No, that would either require a lot of radioactive equipment or a power source to effectively make lightning. That’s complicating things further.
Okay, what about making a sort of jig so that the filter and light source can be attached to the imaging device?
Now that is doable.
Step 2: The Background
How exactly does Schlieren Imaging work?
Not having taken an Electromagnetics or Optics course, I originally had no clue. However, after some basic research, I was able to understand. Here are my notes:
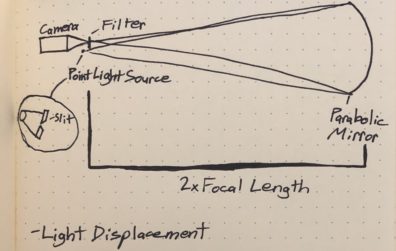
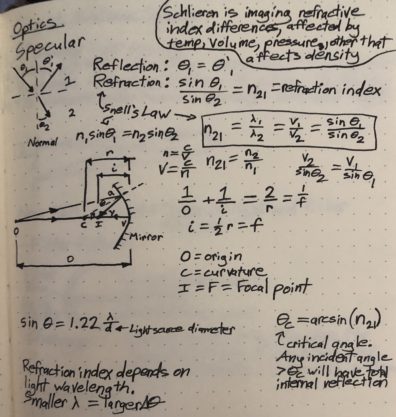
Basically, specially shaped mirrors reflect light back to its origin, and changes in the light path due to some refractive index changing phenomena (heat, pressure, etc) will be cut off/colored by the filter.
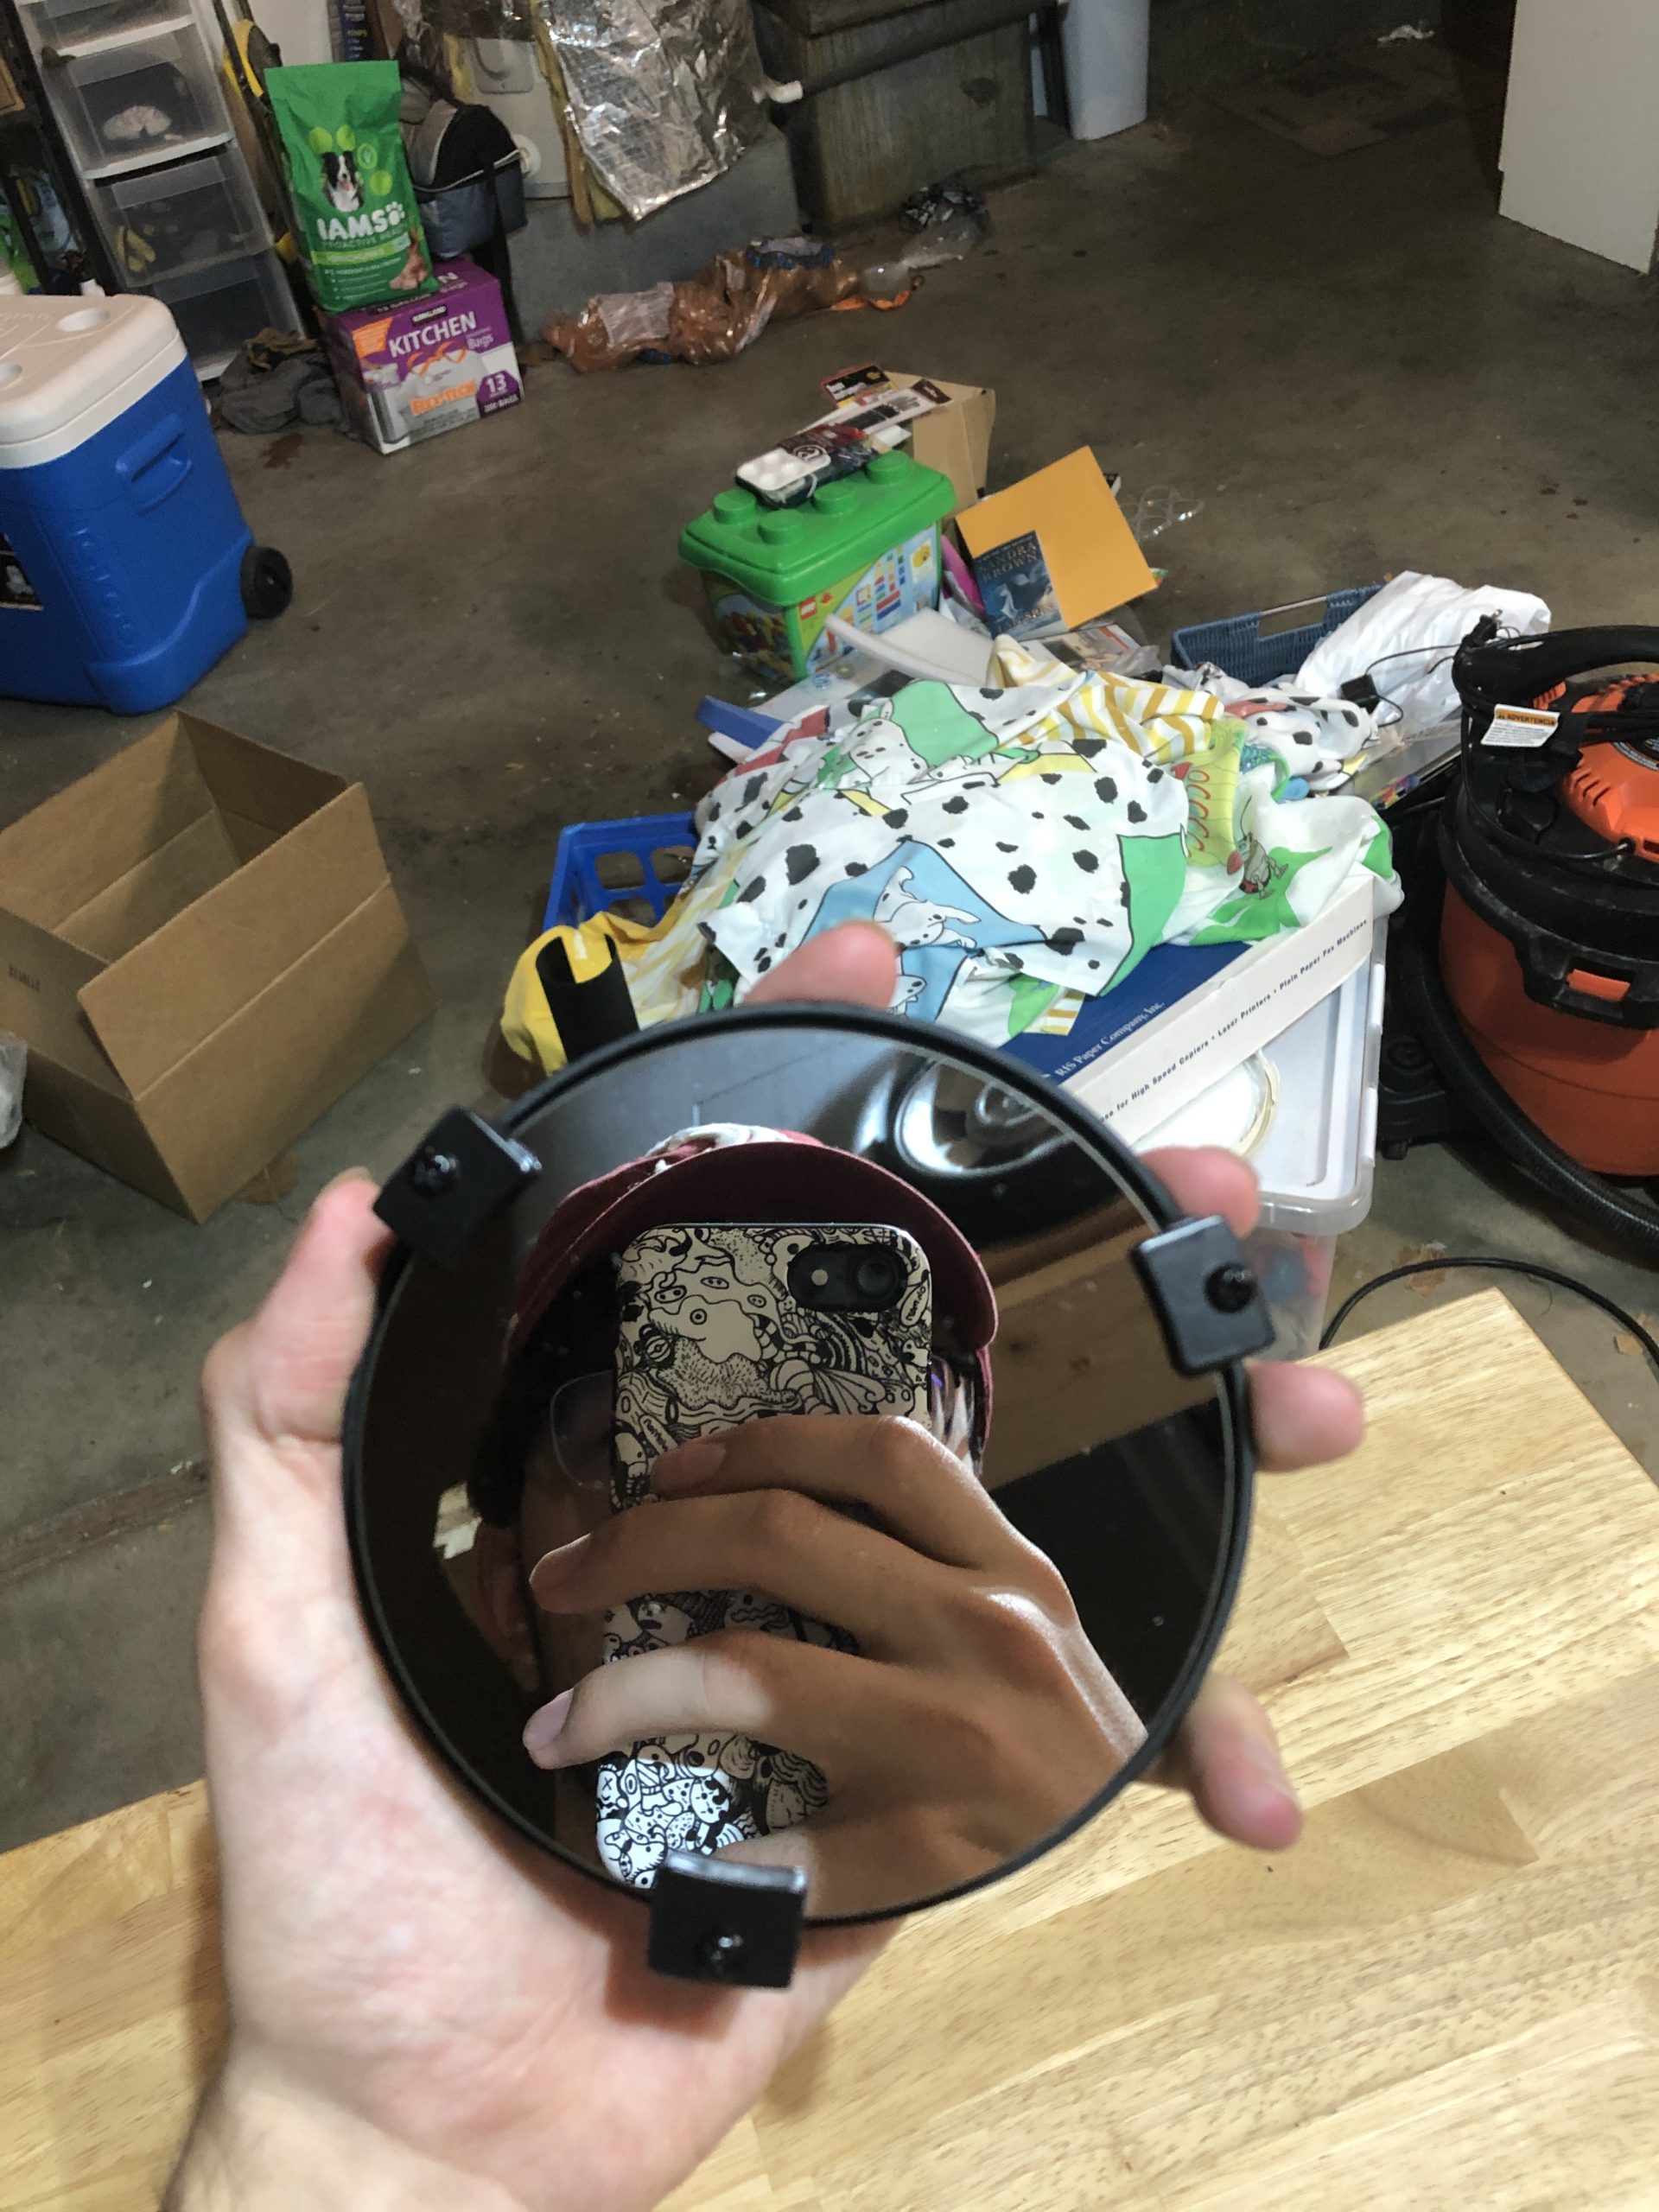
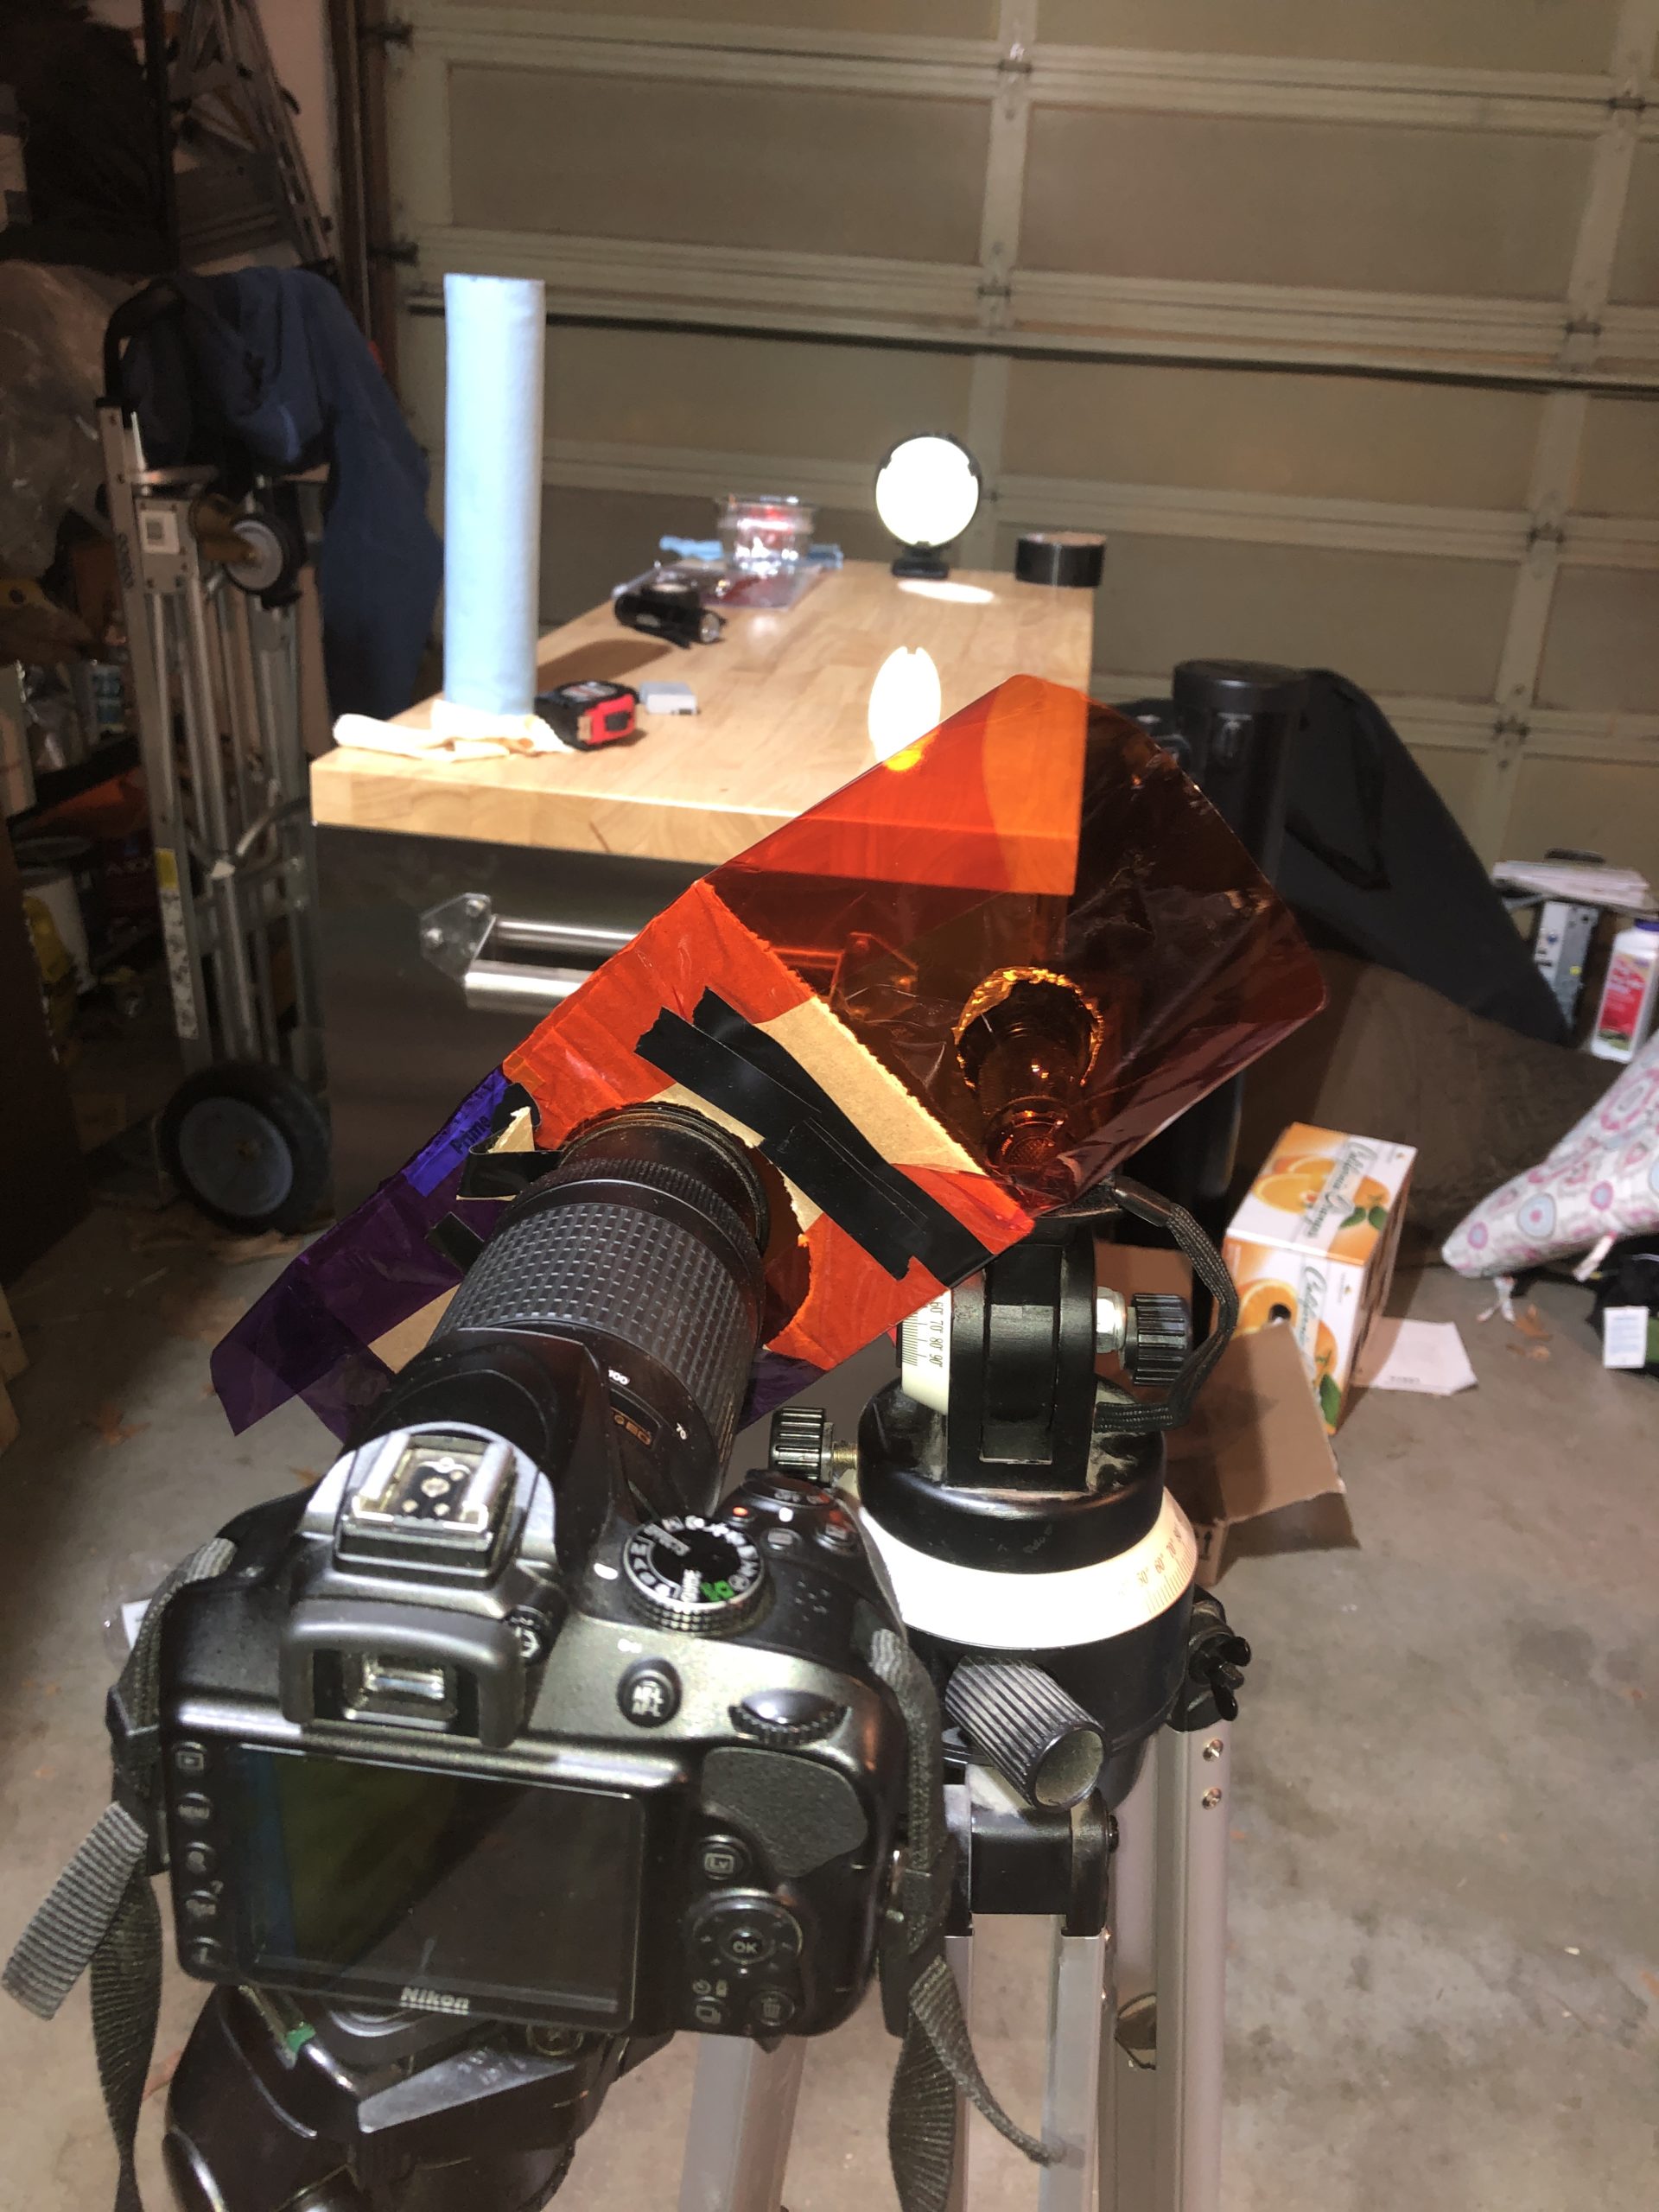
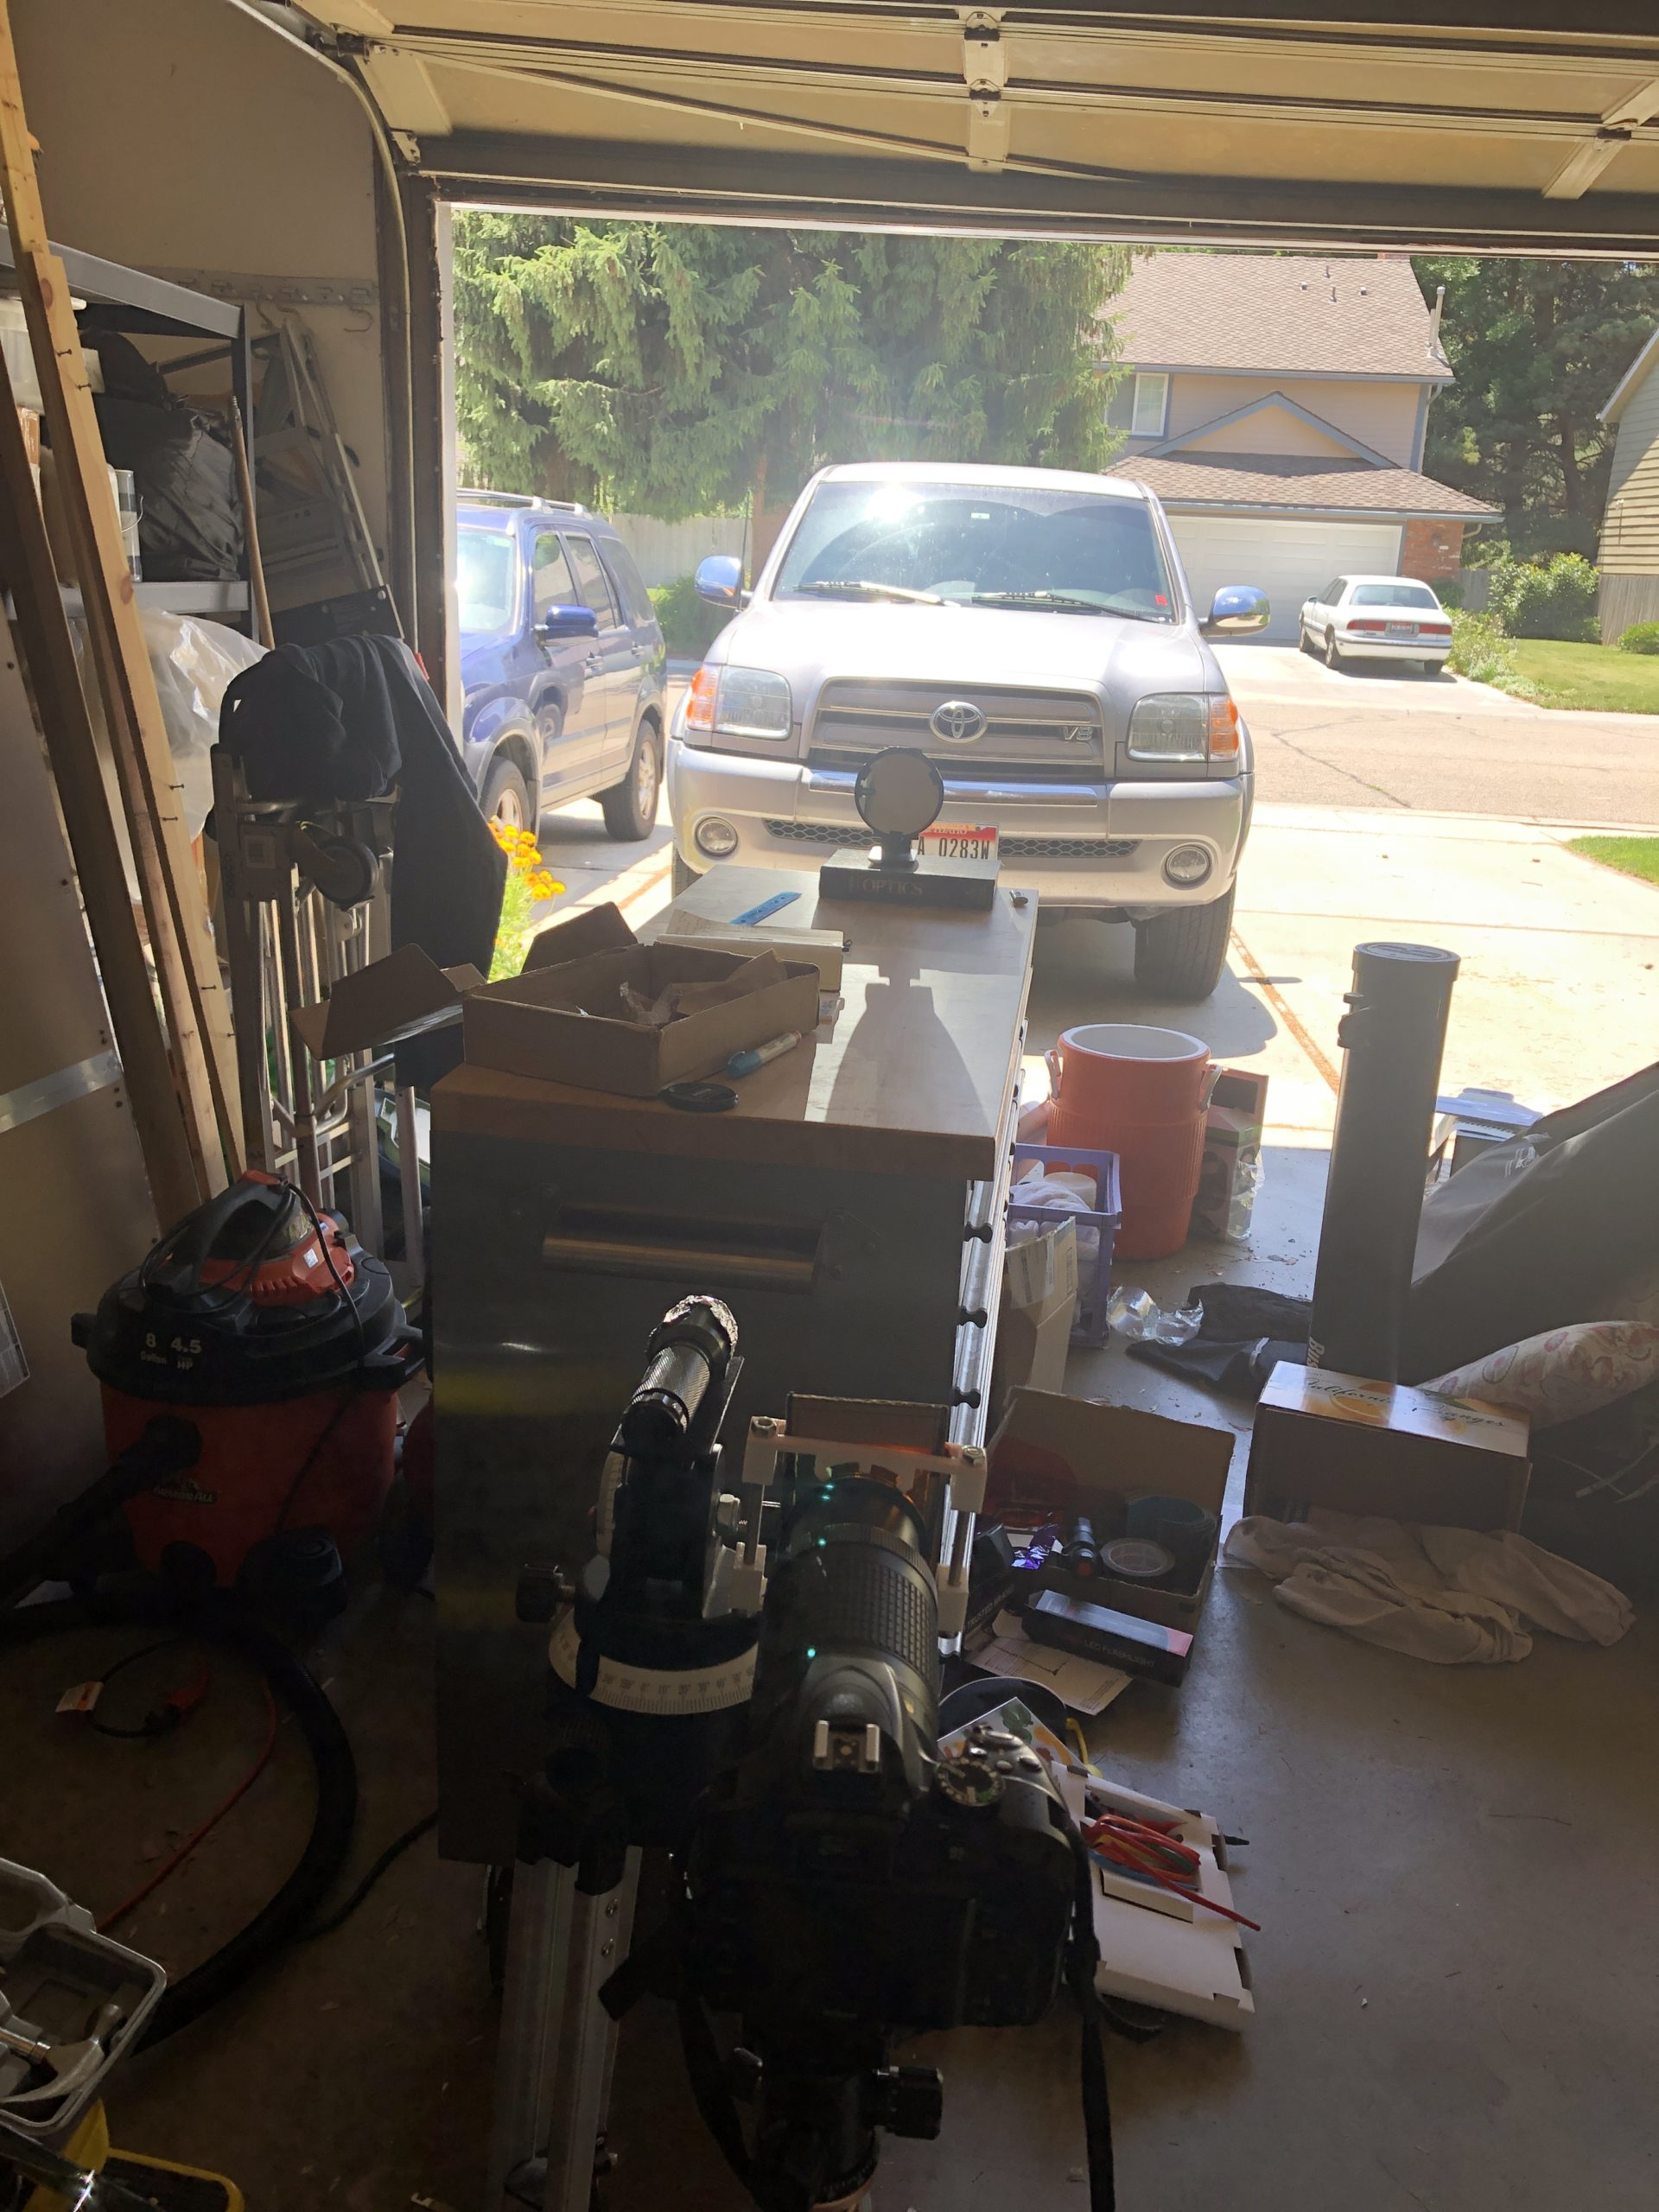
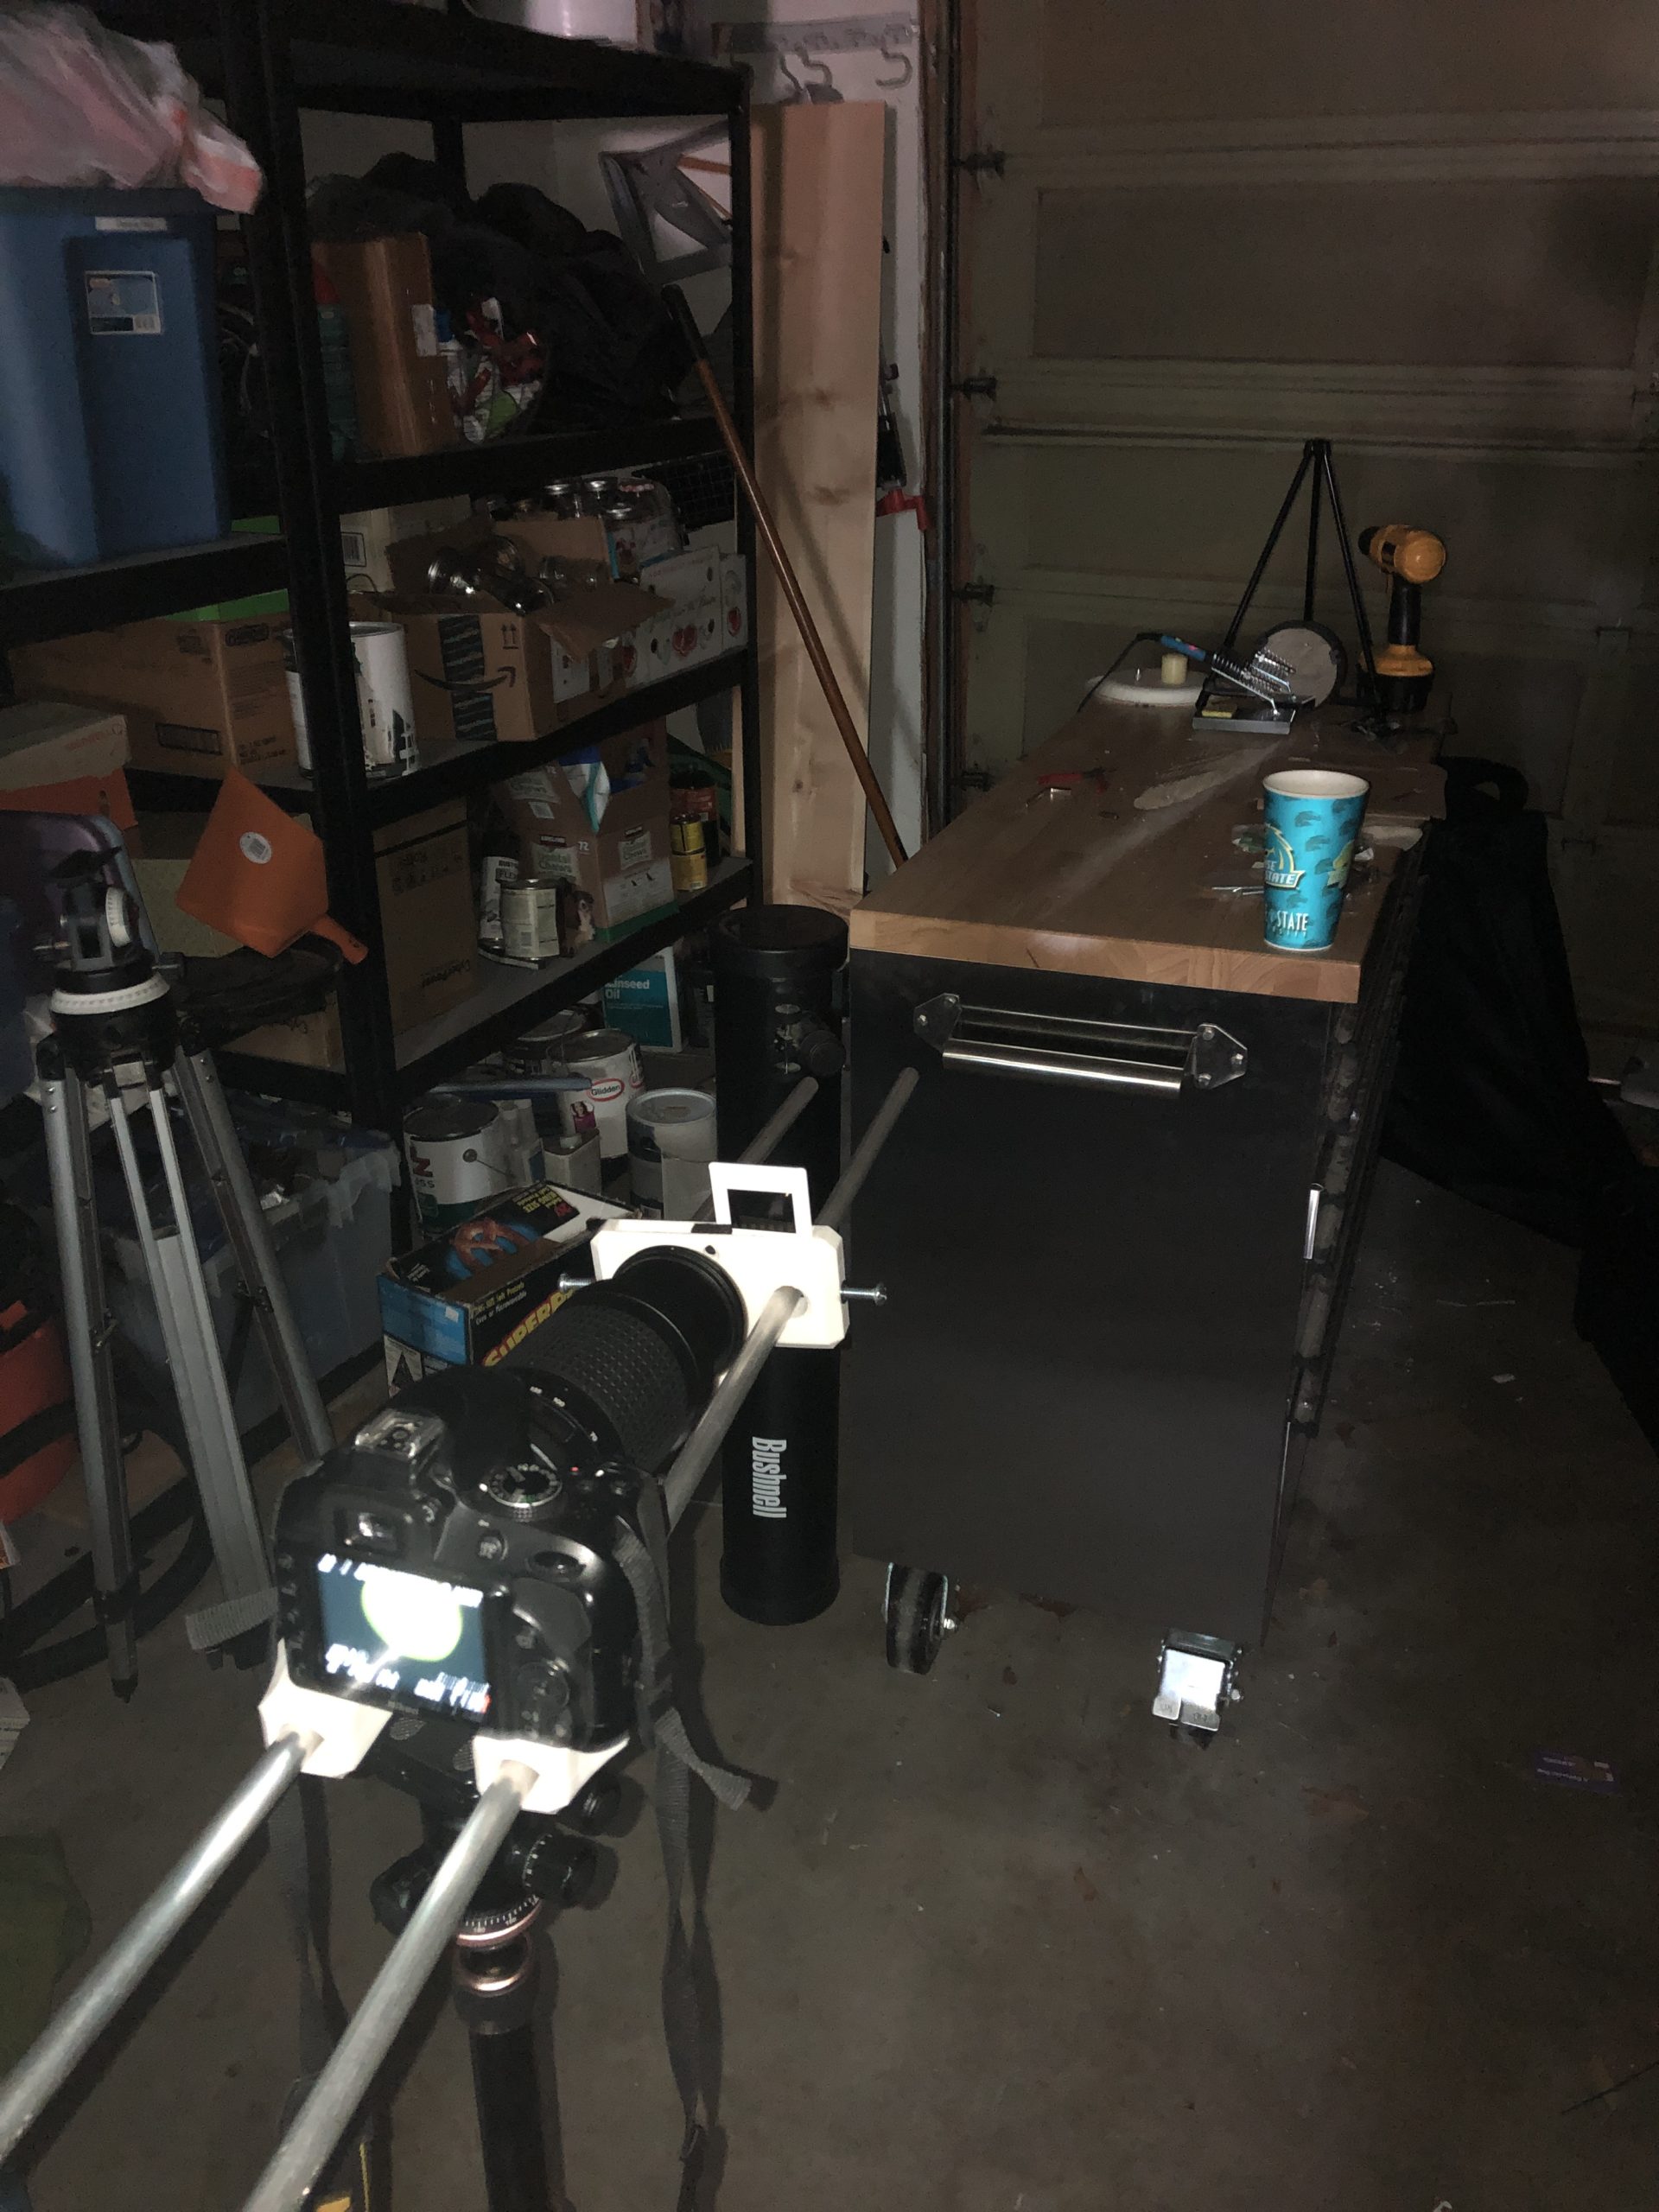
As a part of this step in the process, I set up a rudimentary Schlieren system with my mobile work studio (a rolling counter in my garage). Here’s what it looked like:
After discussing some ideas with Jake, we settled on a system of jigs to act as part holders on the camera side of the system. Read the system proposal here. The next step would be to actually design the system. Easy enough, right? Haha sure.
Step 3: The Product
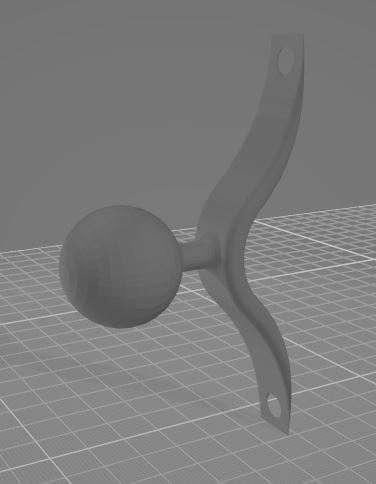
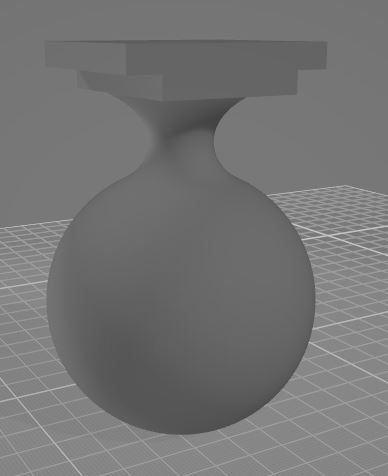
Initial Jig Concepts:
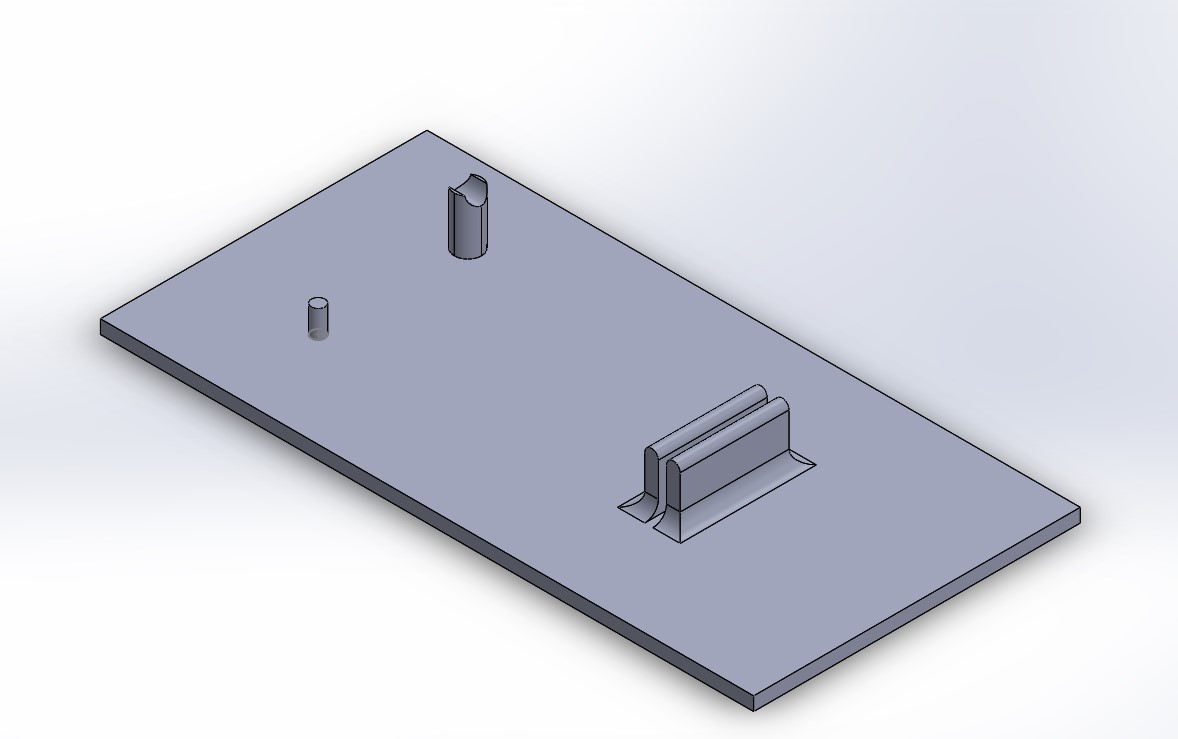
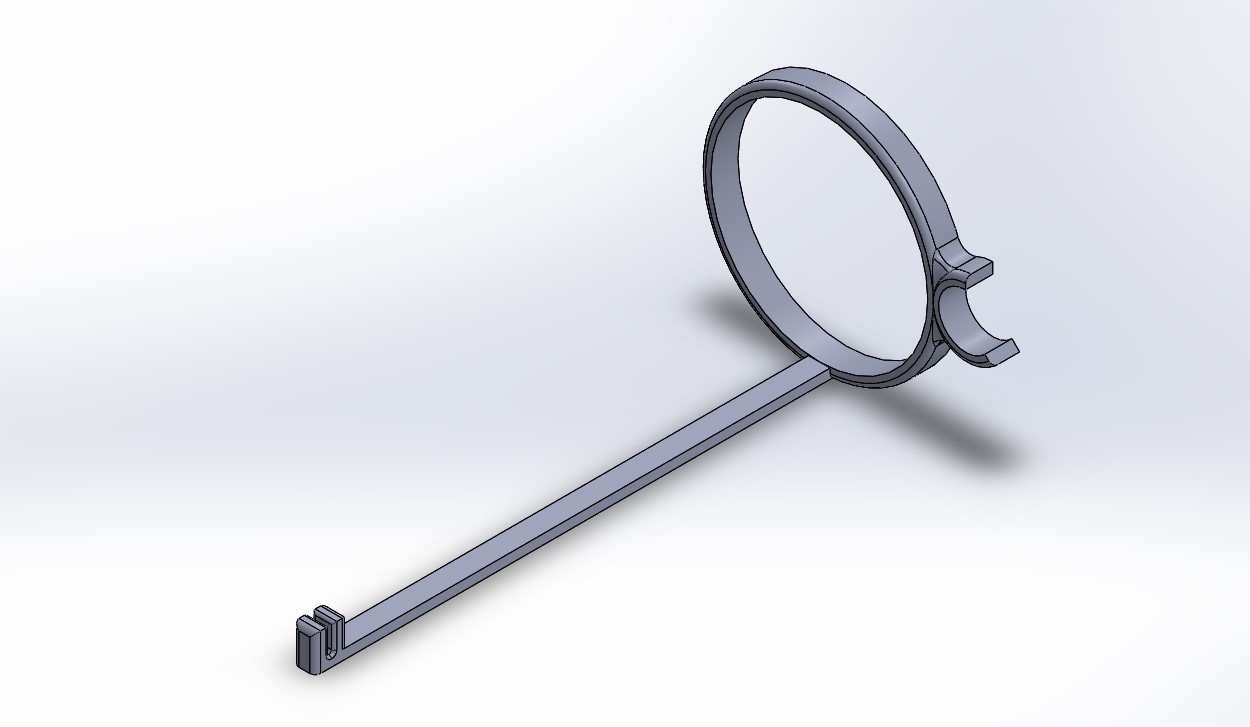
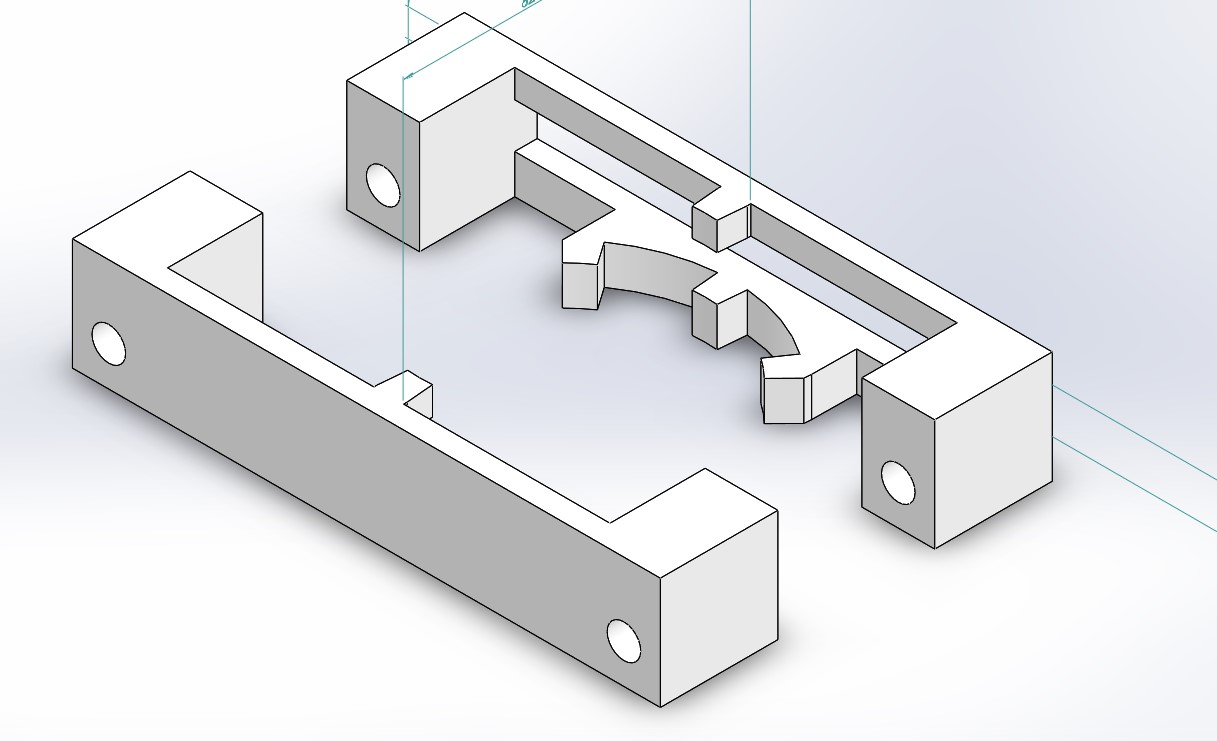
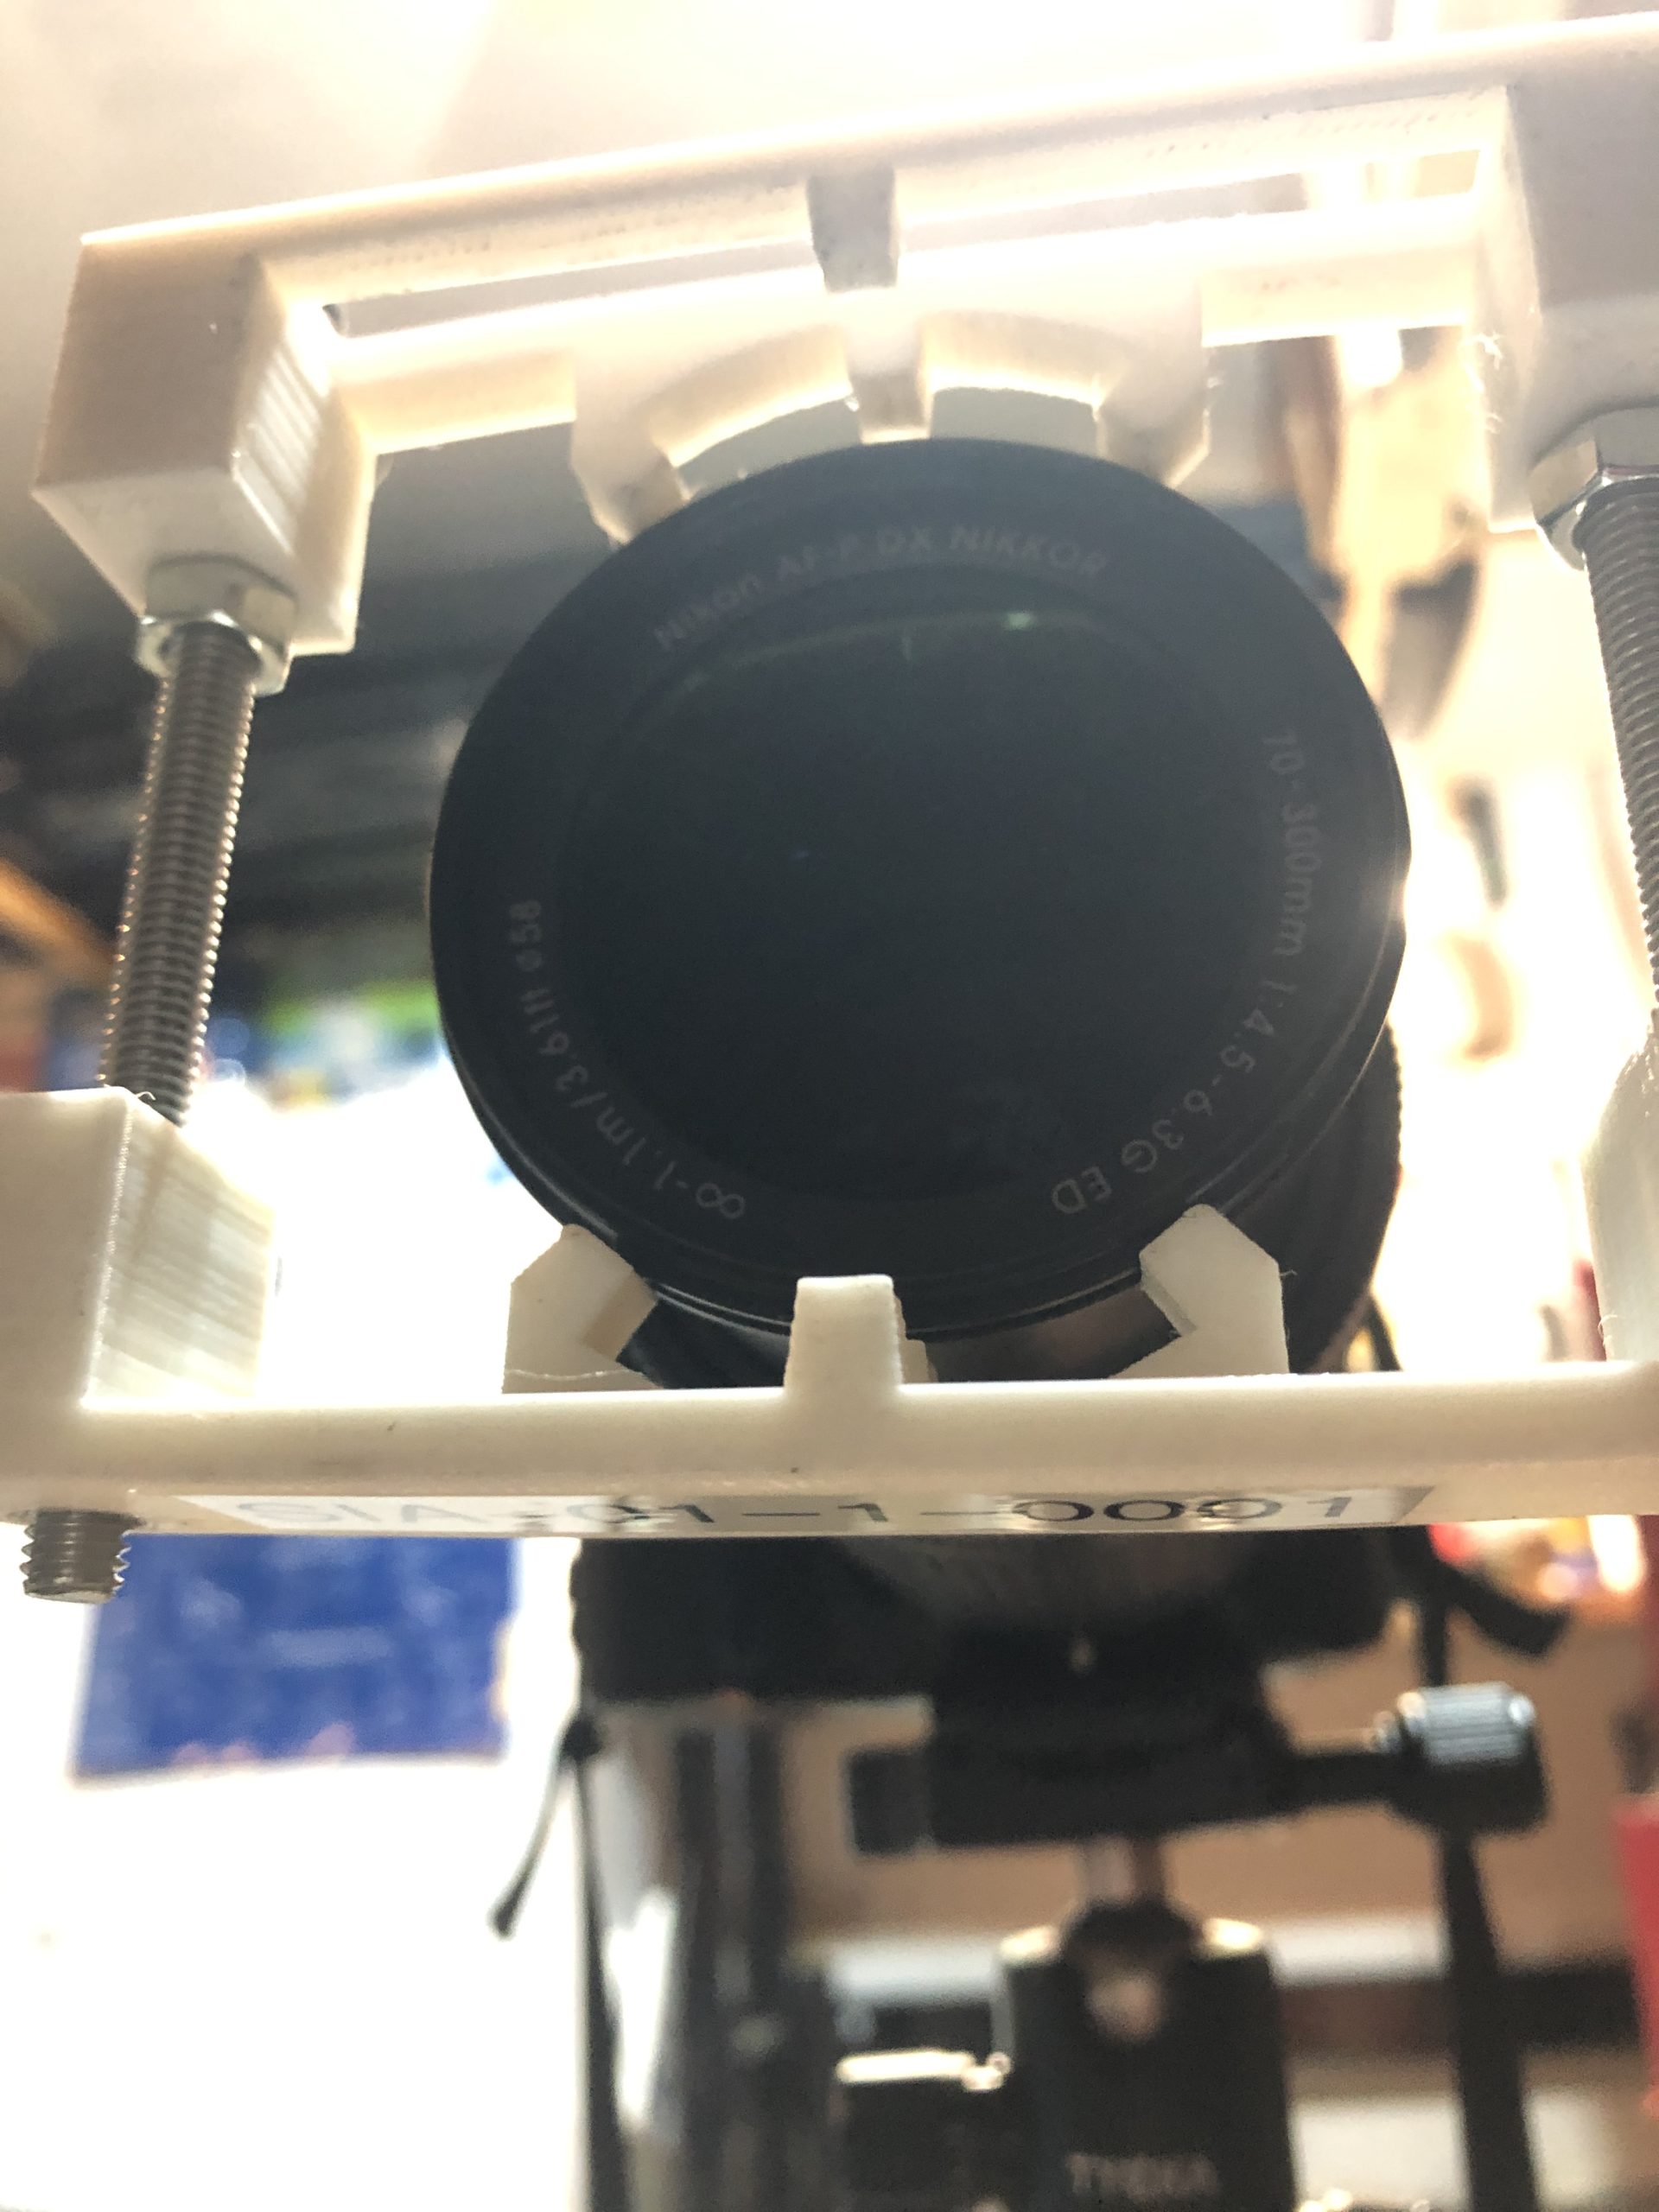
SIA1 Prototyping:
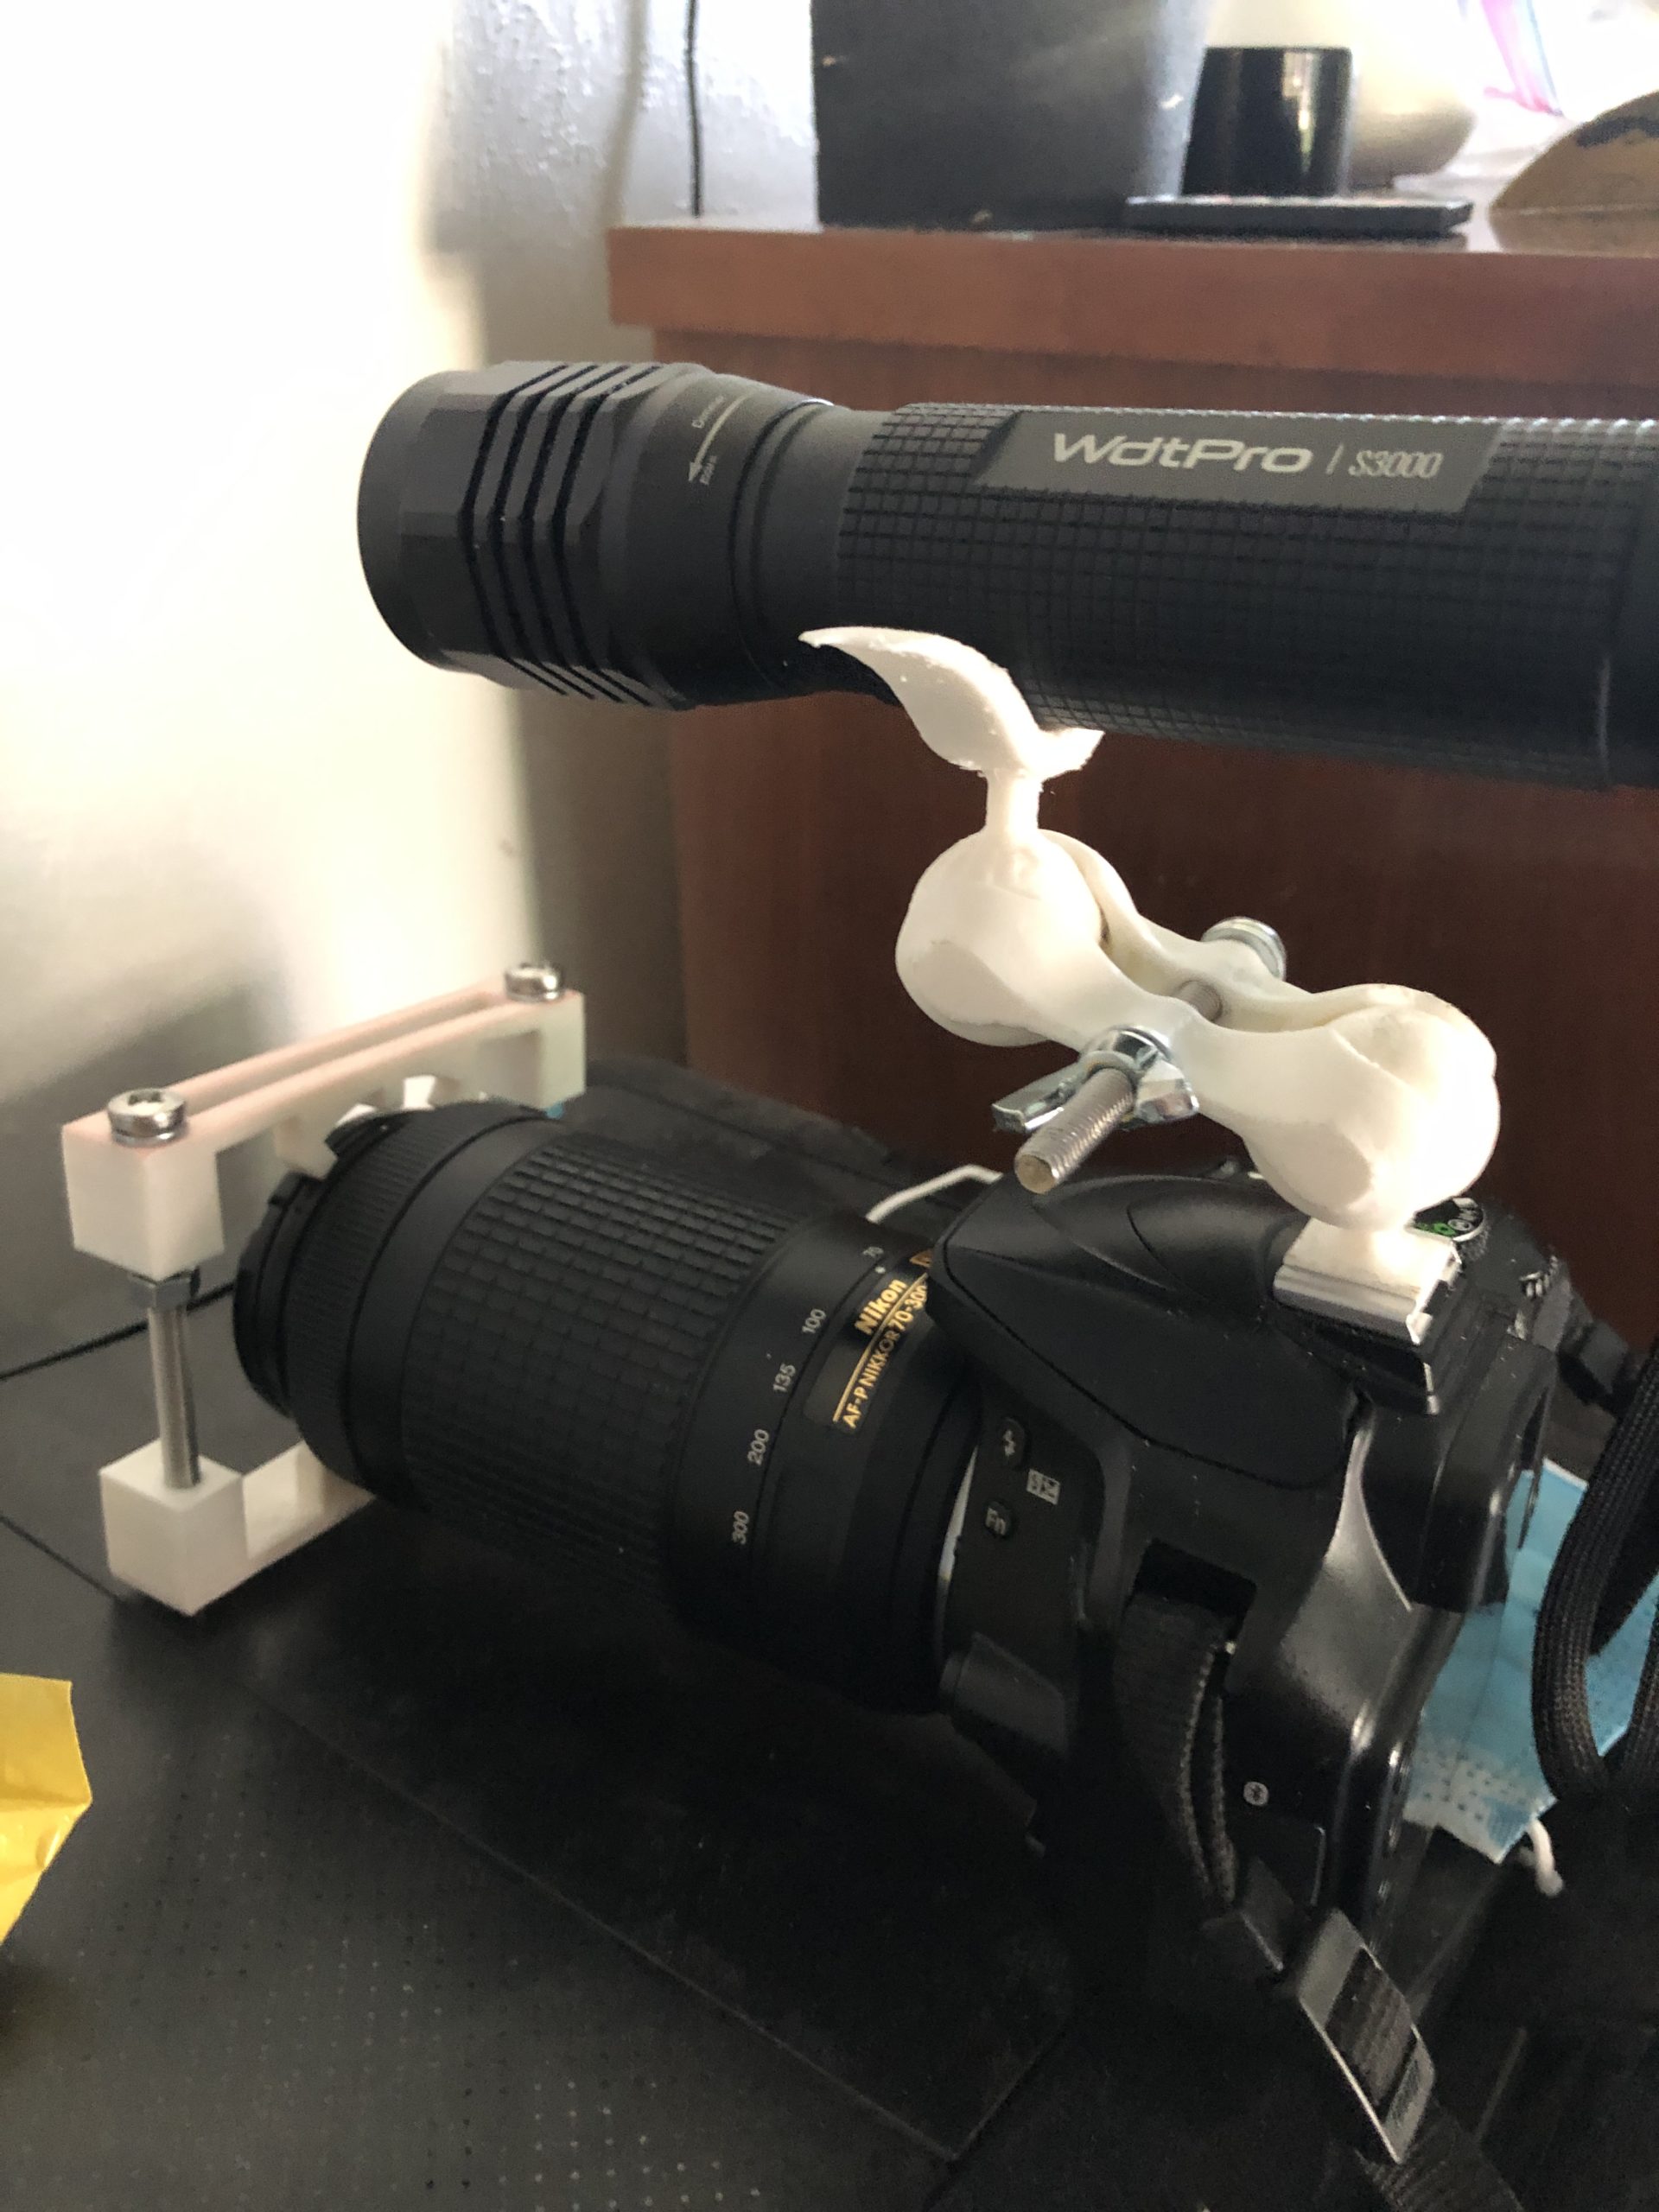
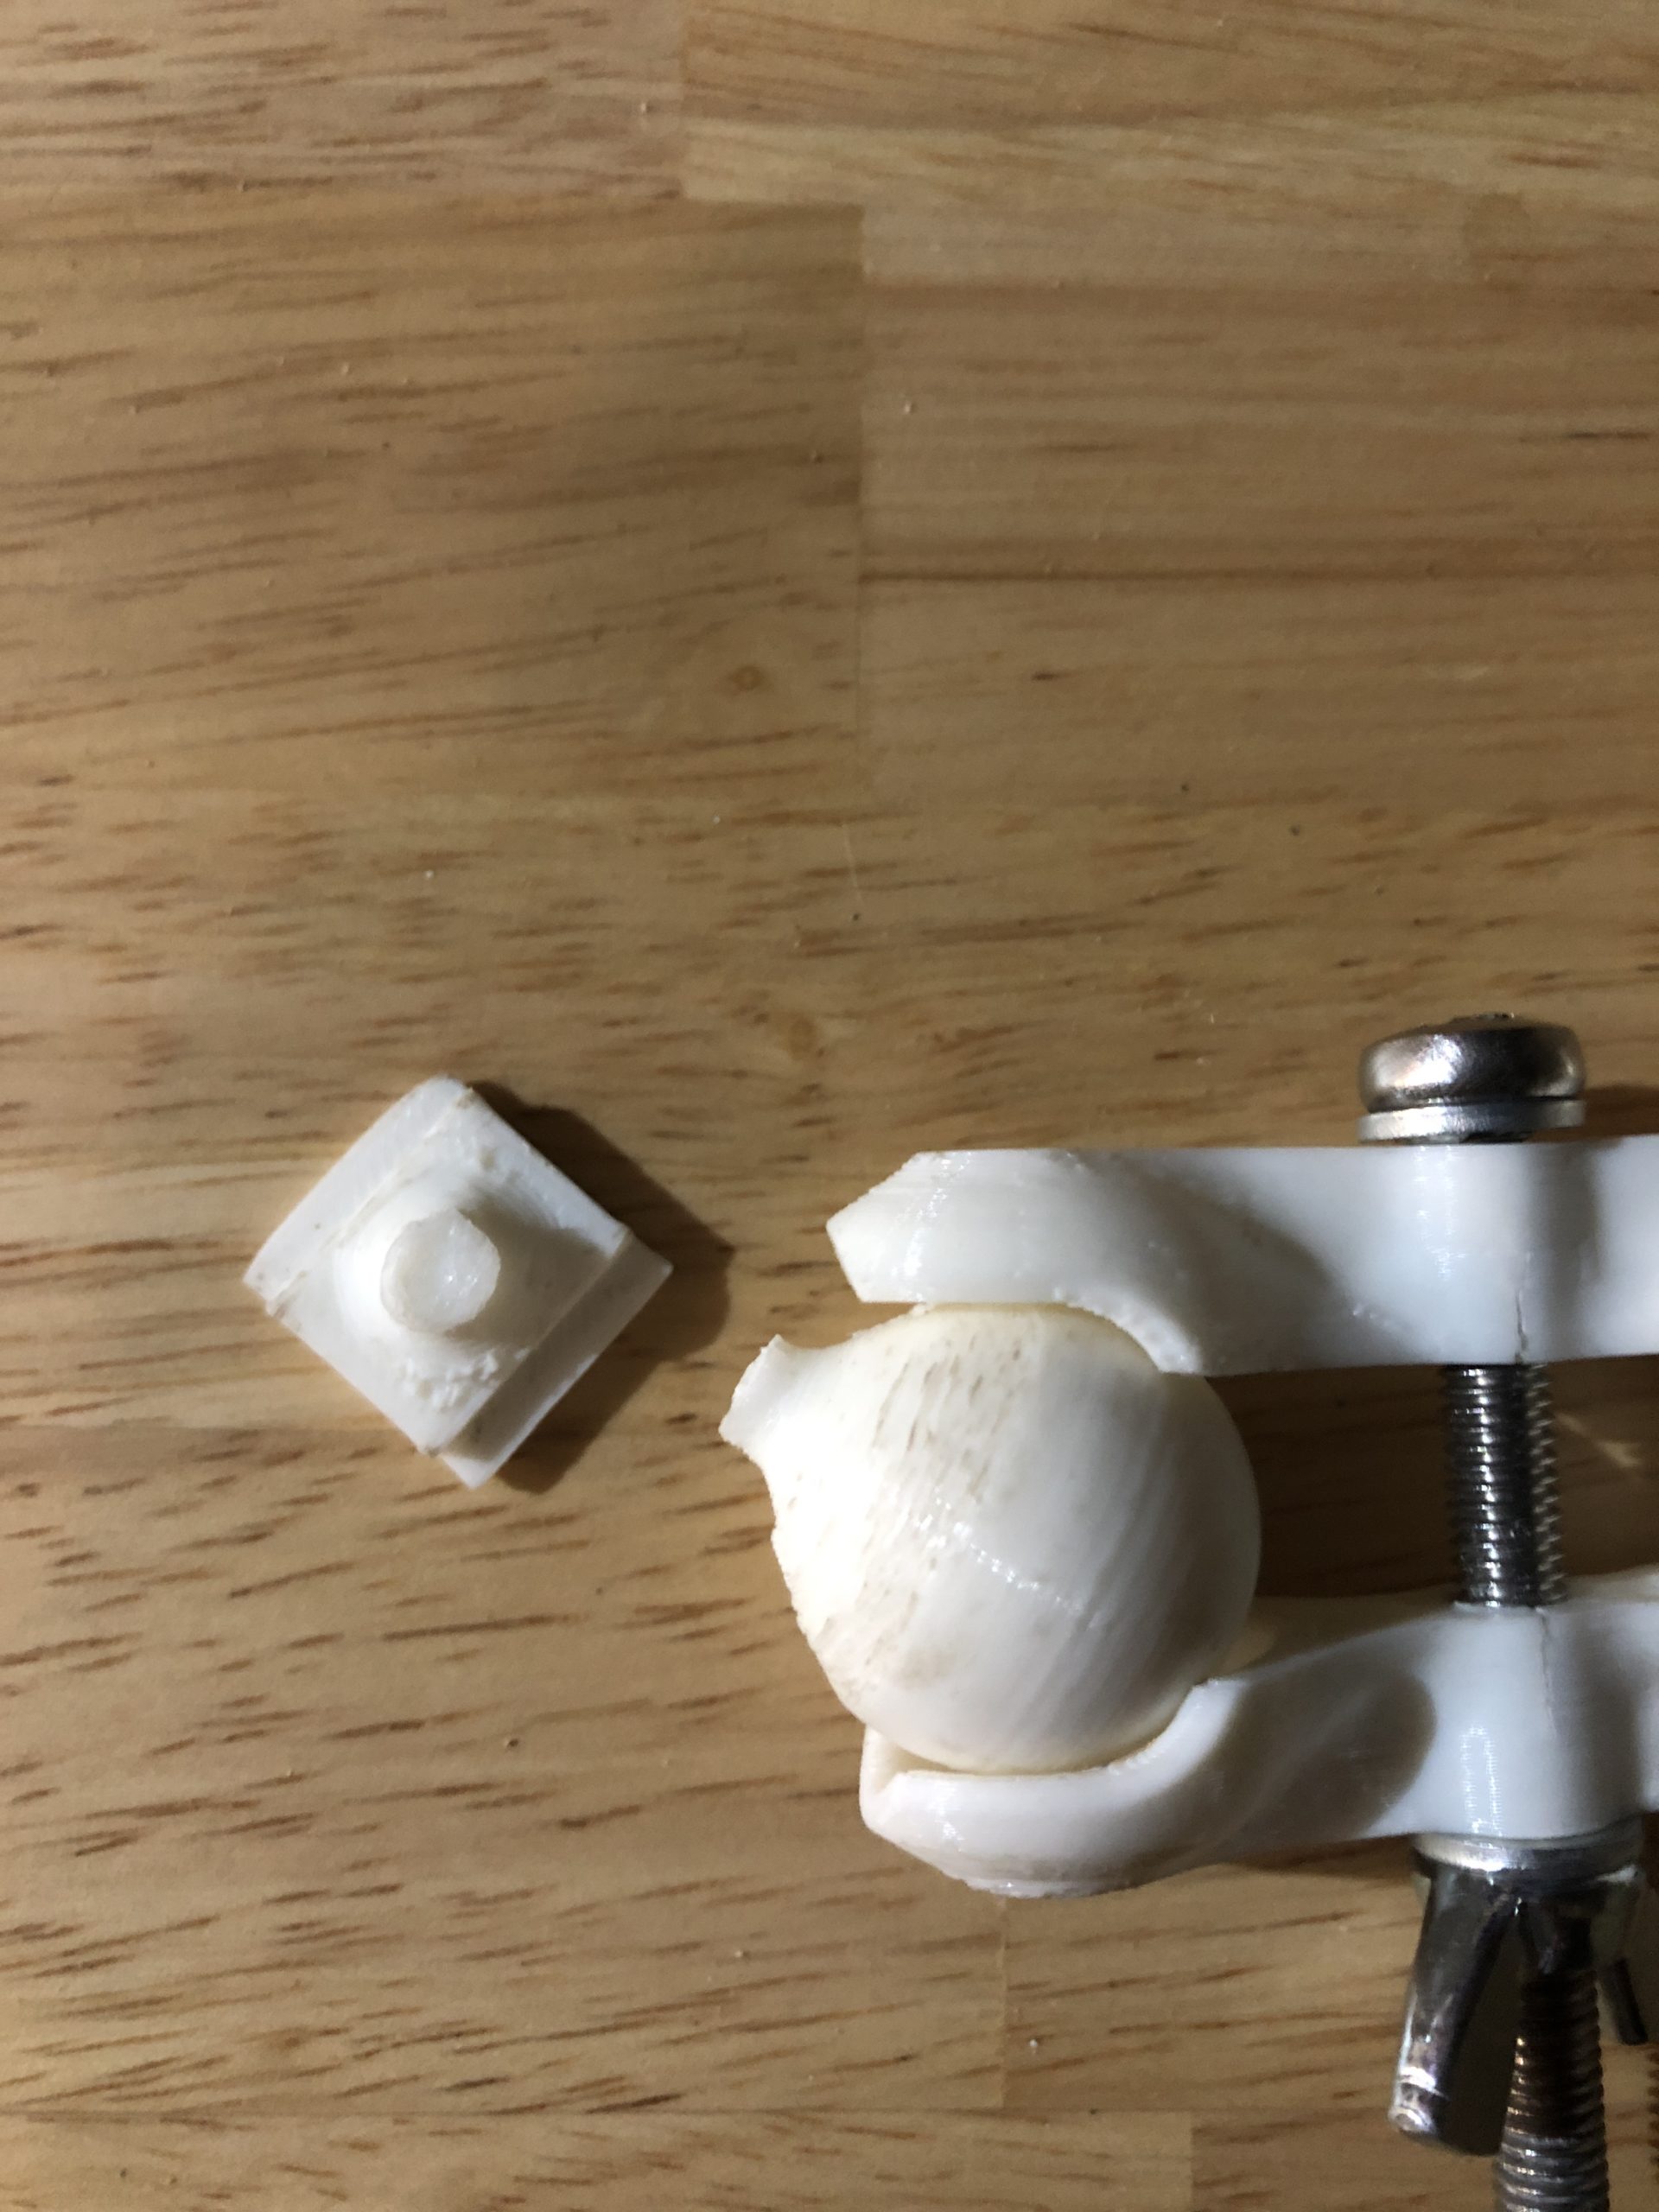
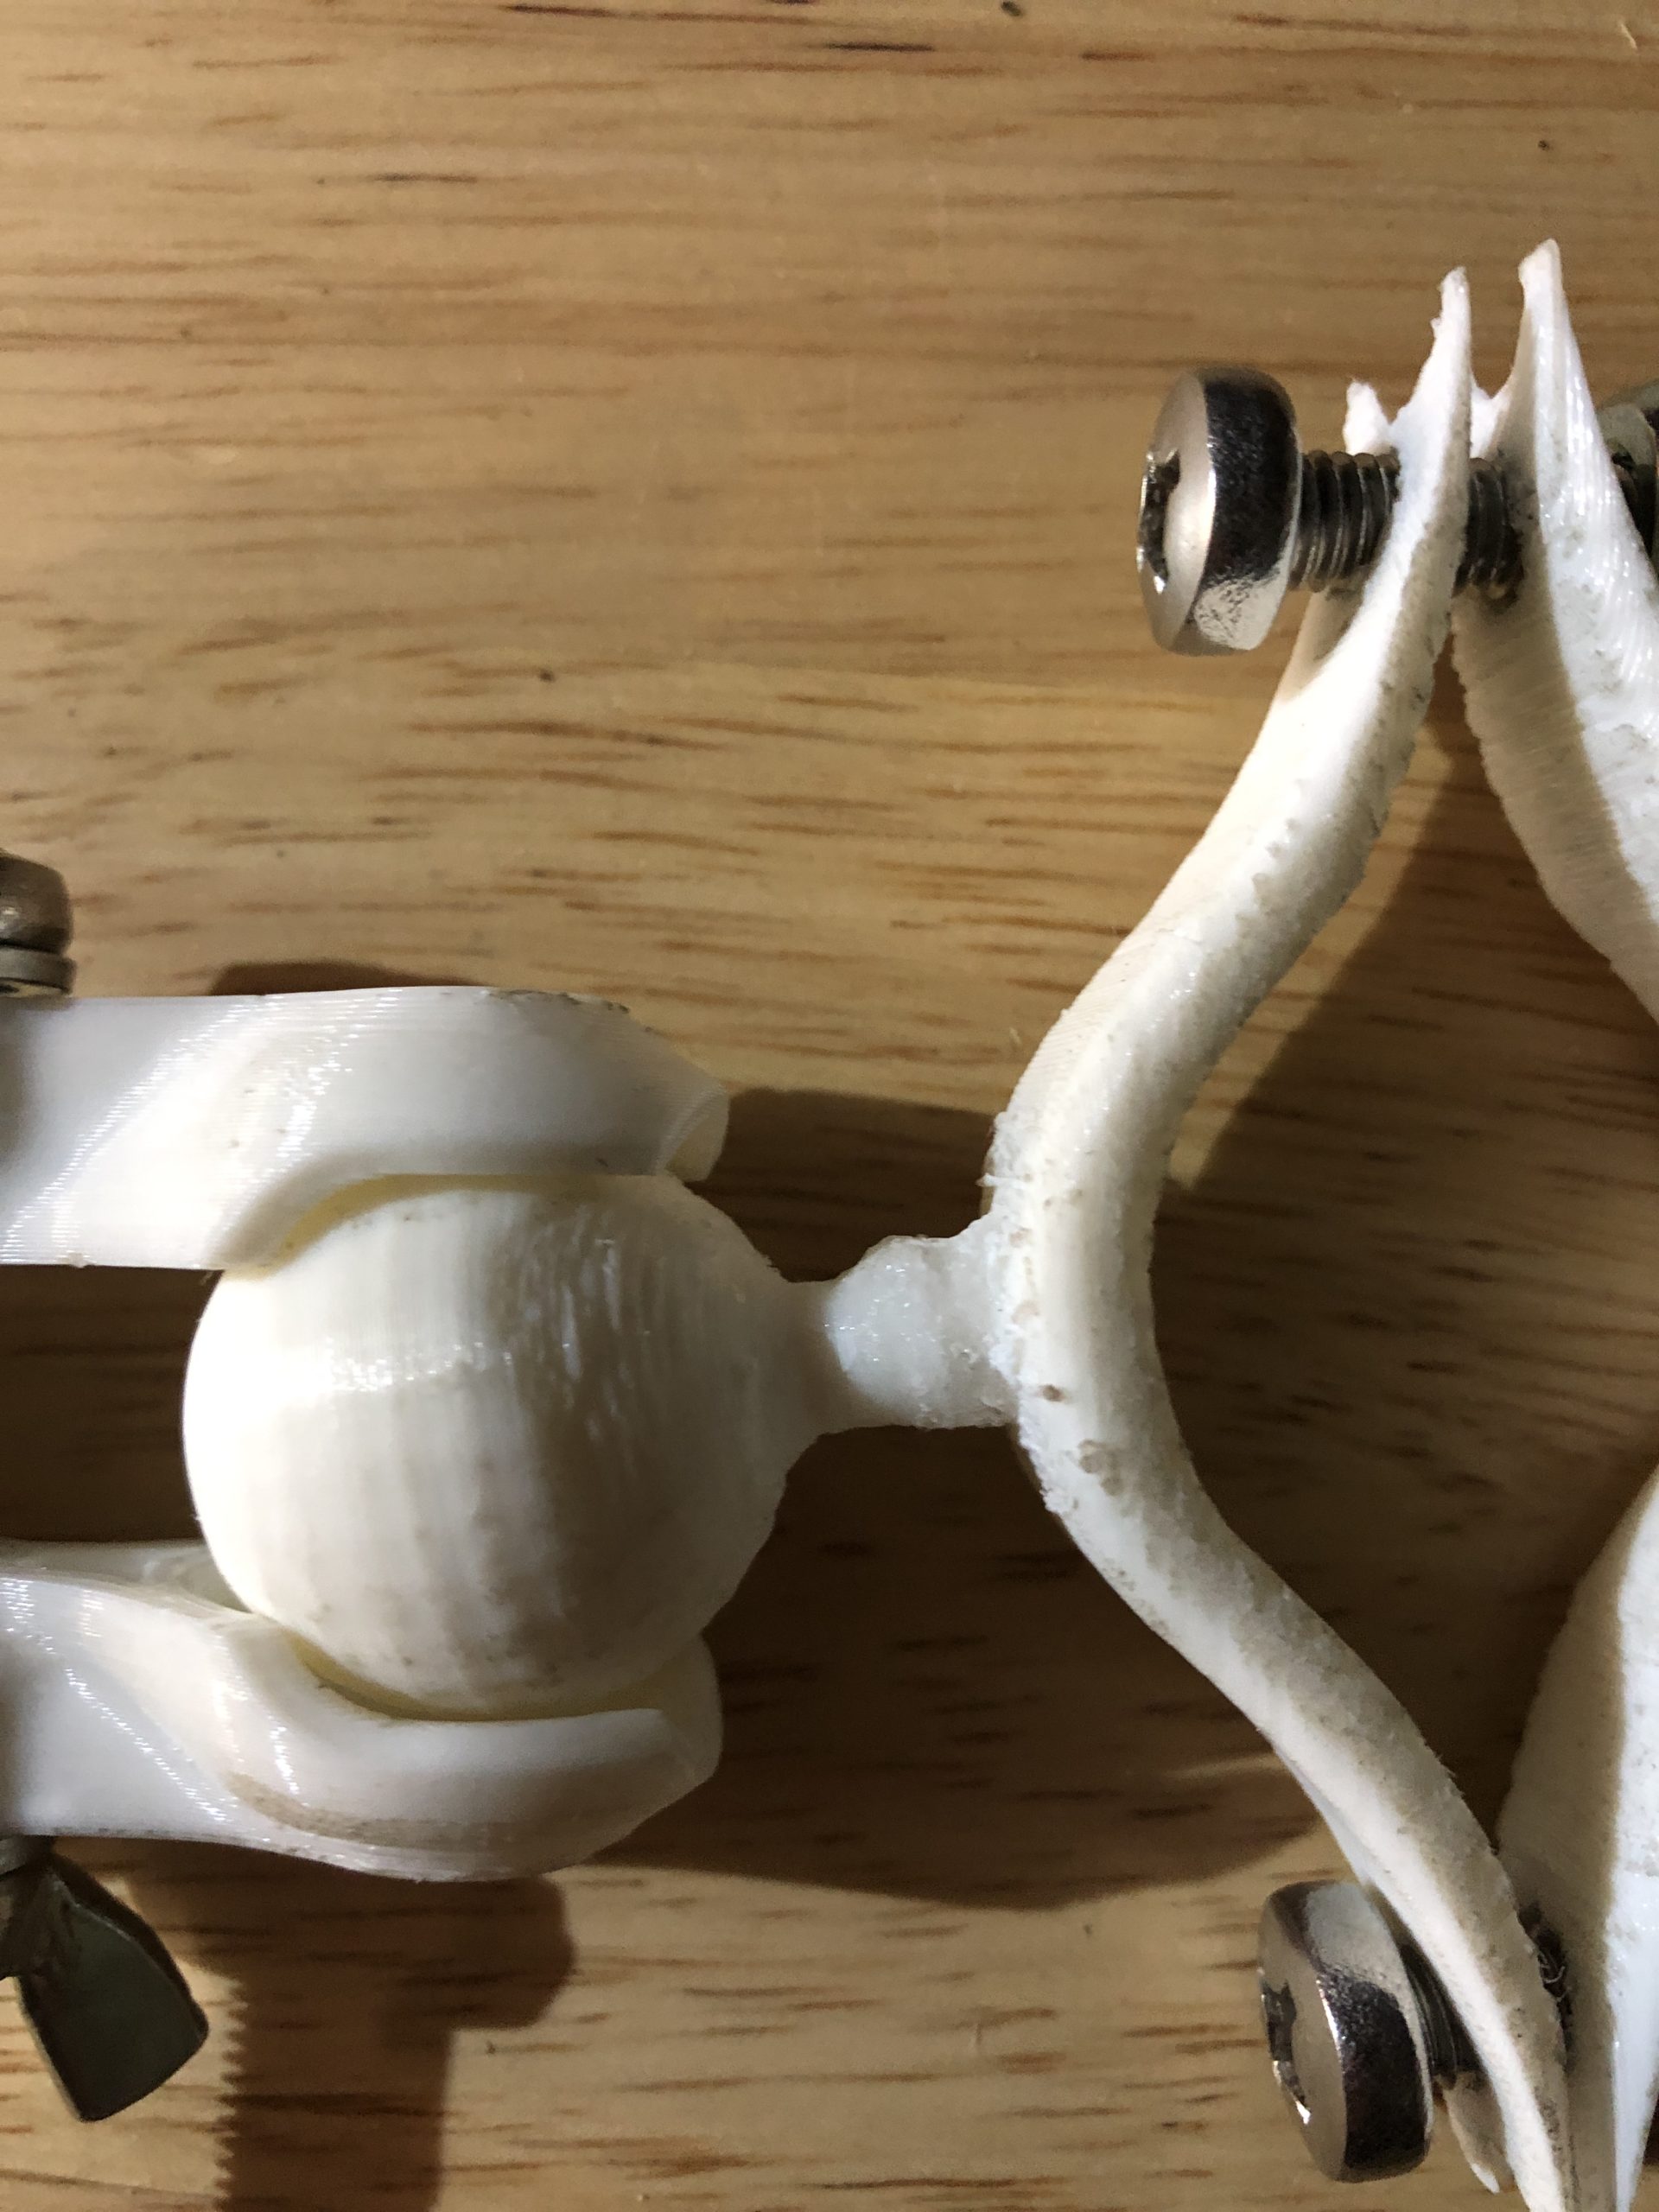
With the aid of a design on Thingiverse, I made a filter holder concept. Eventually, with the help of another design on Thingiverse, I made a light holder concept too. Thus, I arrived at the system I call SIA 1. However, before being able to test the whole system together, a number of parts broke (all except one!). So, I went back to the drawing board. I still want to pursue this non-tripod based design, but will have to do it on my own time. During this stage, I also opted to use the SIA Project as an example to assist the development of the Project Planning 101 page.

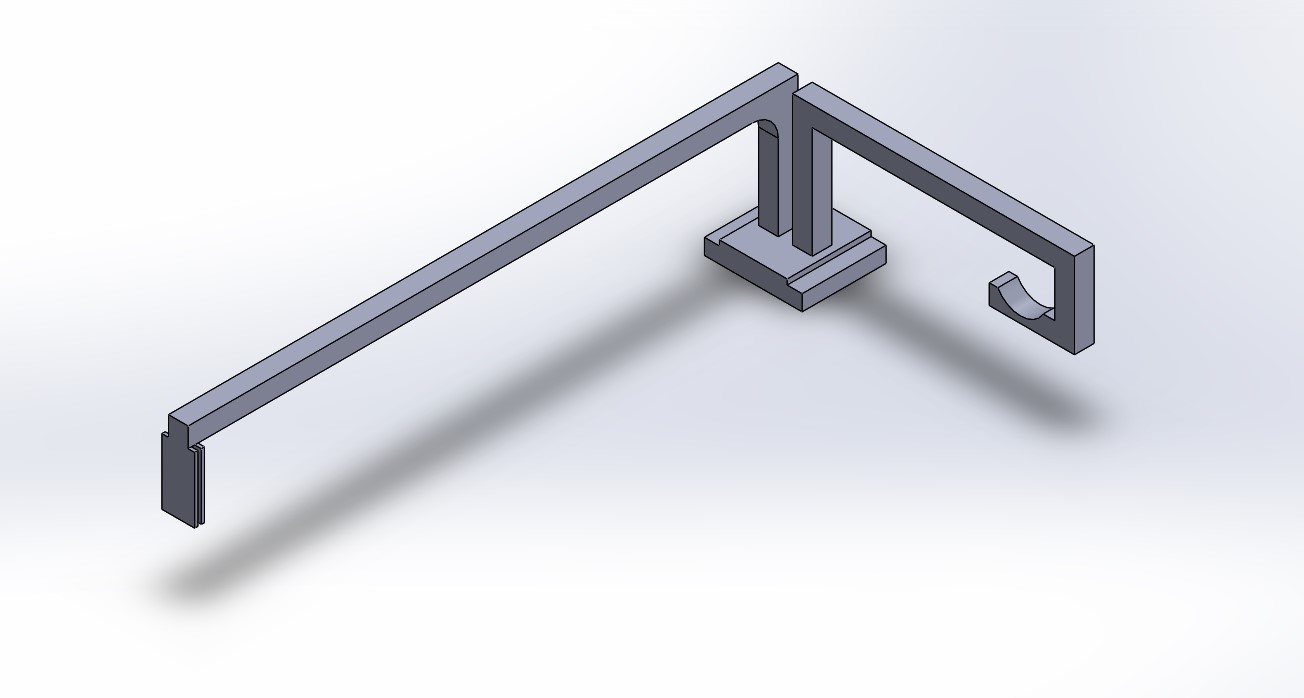
SIA2 Prototyping:
At the urging of Jake, I returned to the idea of a unified system for Schlieren Imaging: One that attaches to a camera tripod no less. Making some modifications to elements of the SIA 1, I developed and printed the SIA 2. This system weighed considerably more and consisted of more parts but accomplished the task successfully and will be a sturdy system capable of modular modifications in the future.
Step 4: The Results
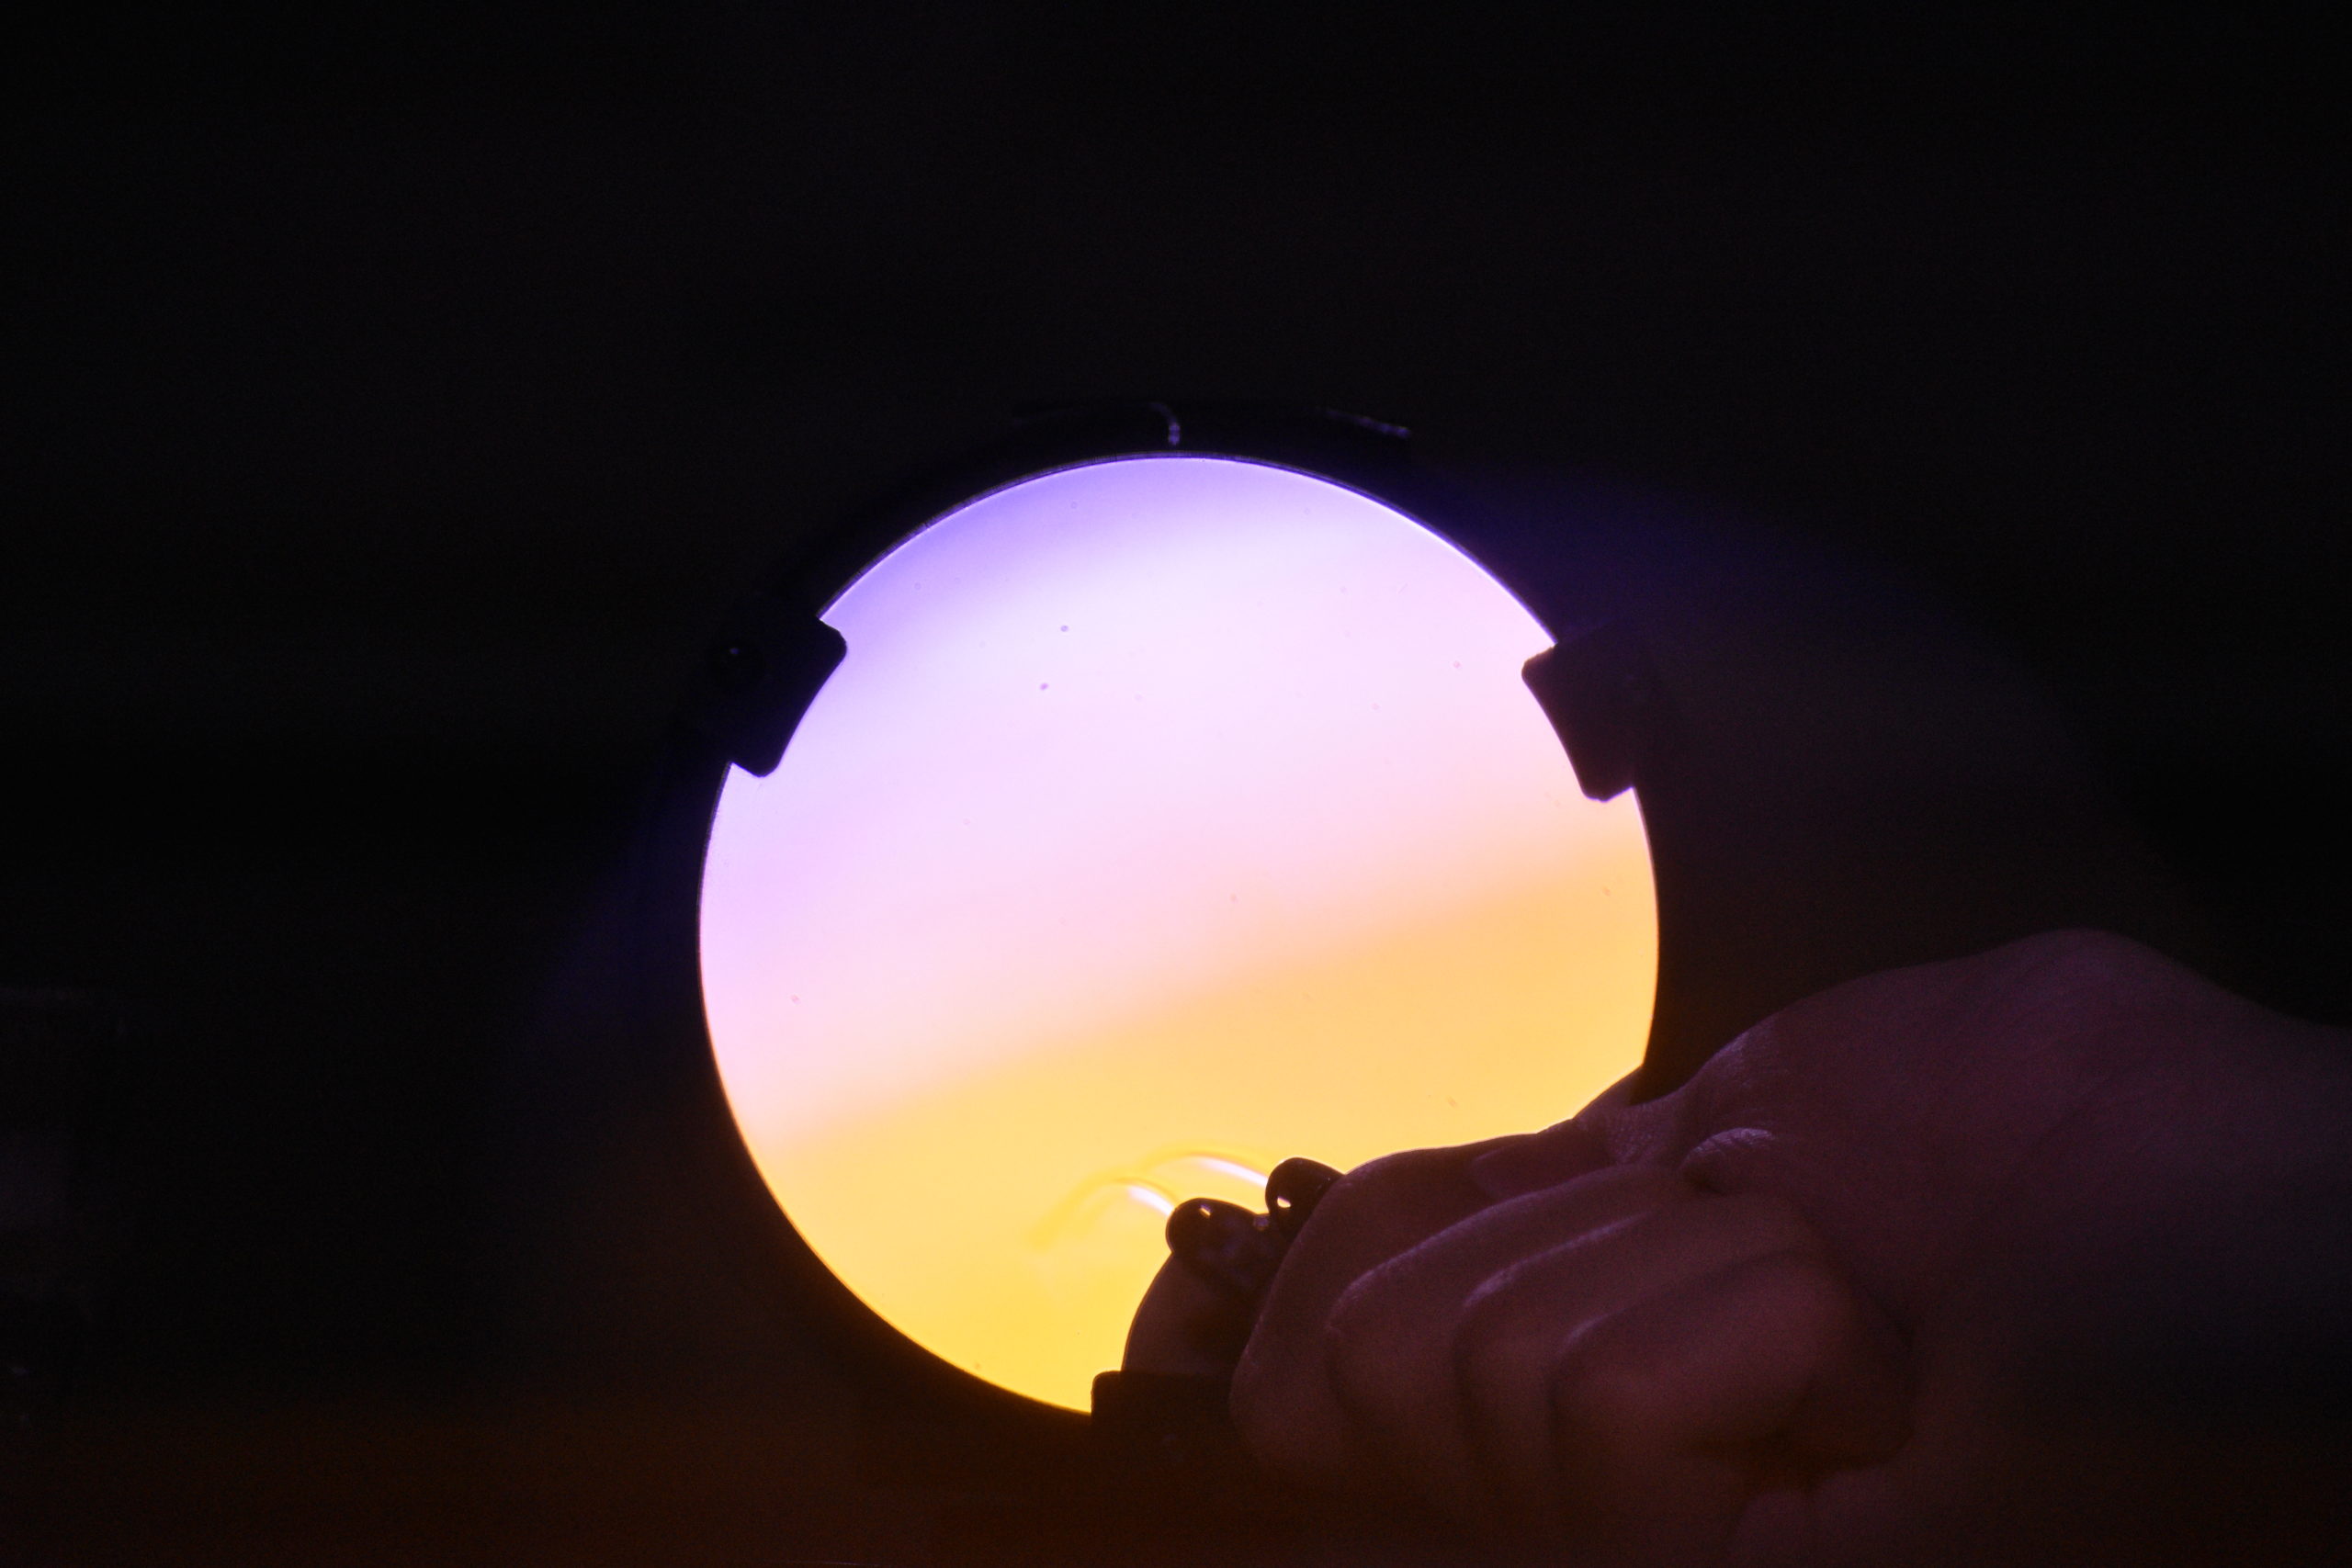
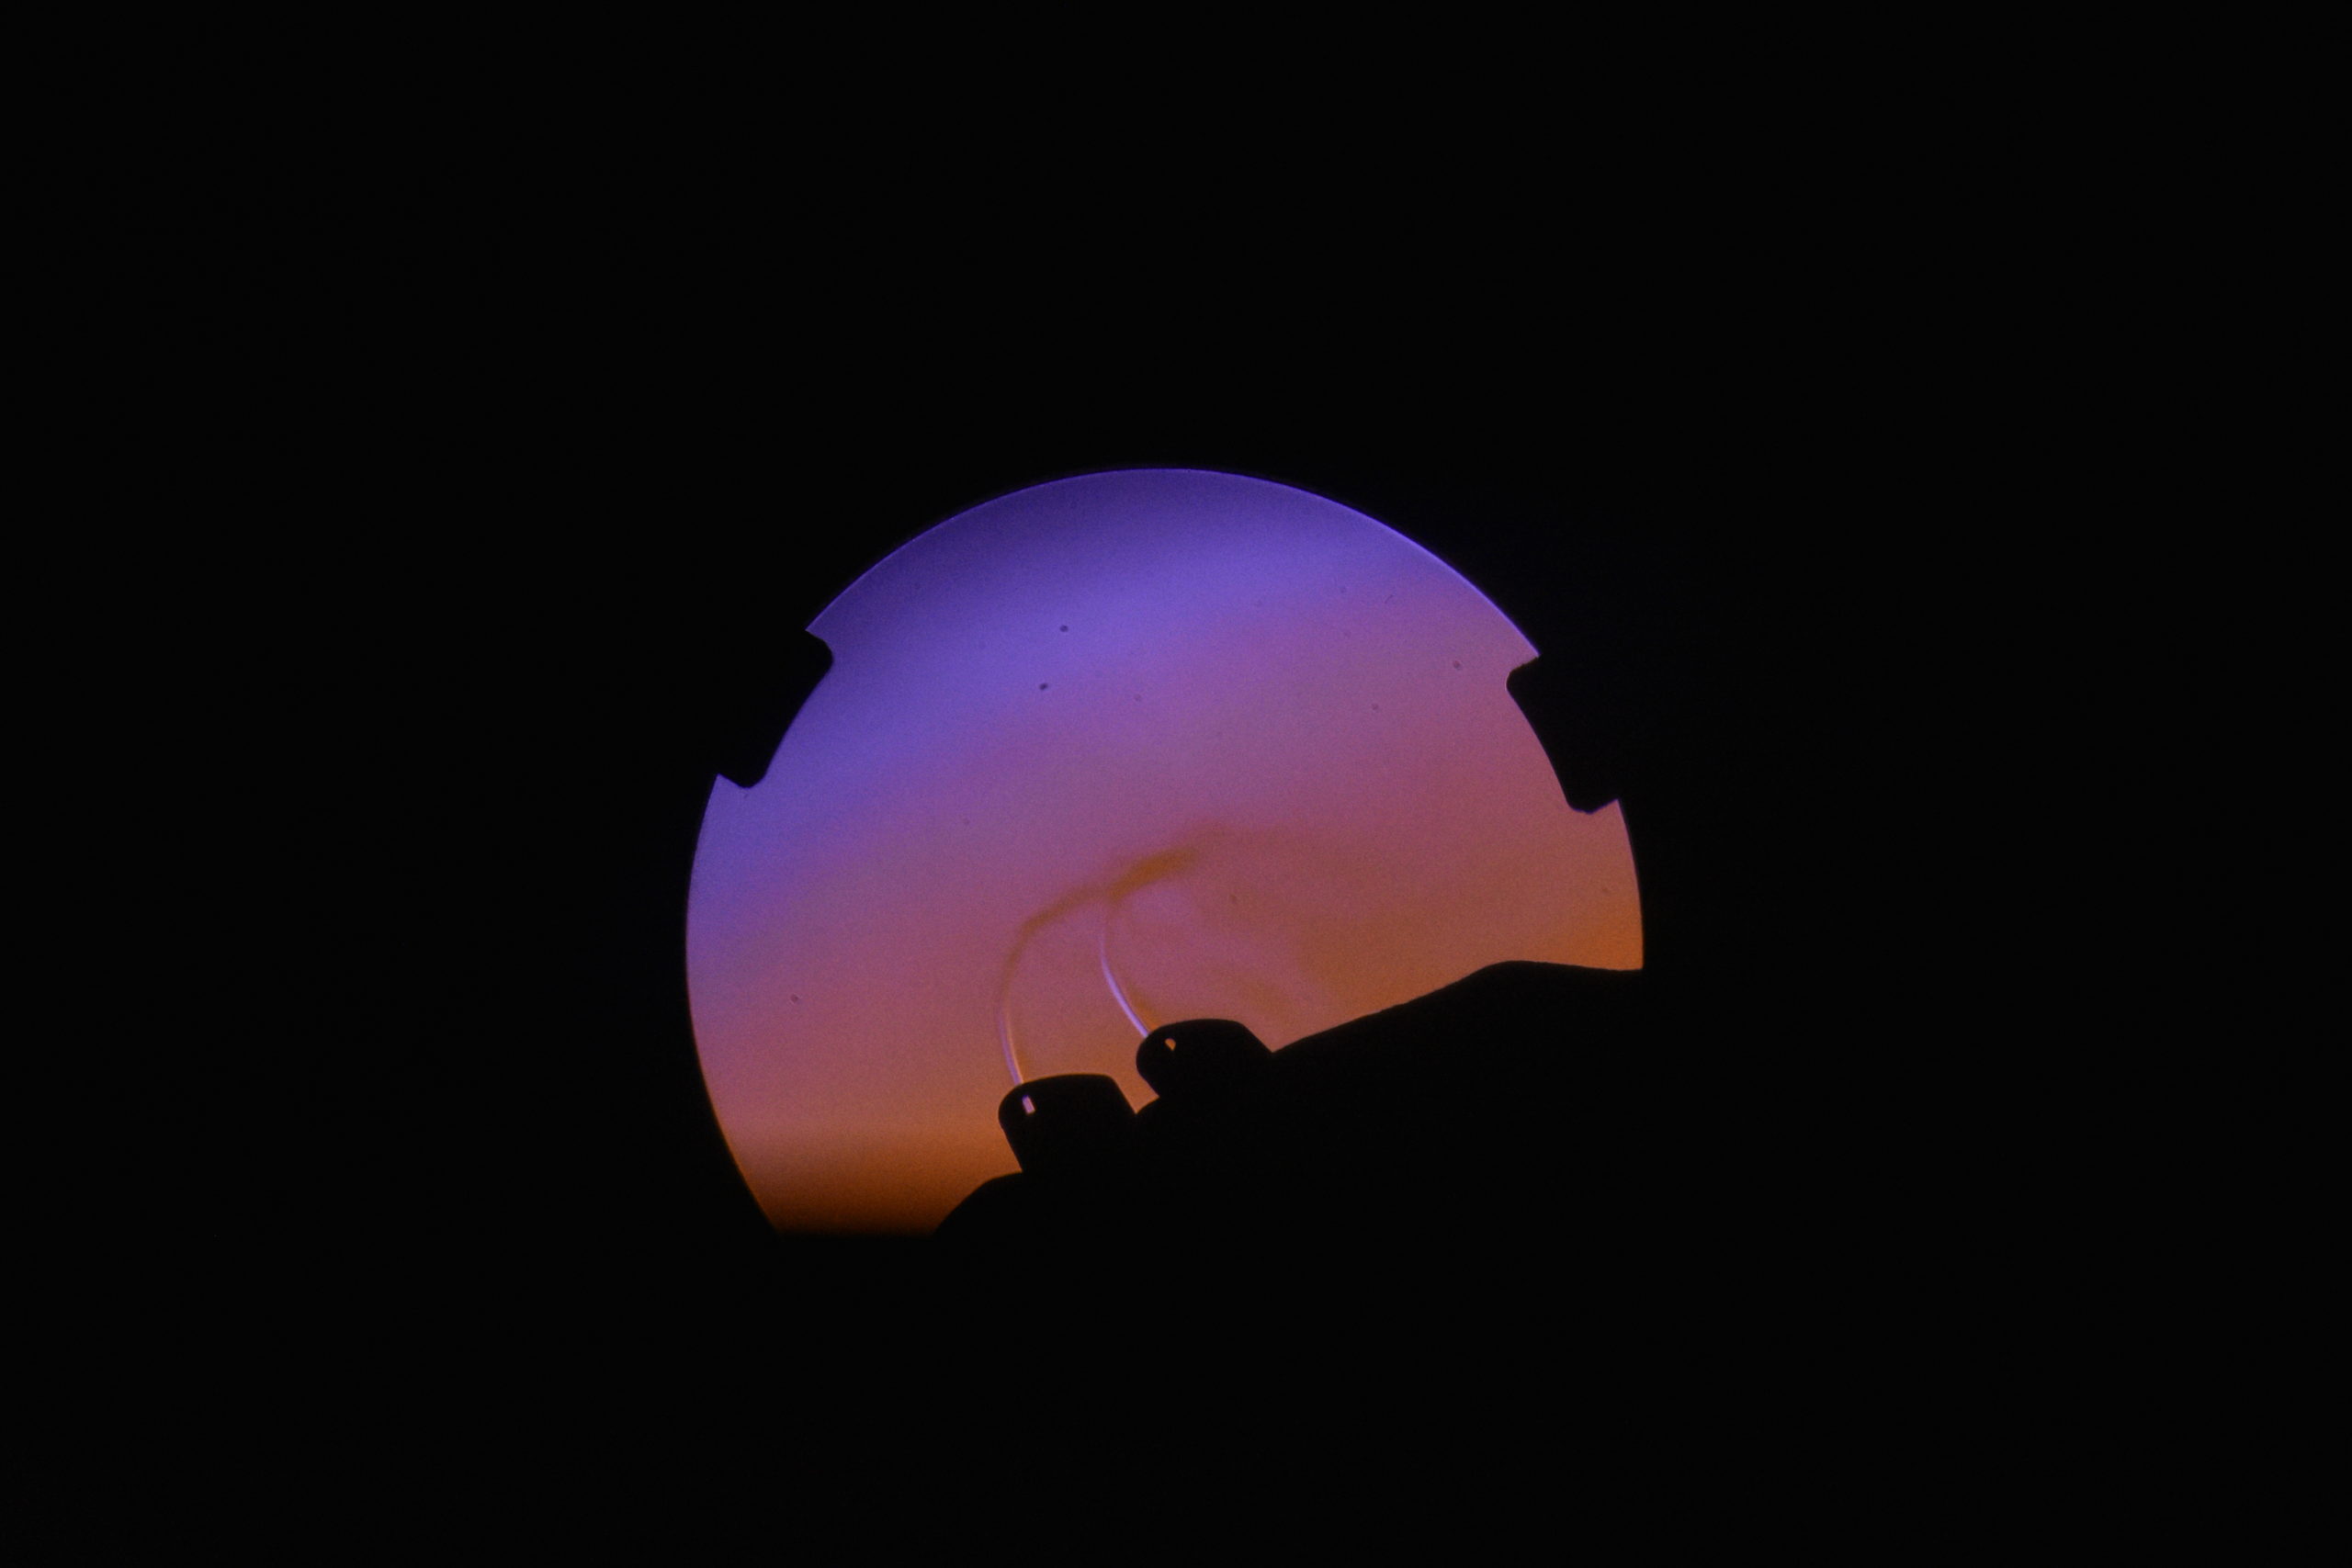
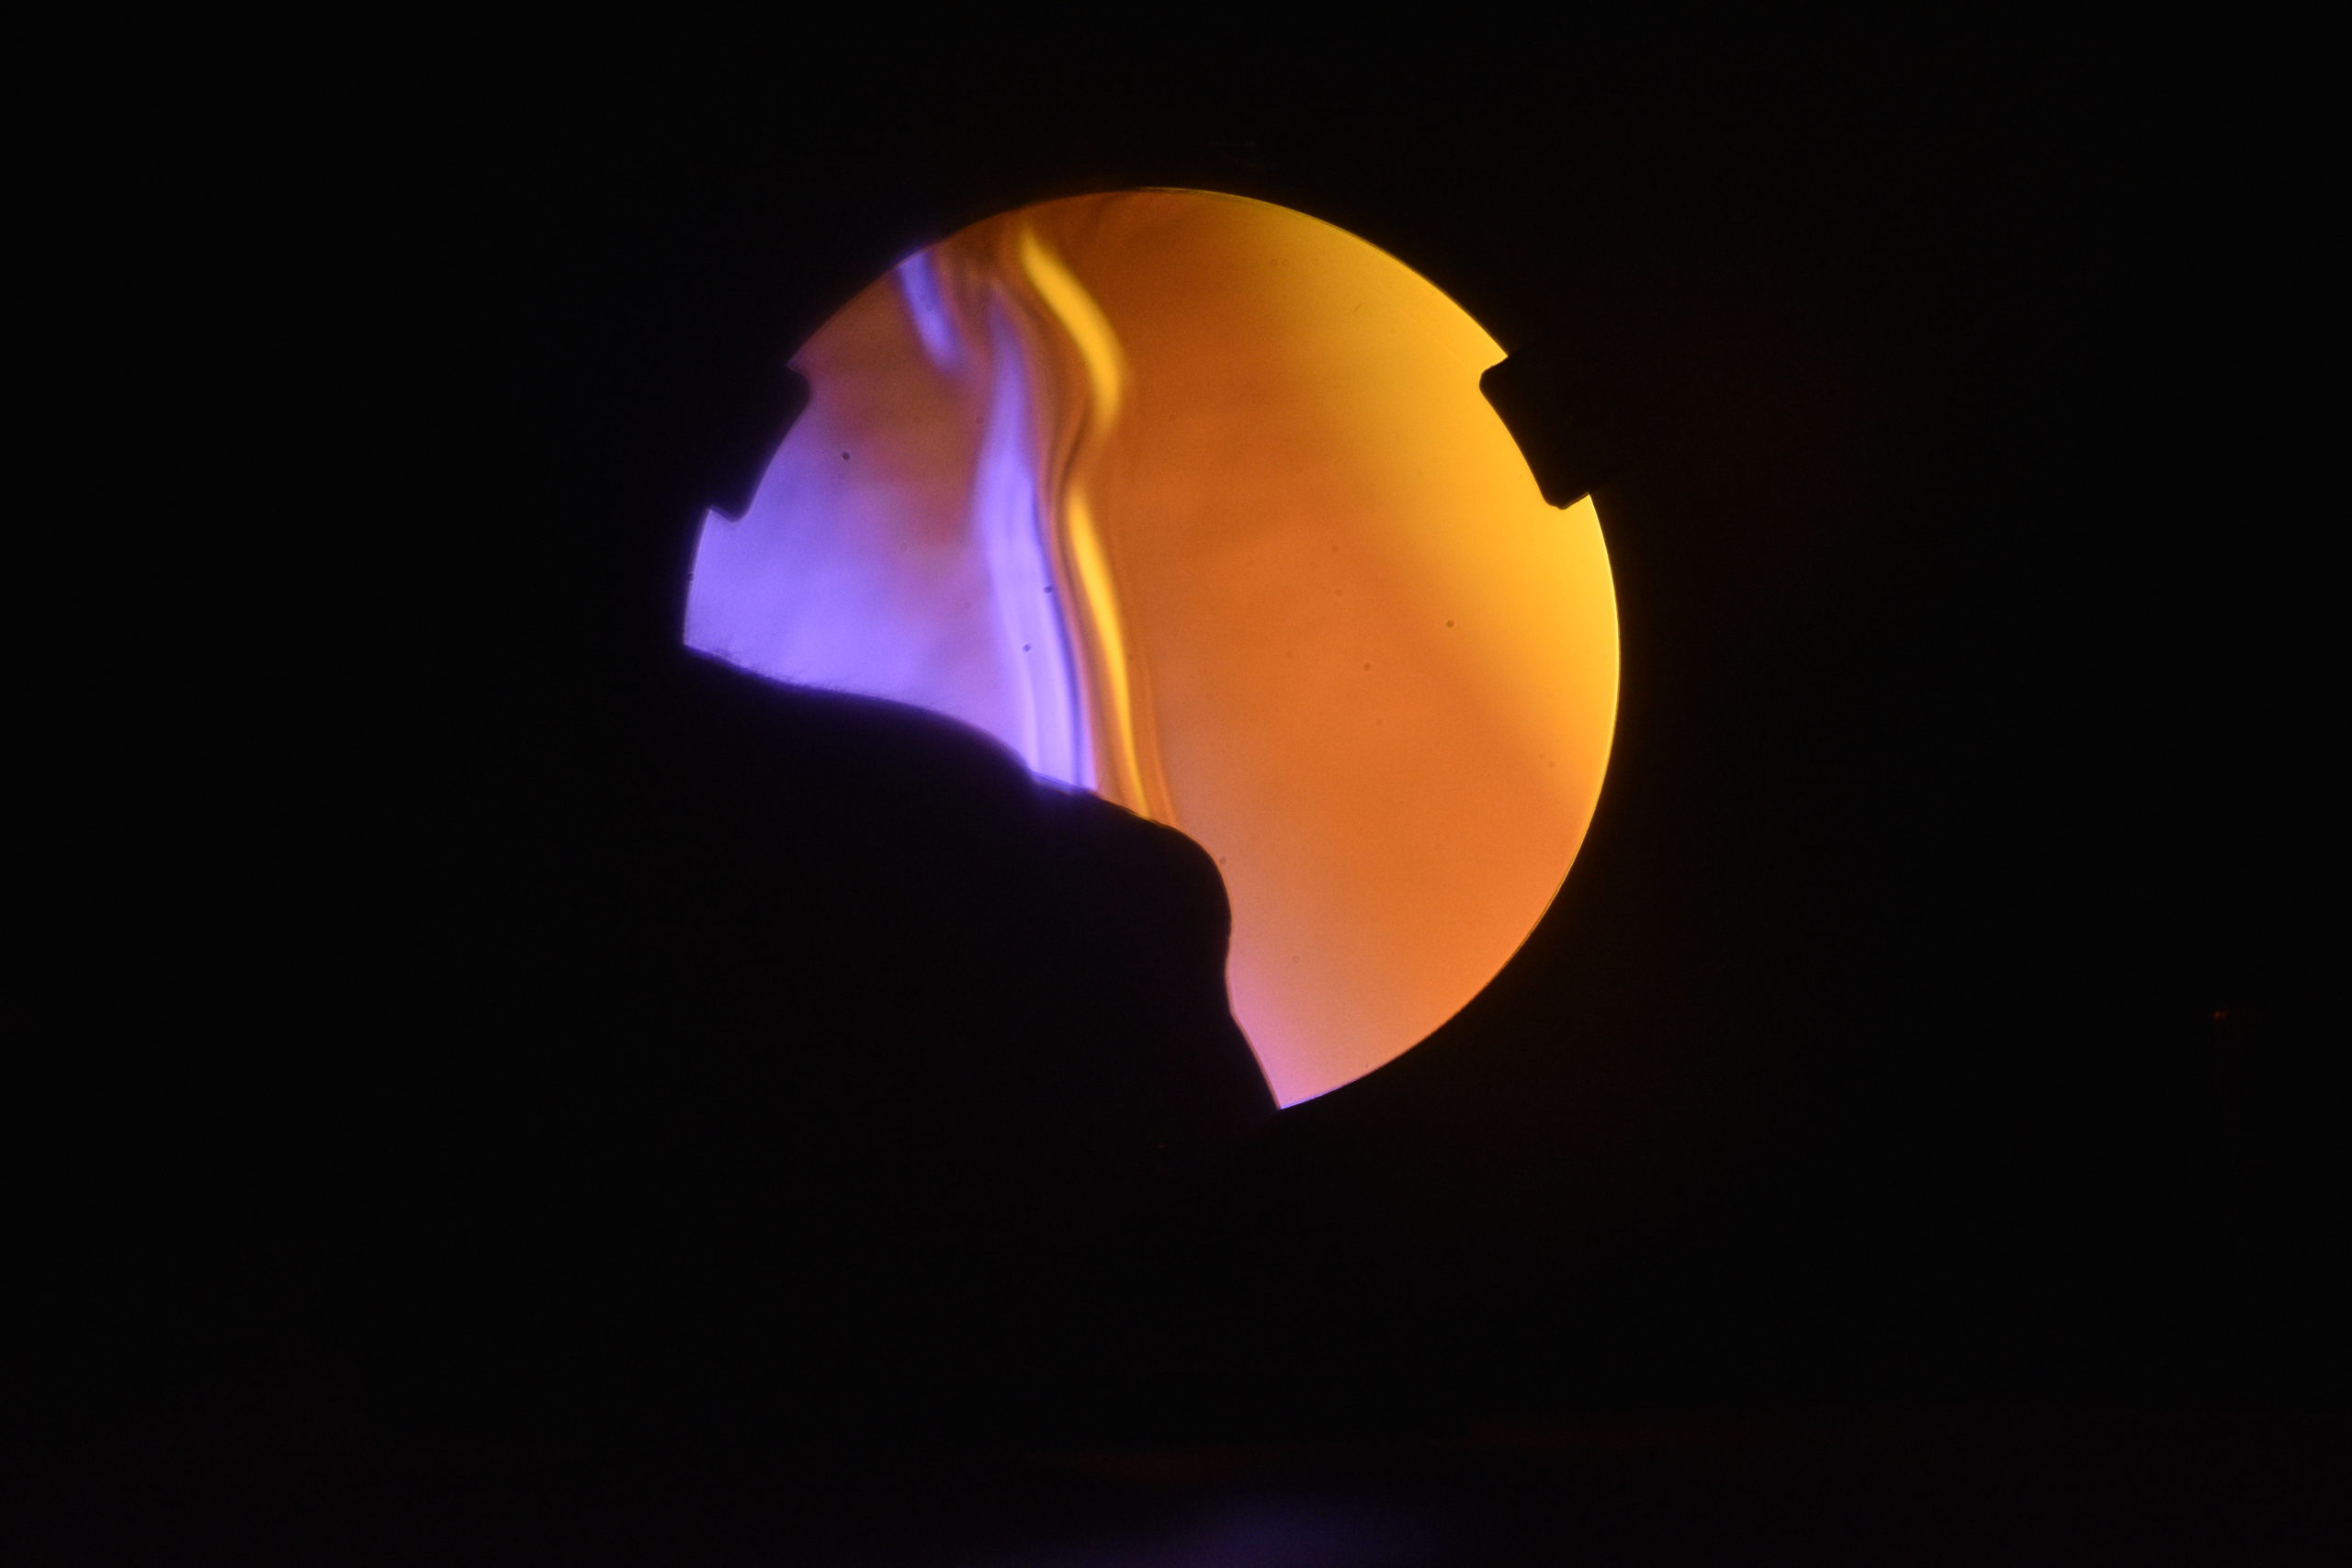
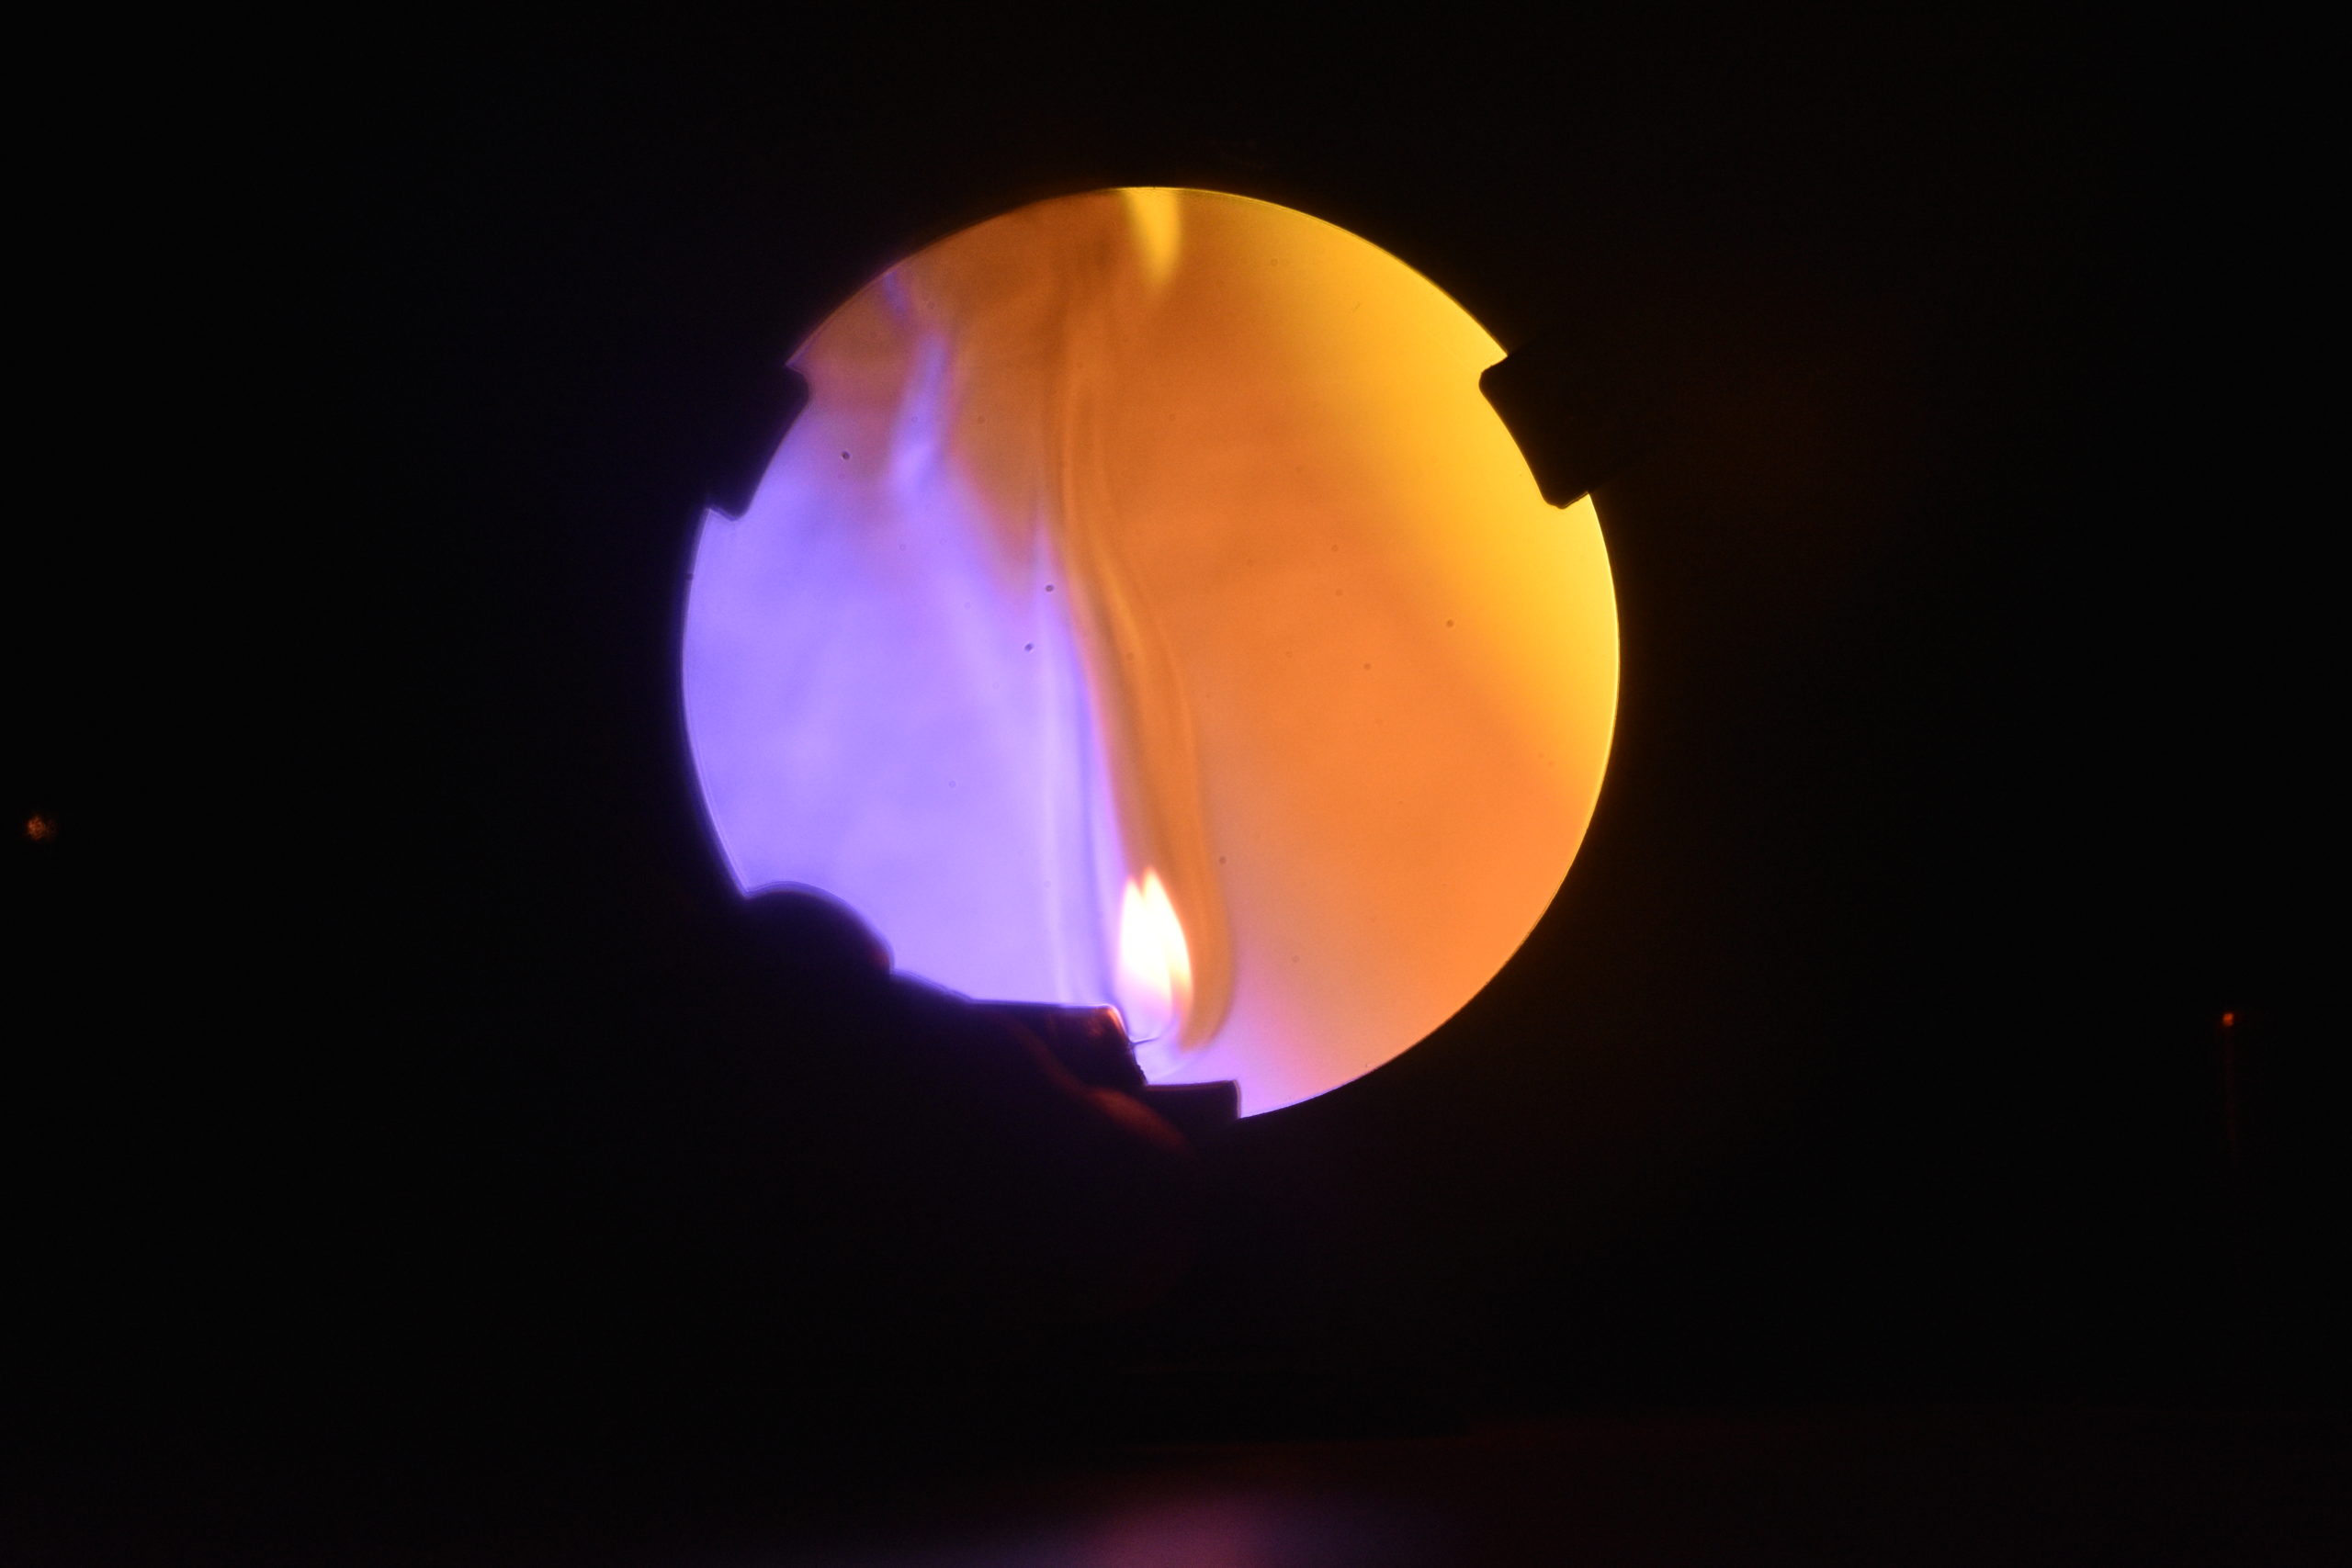
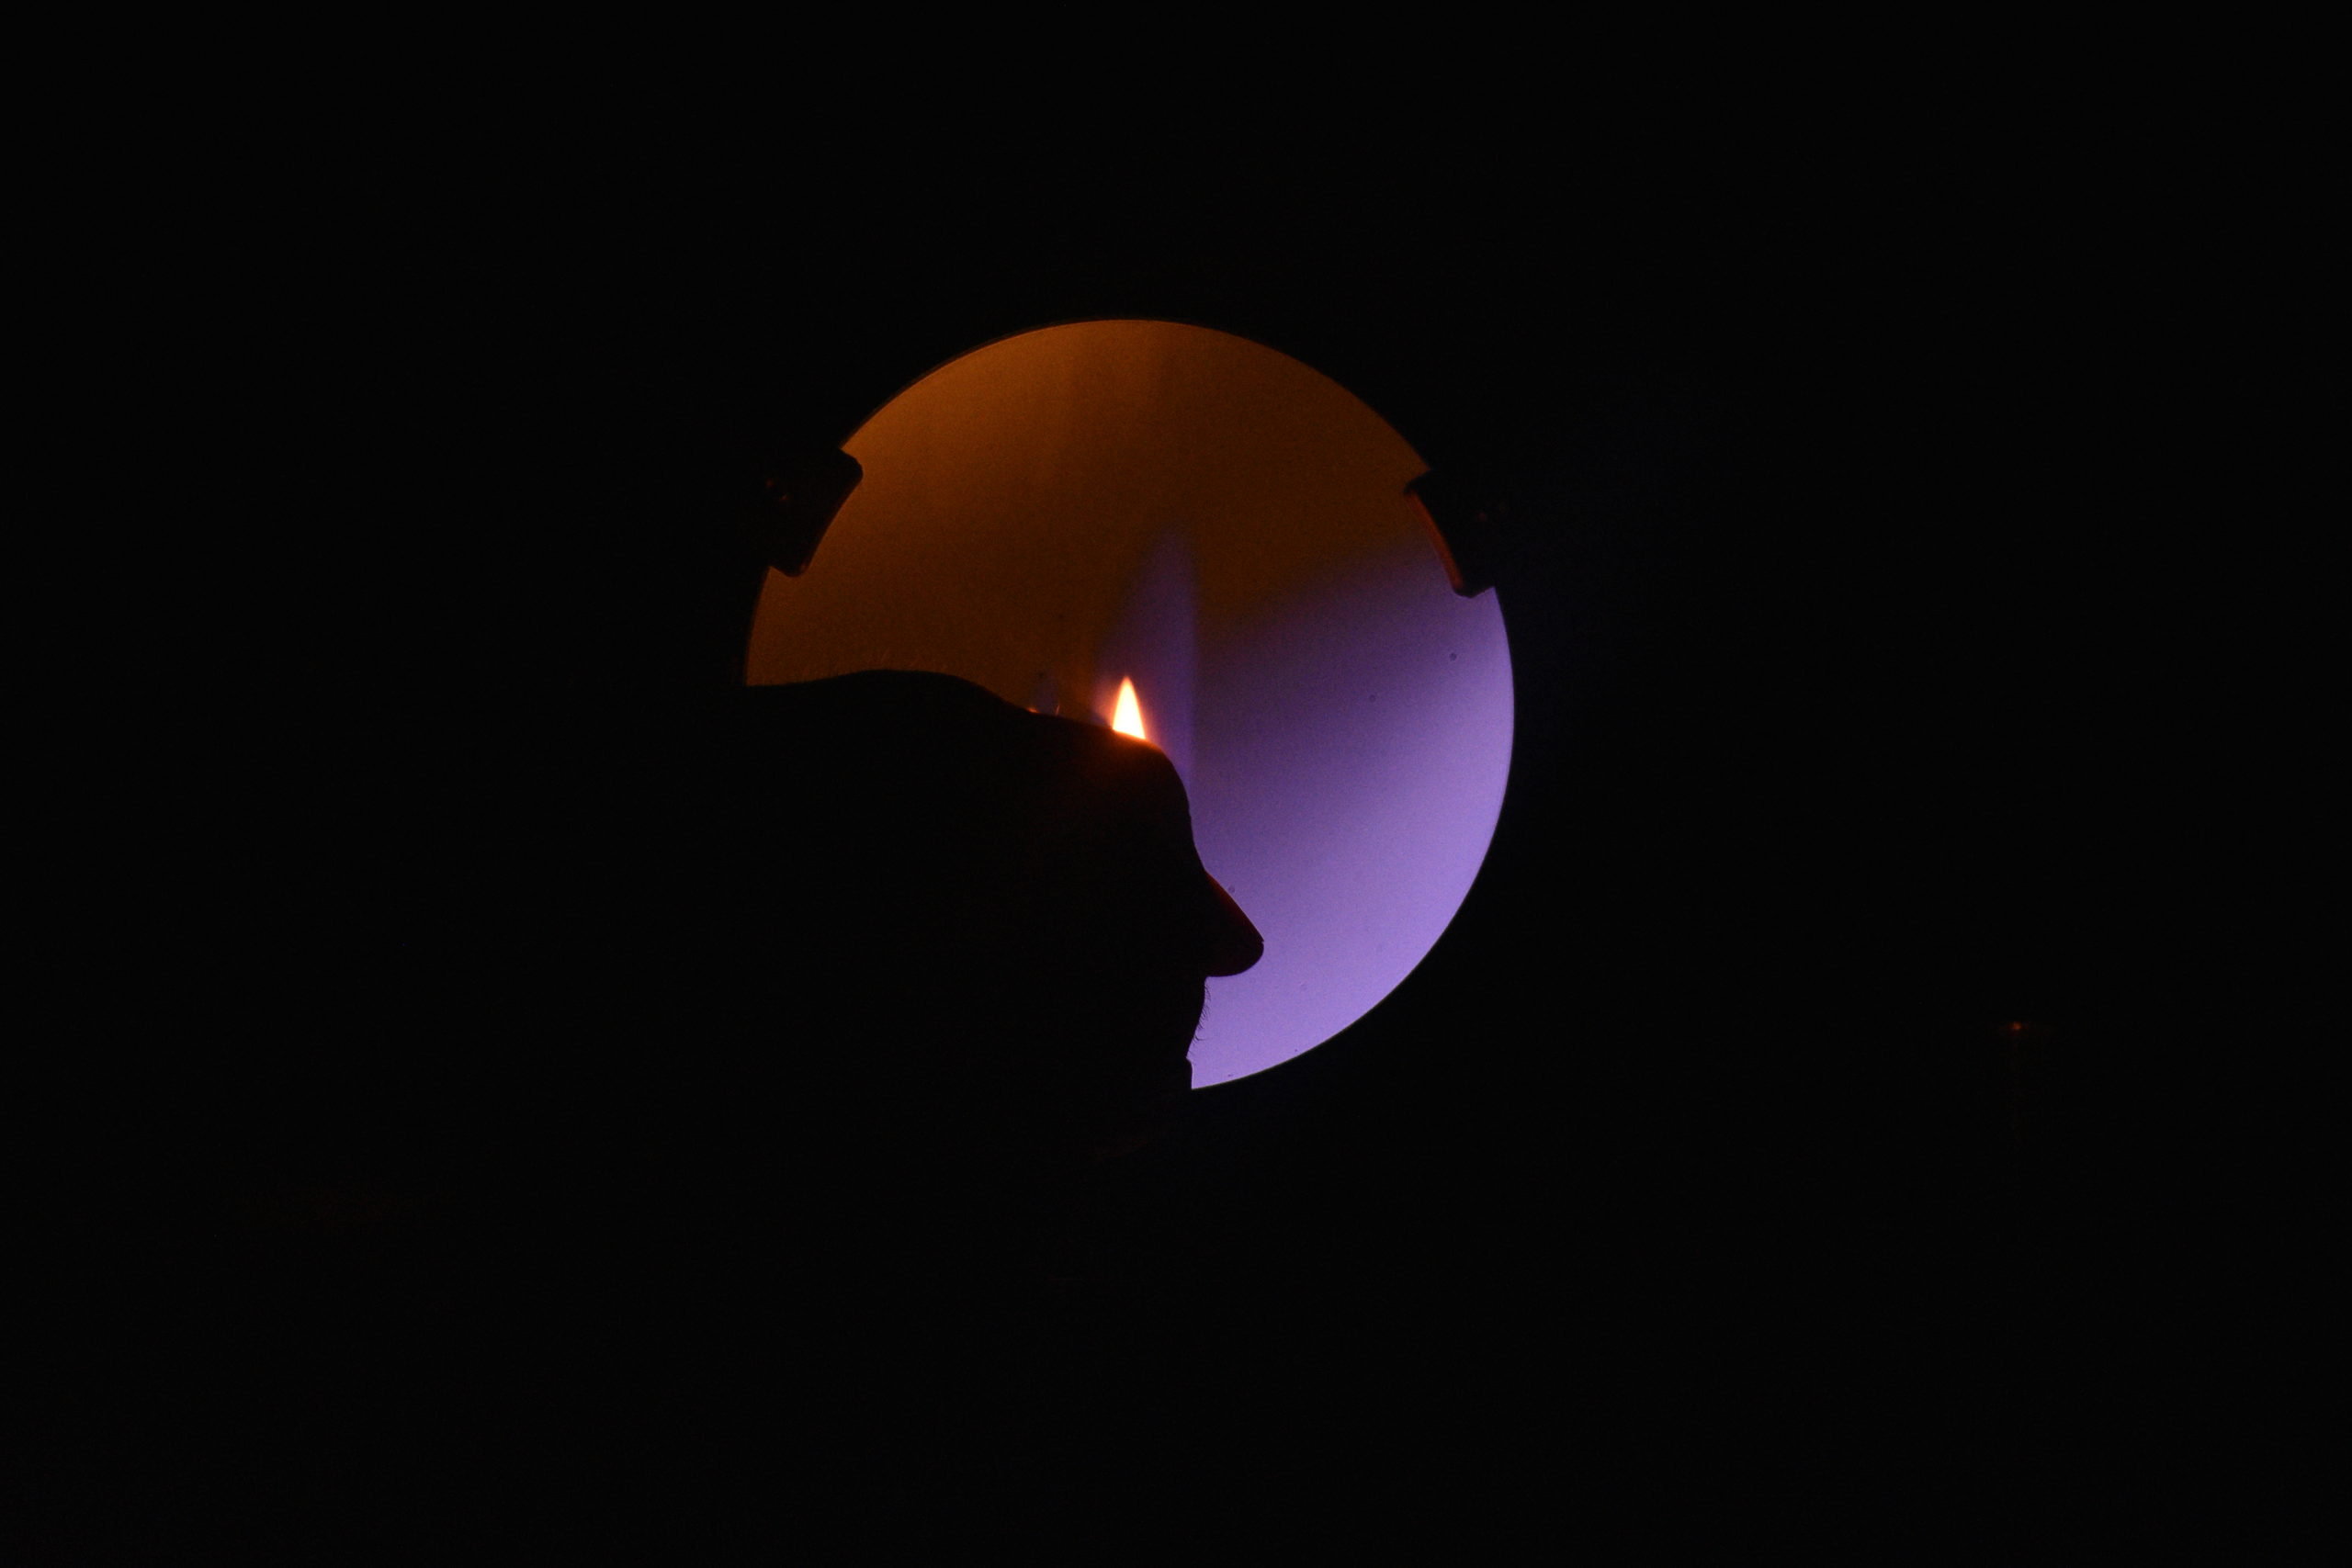
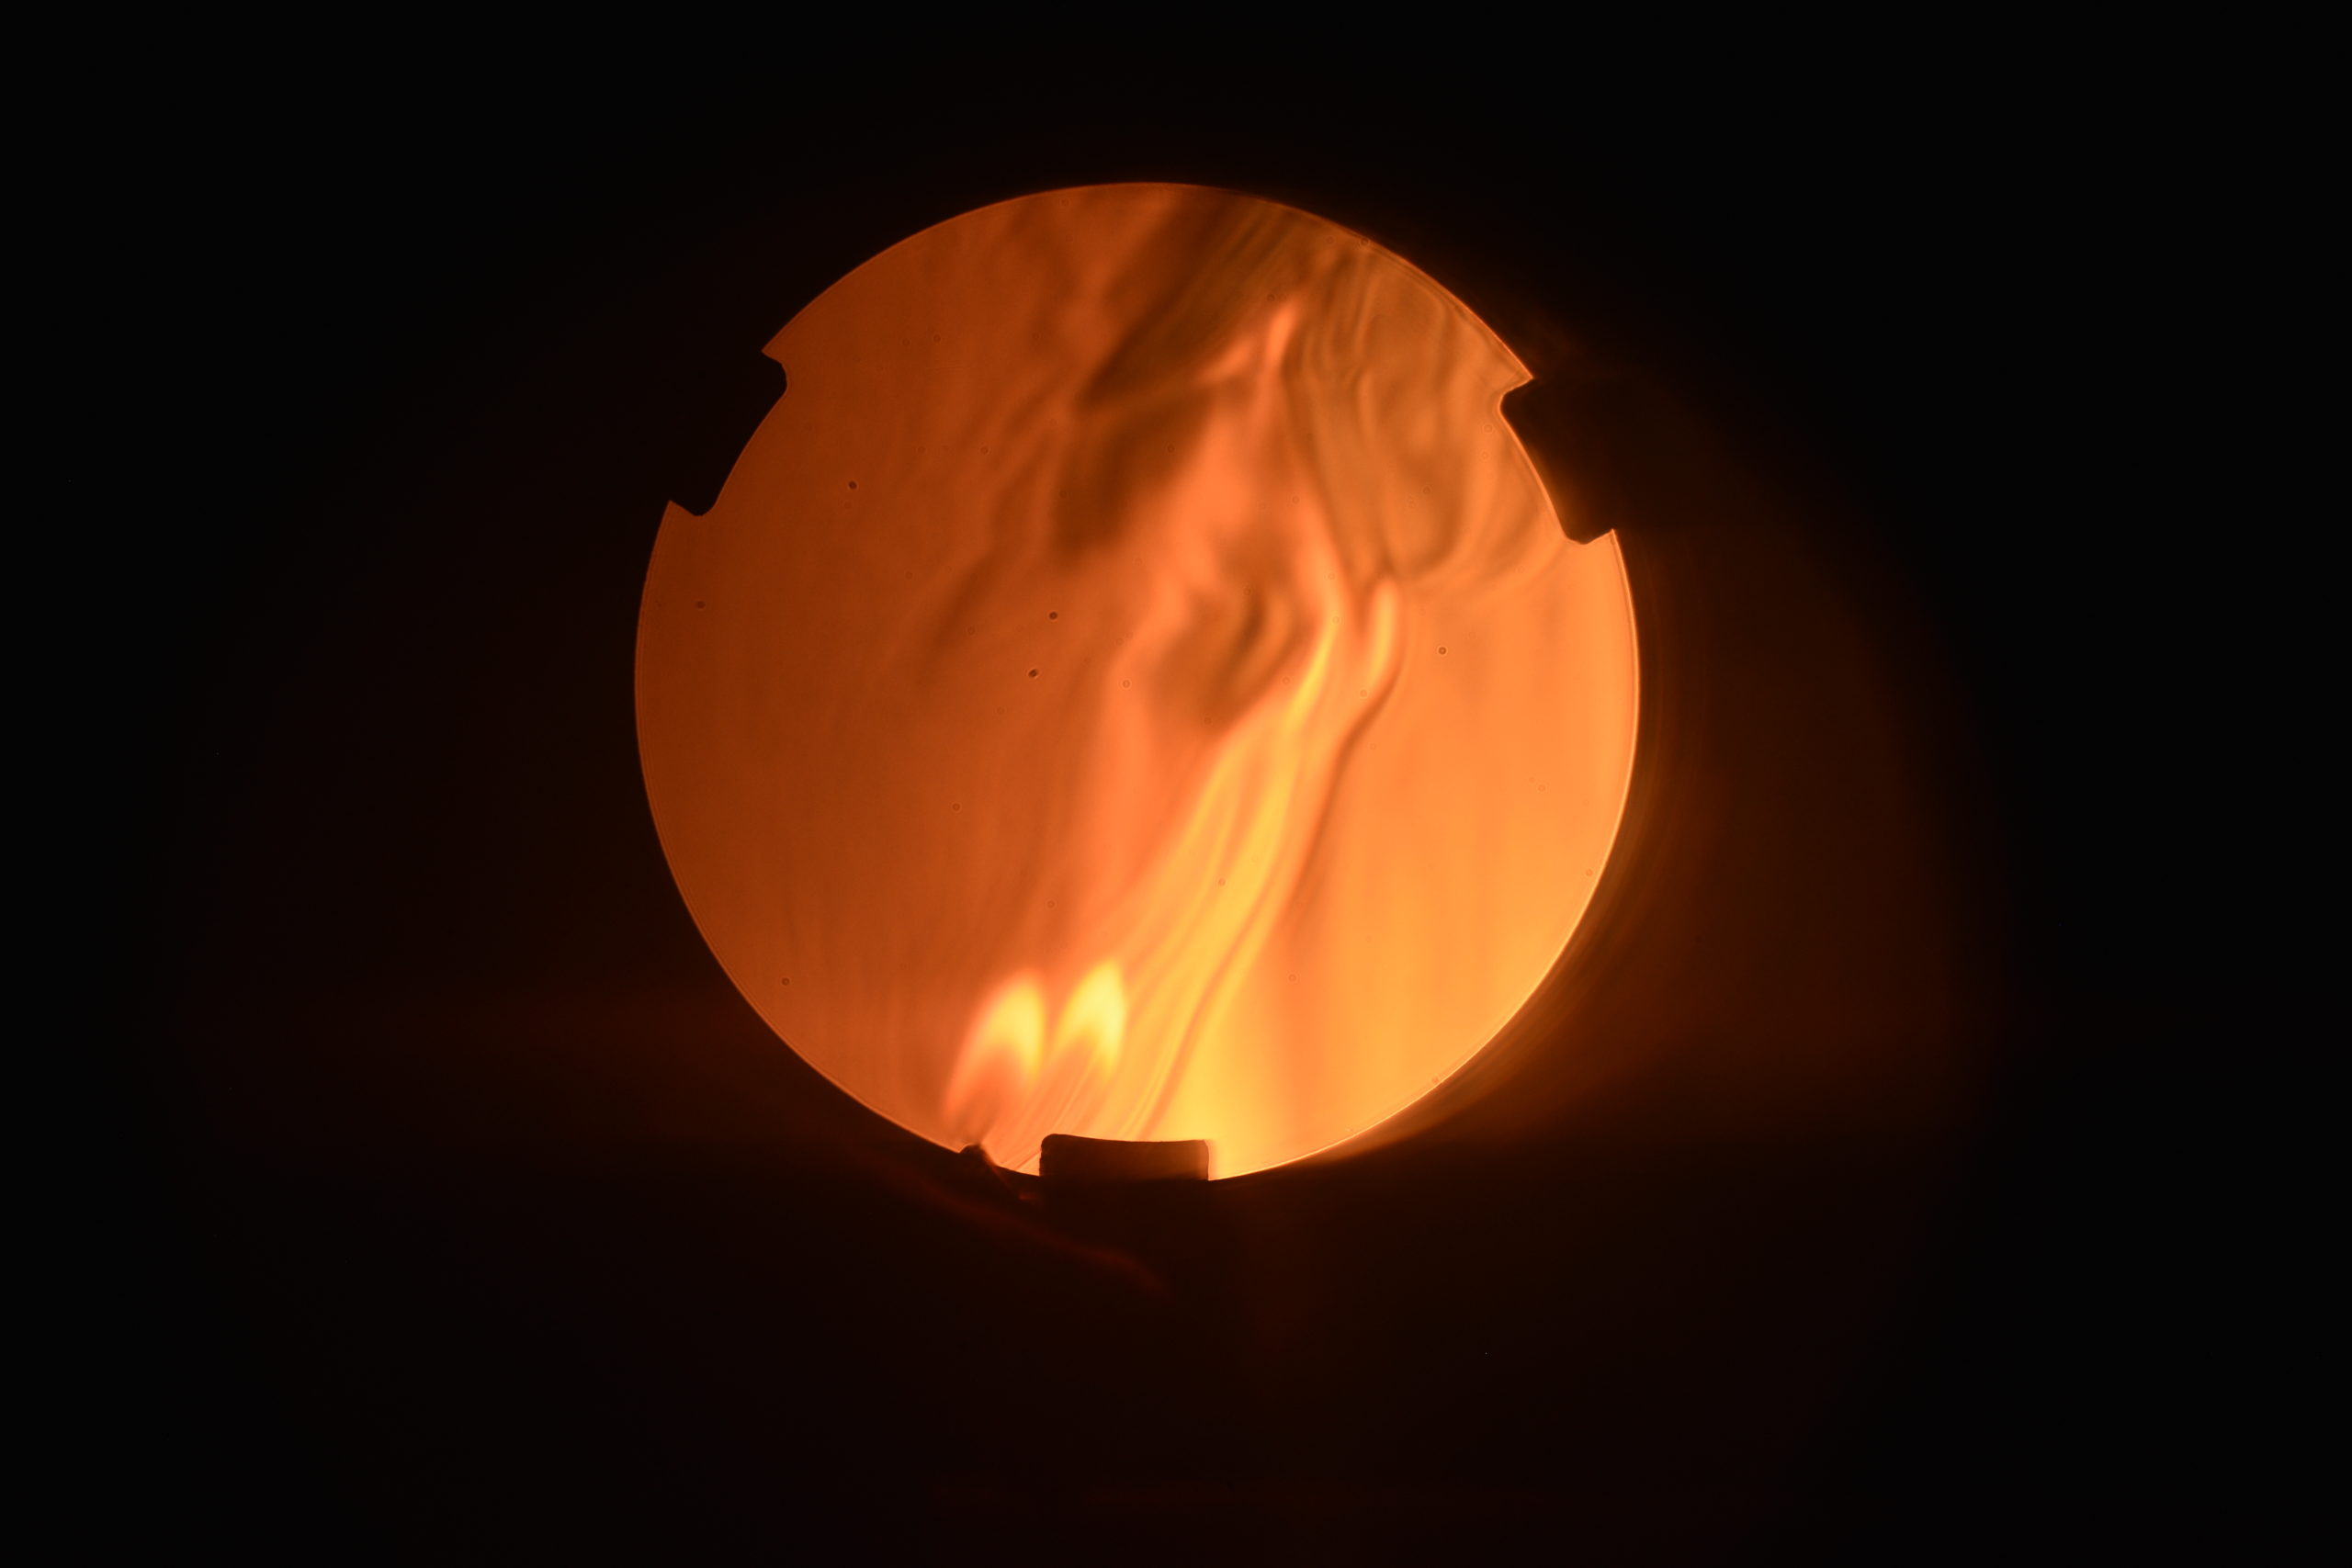
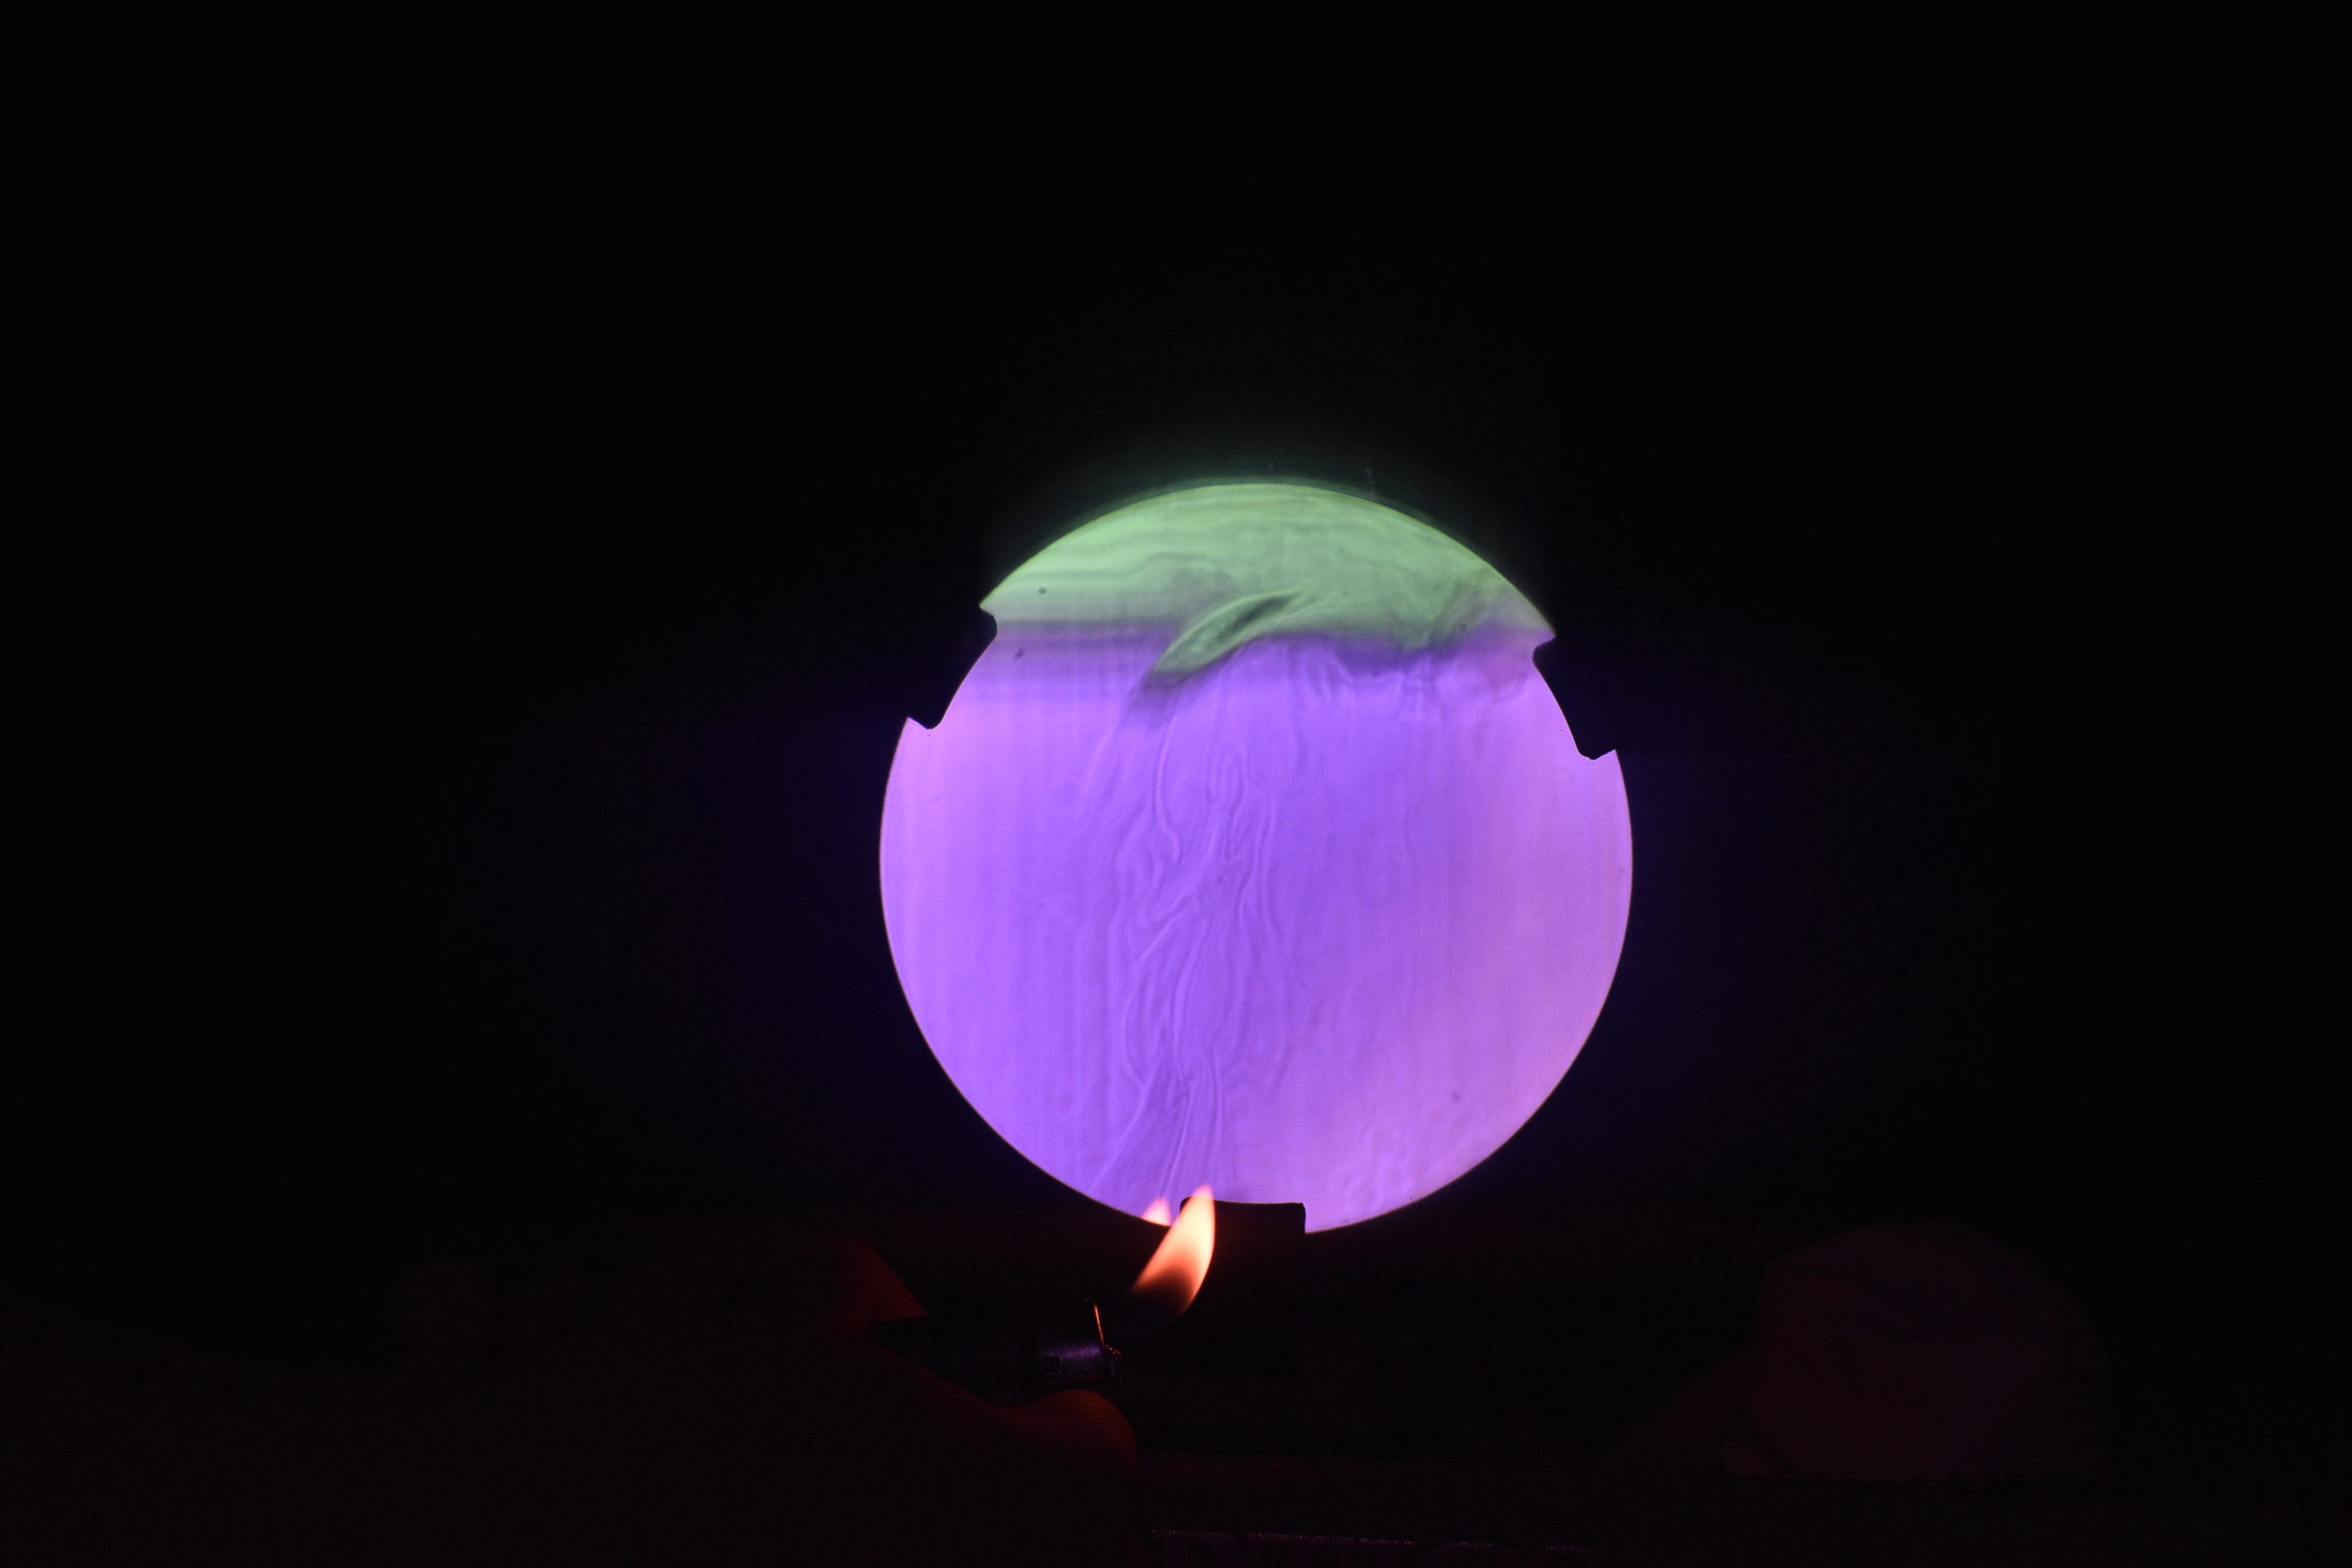
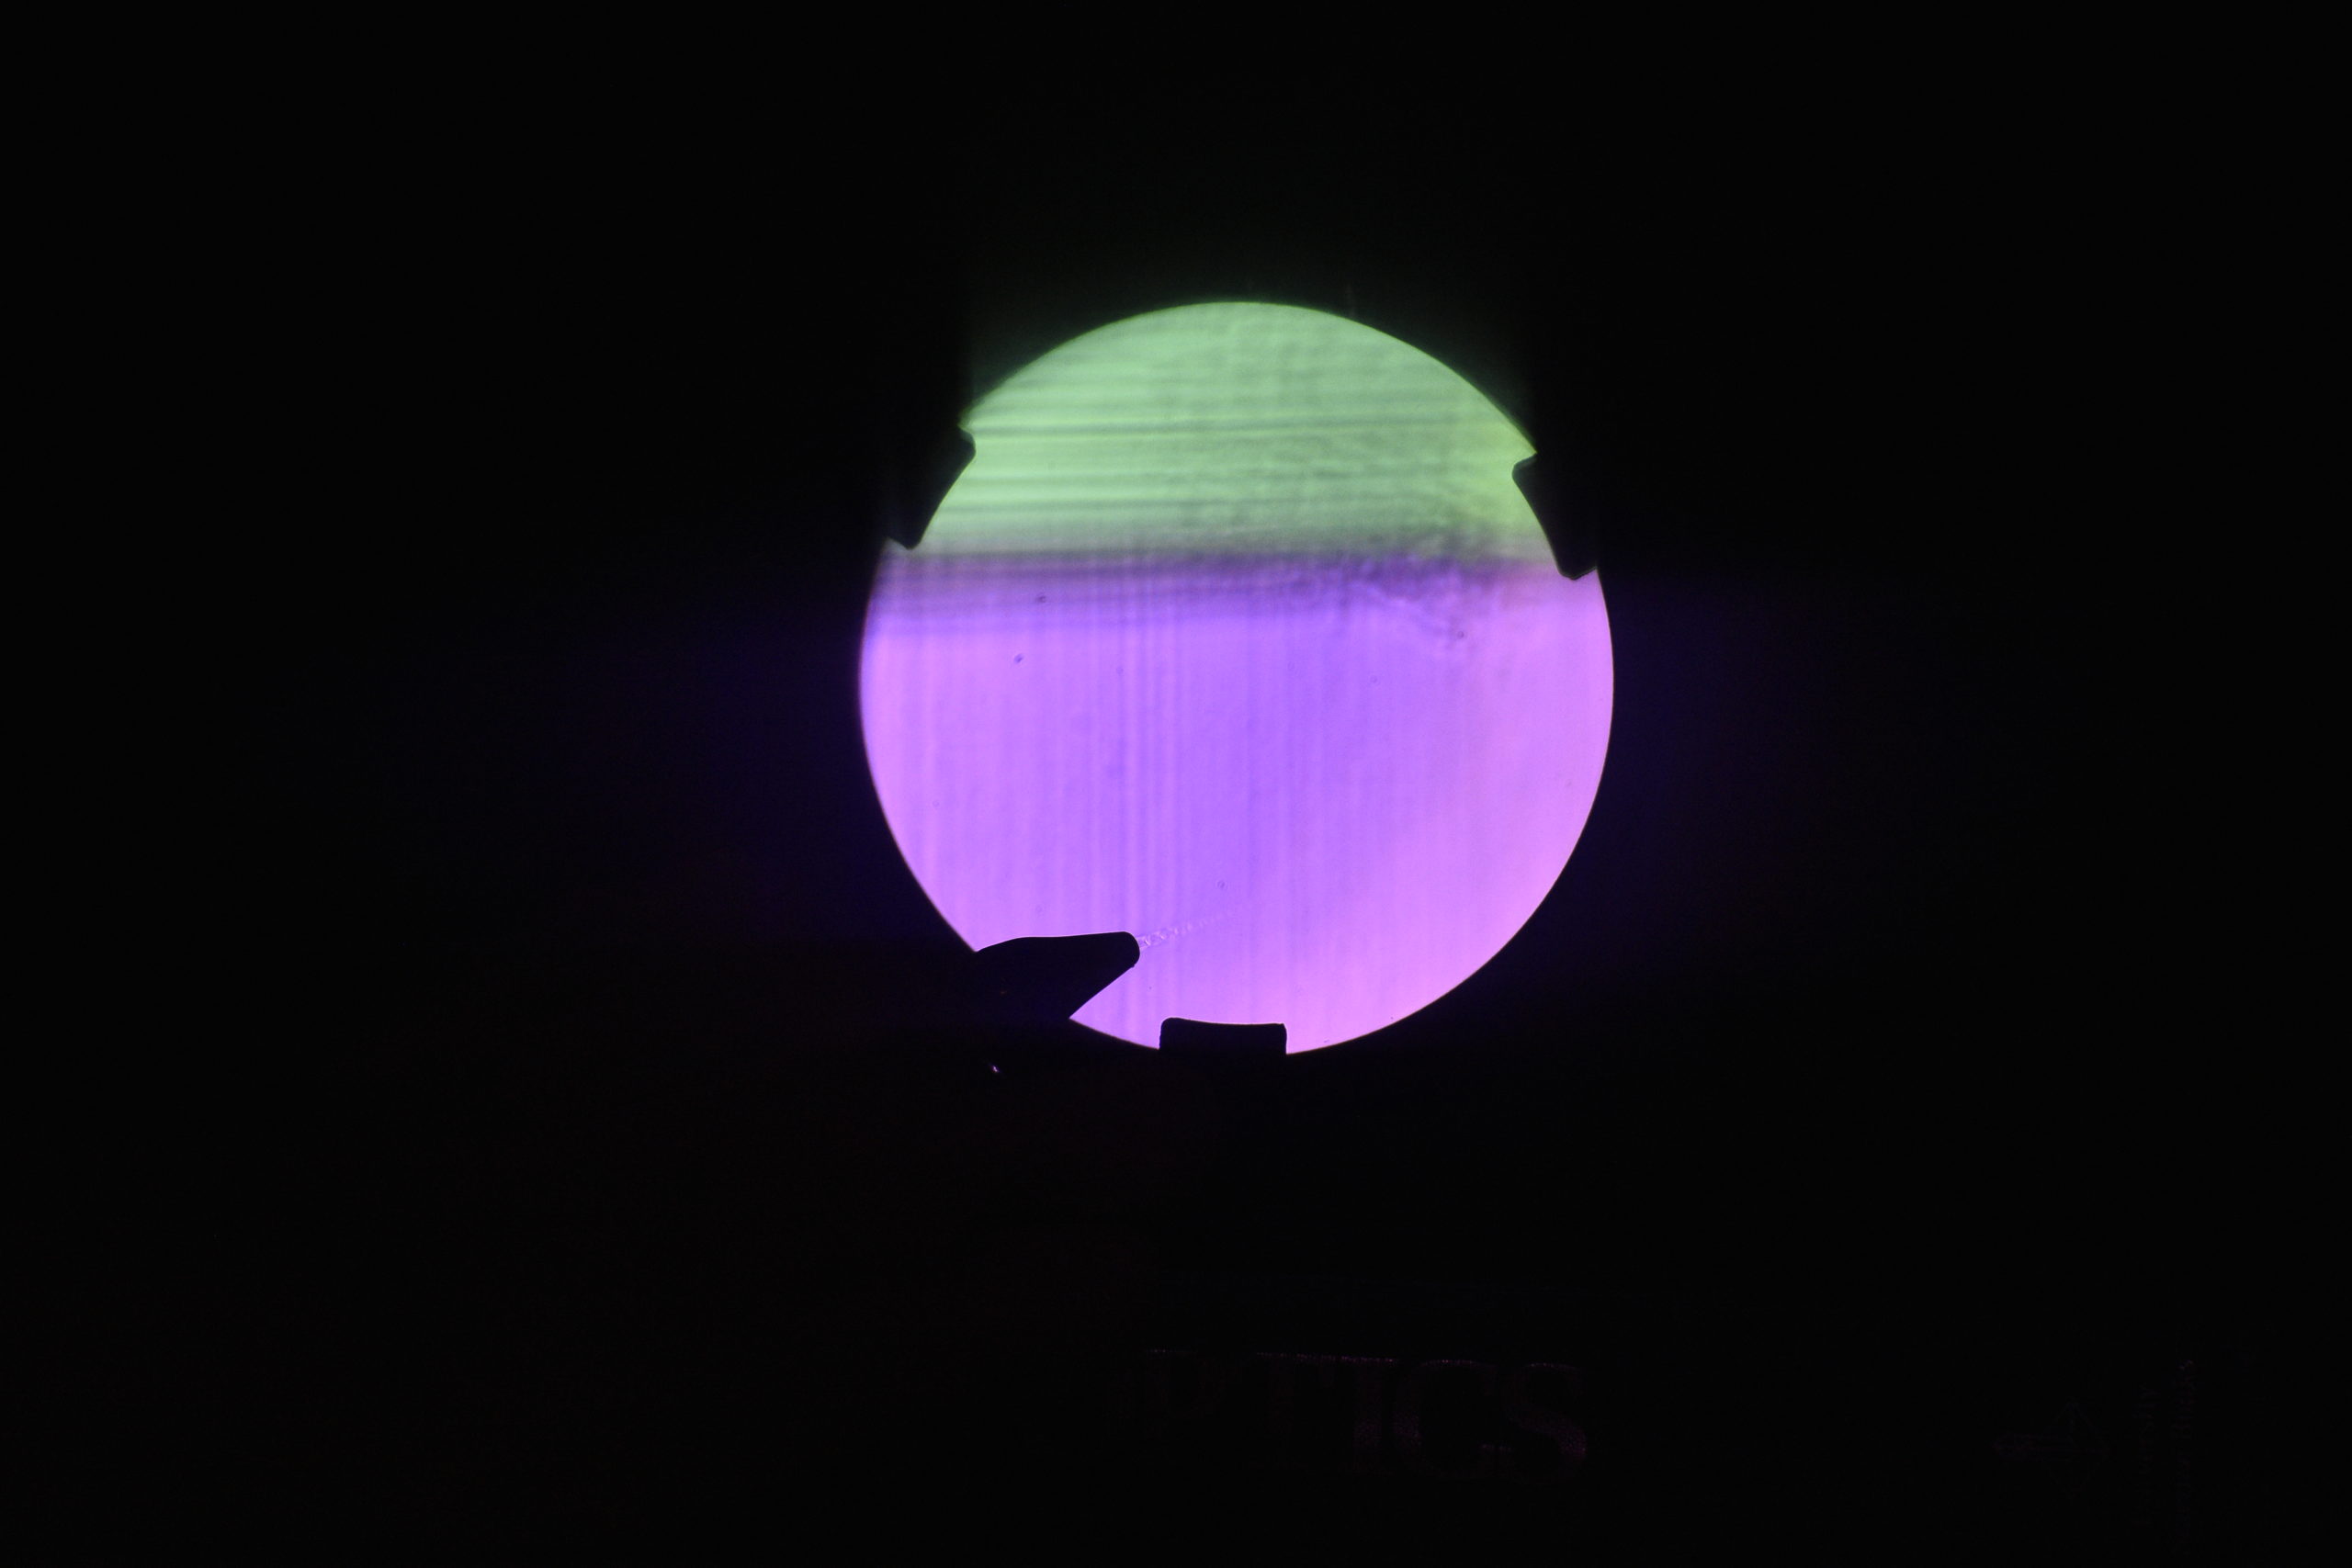
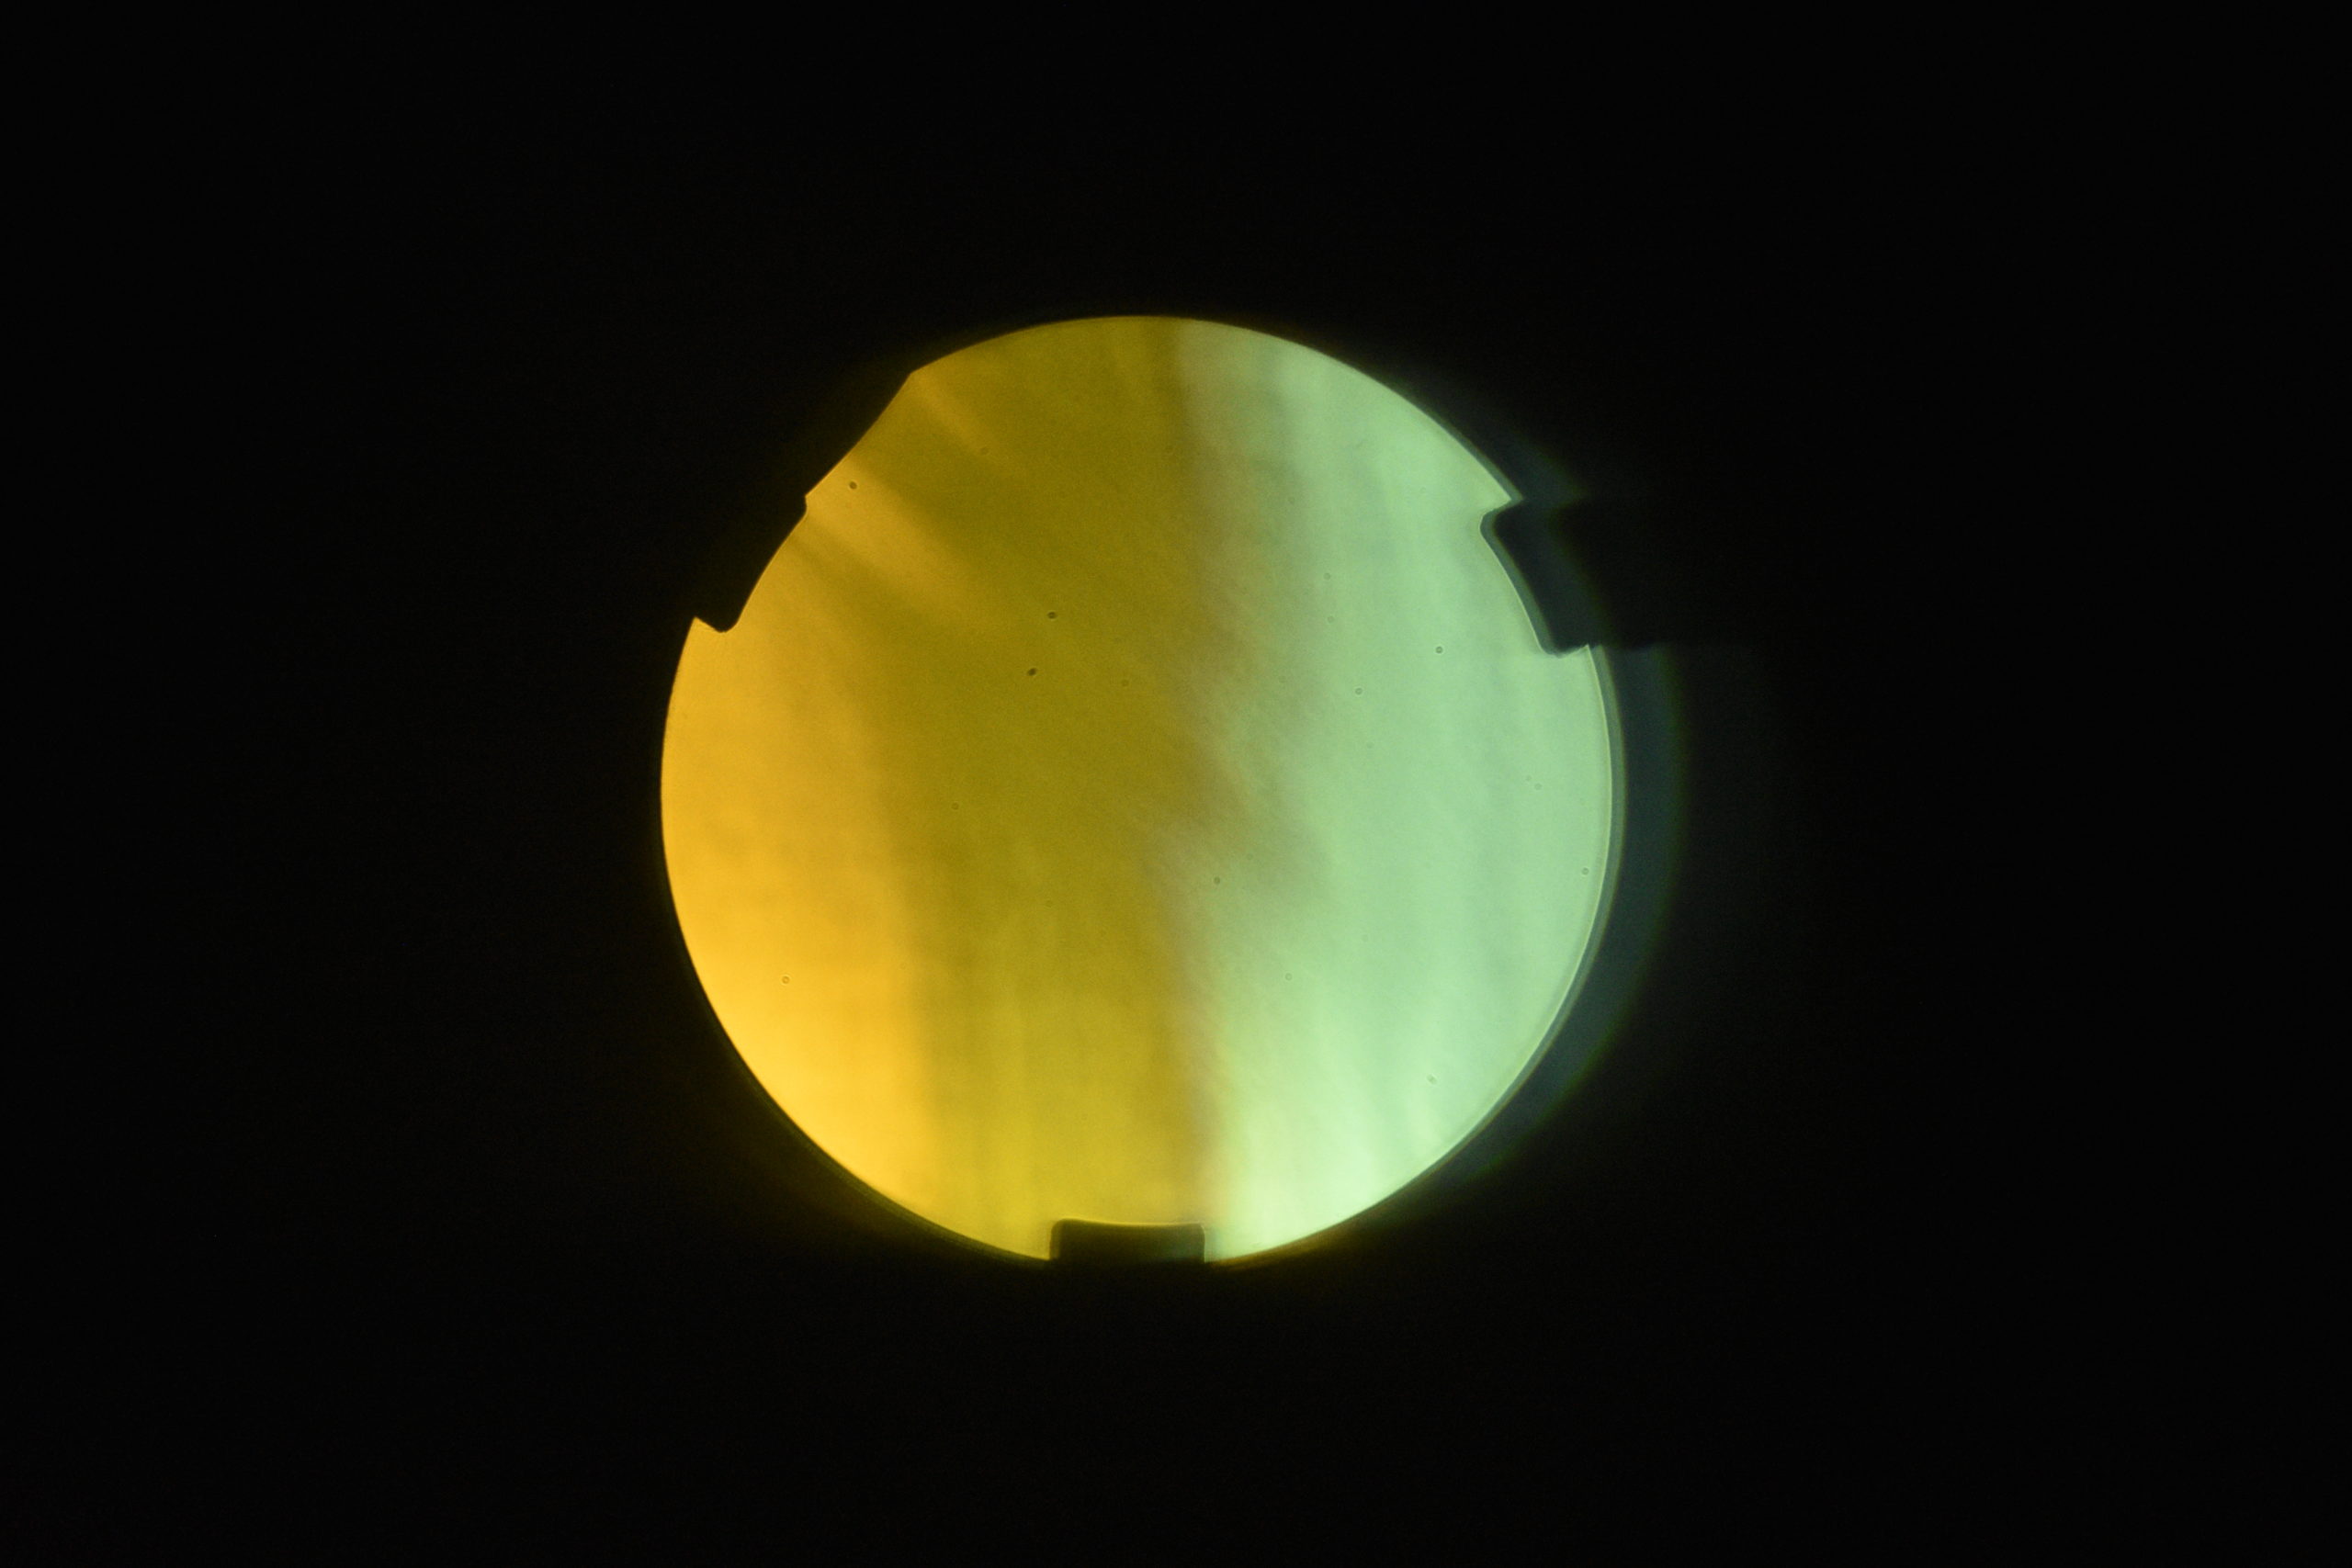
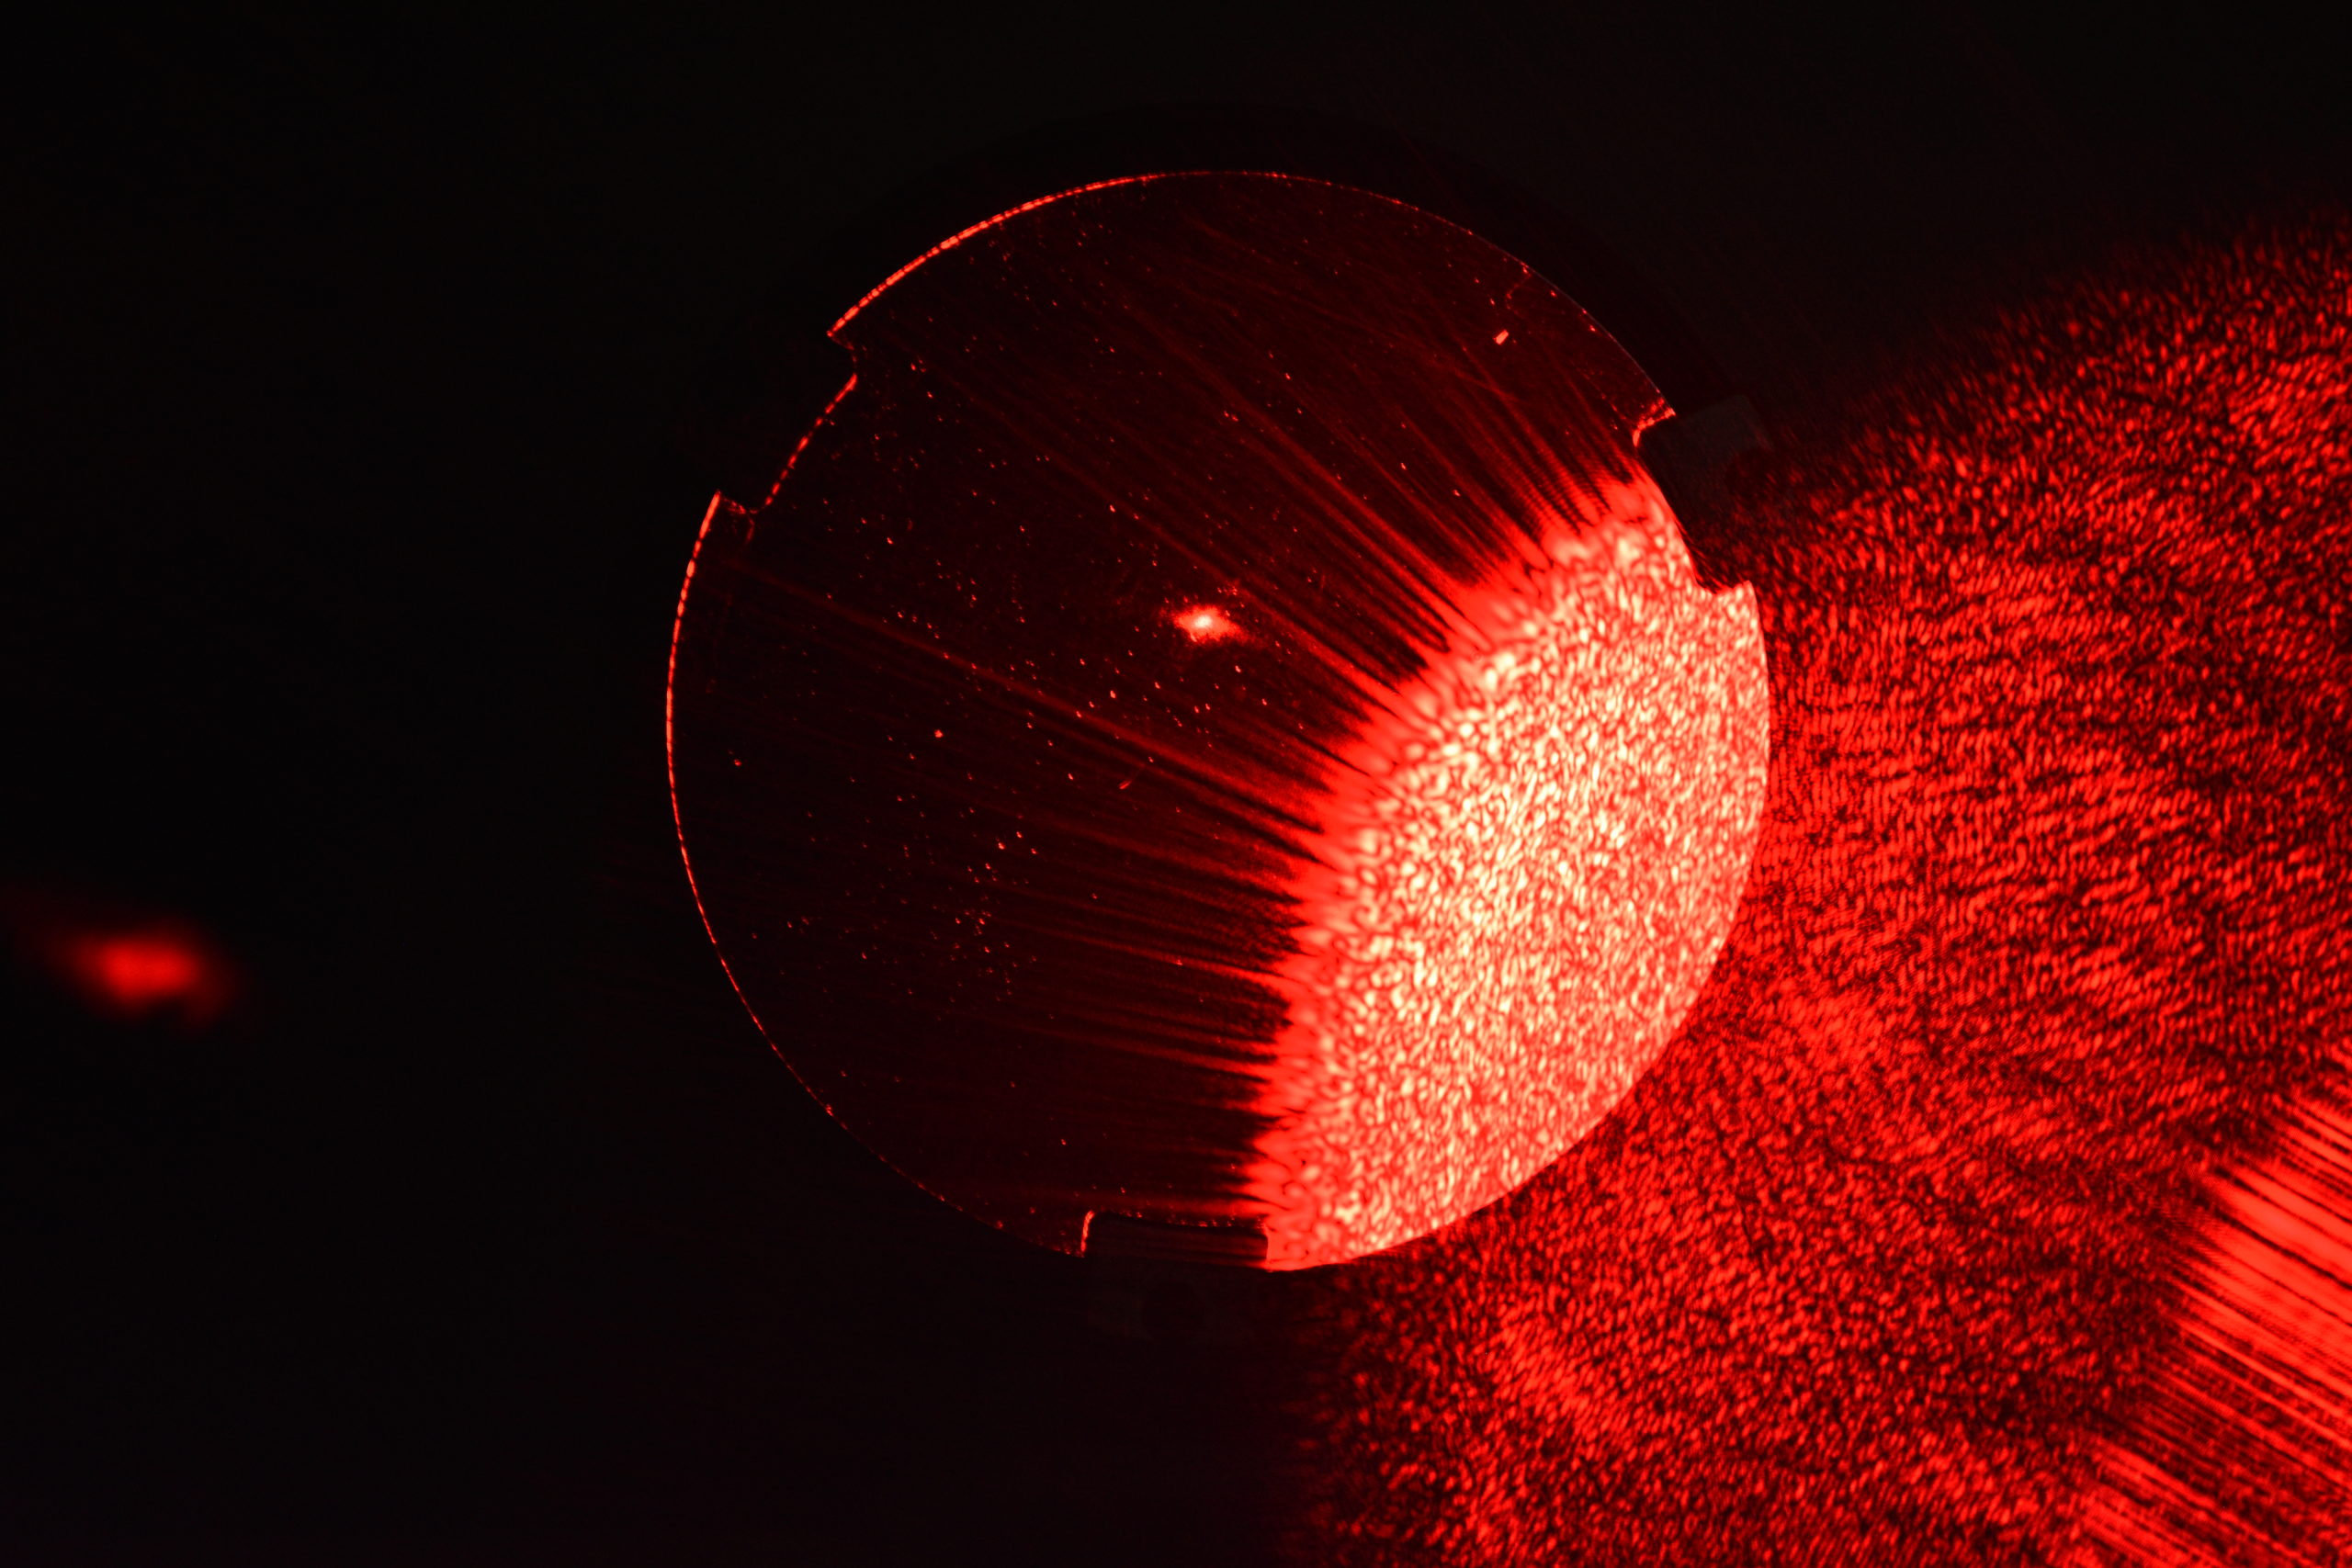
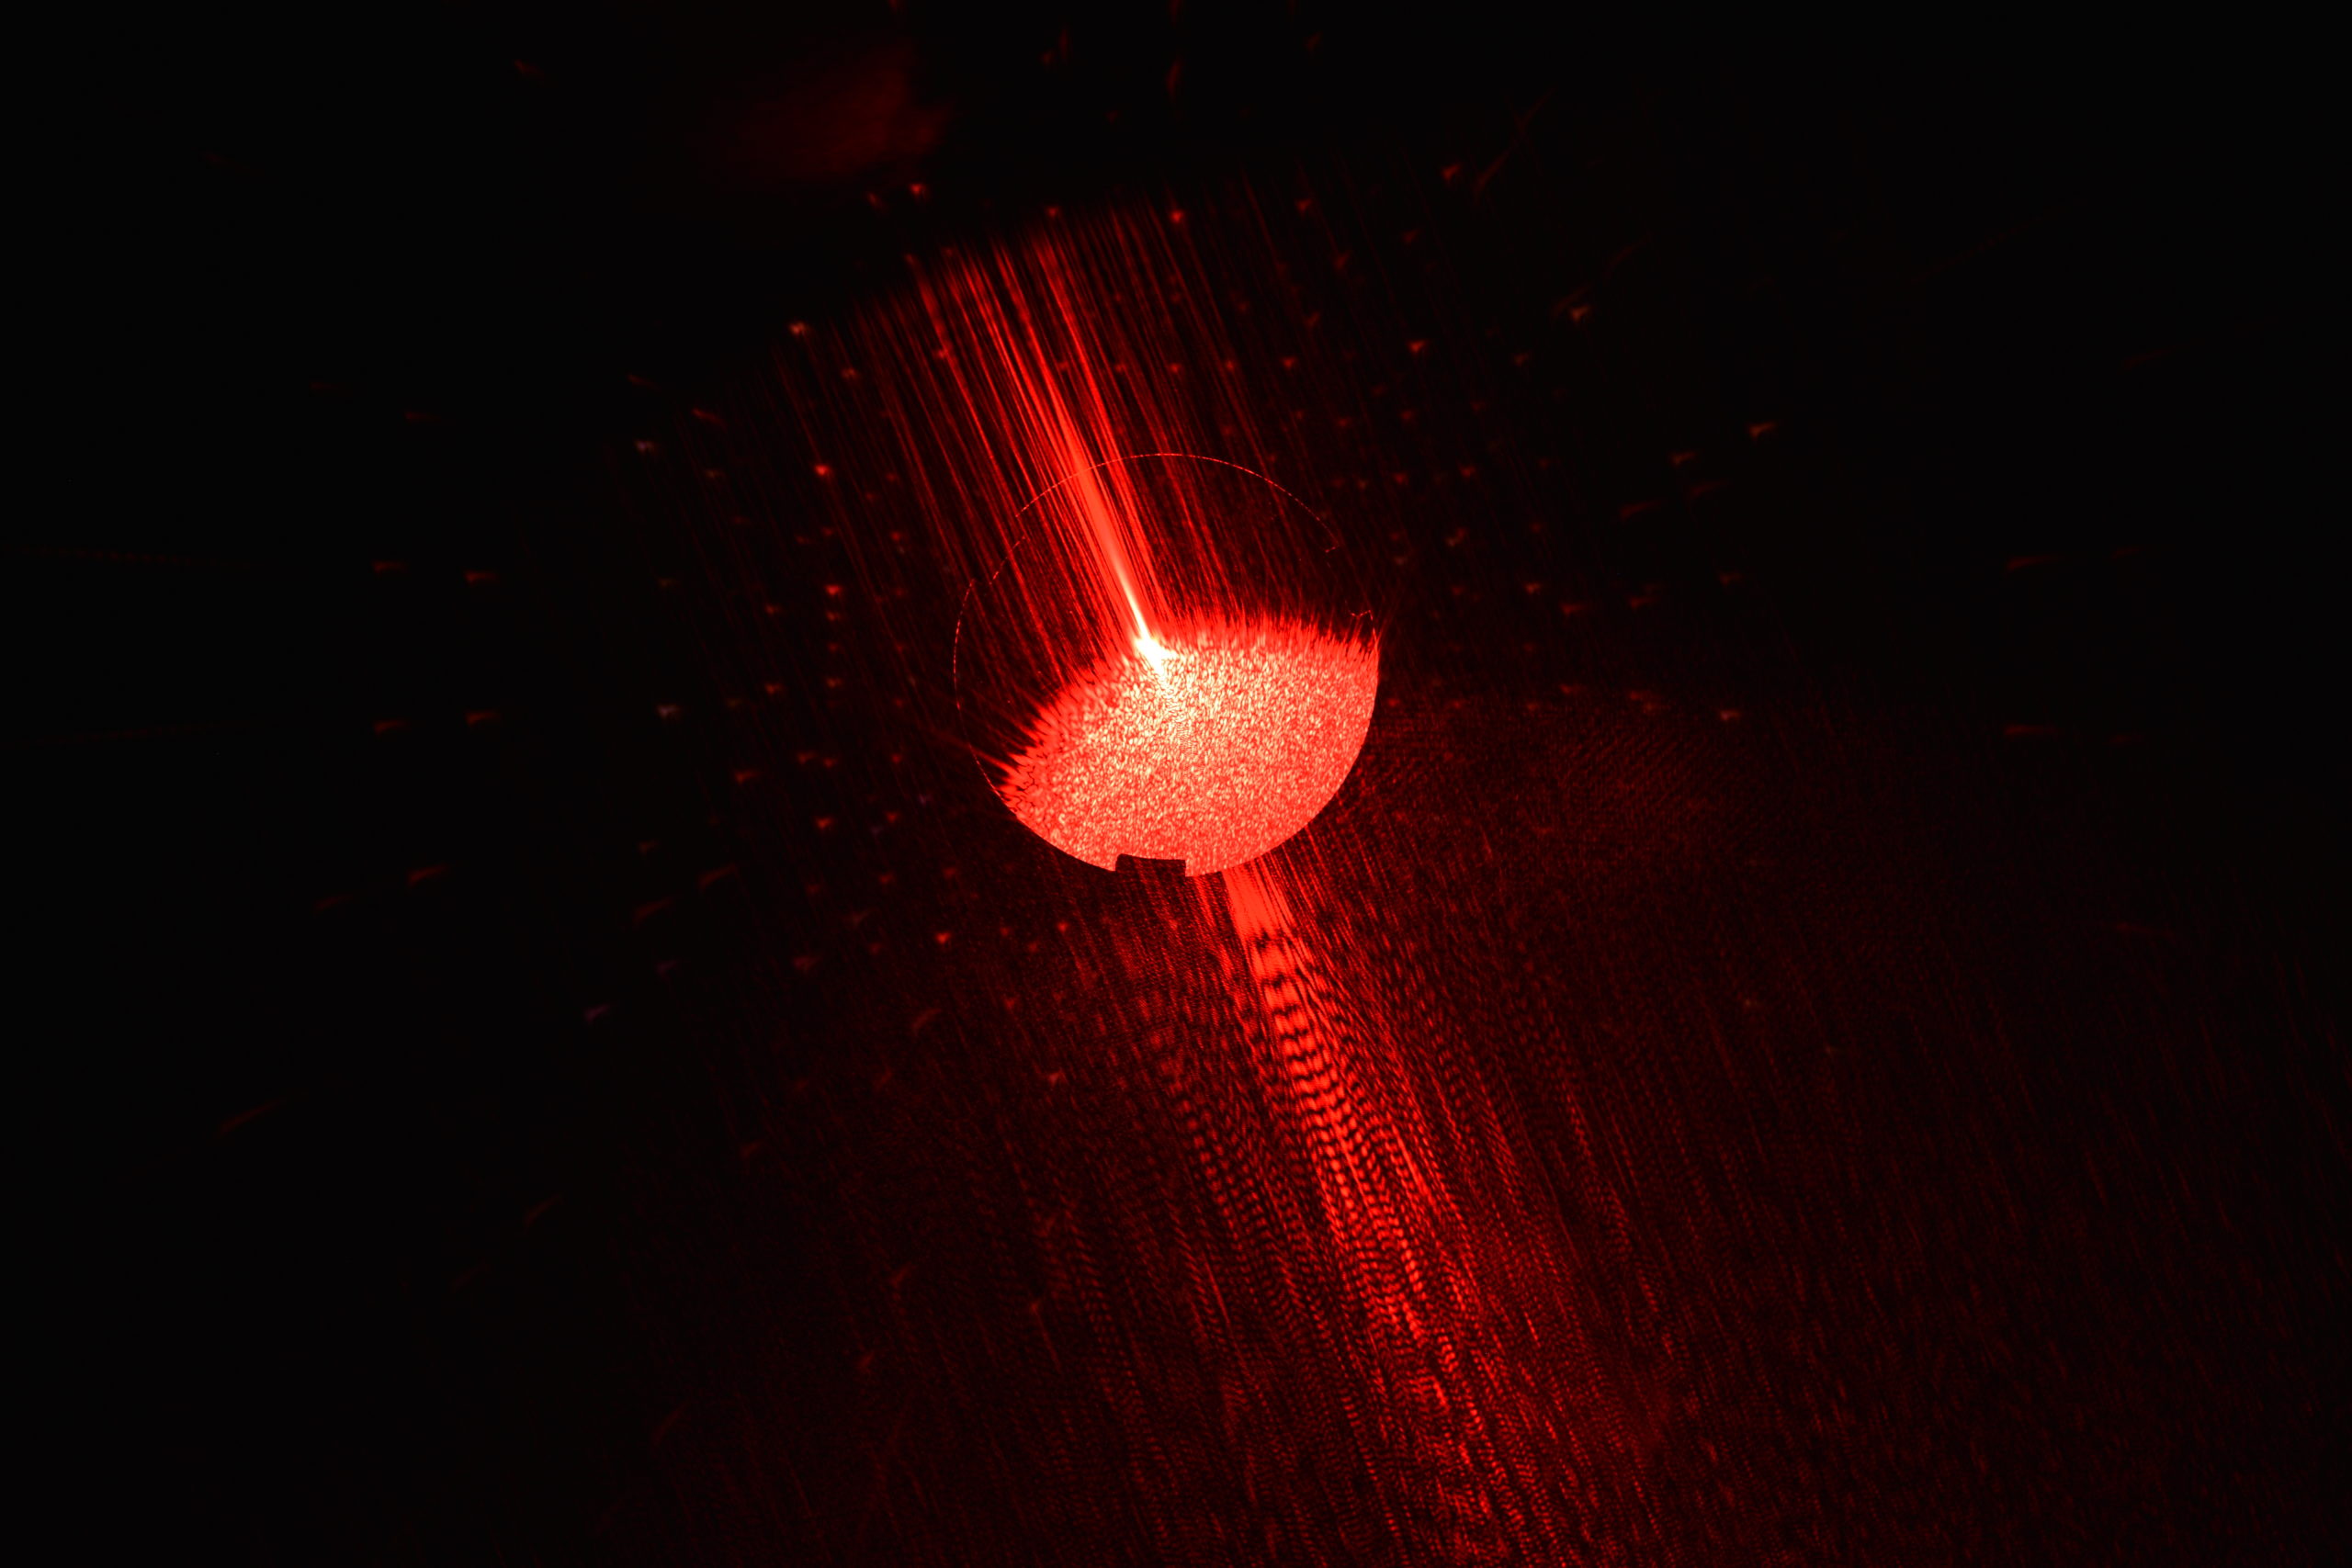
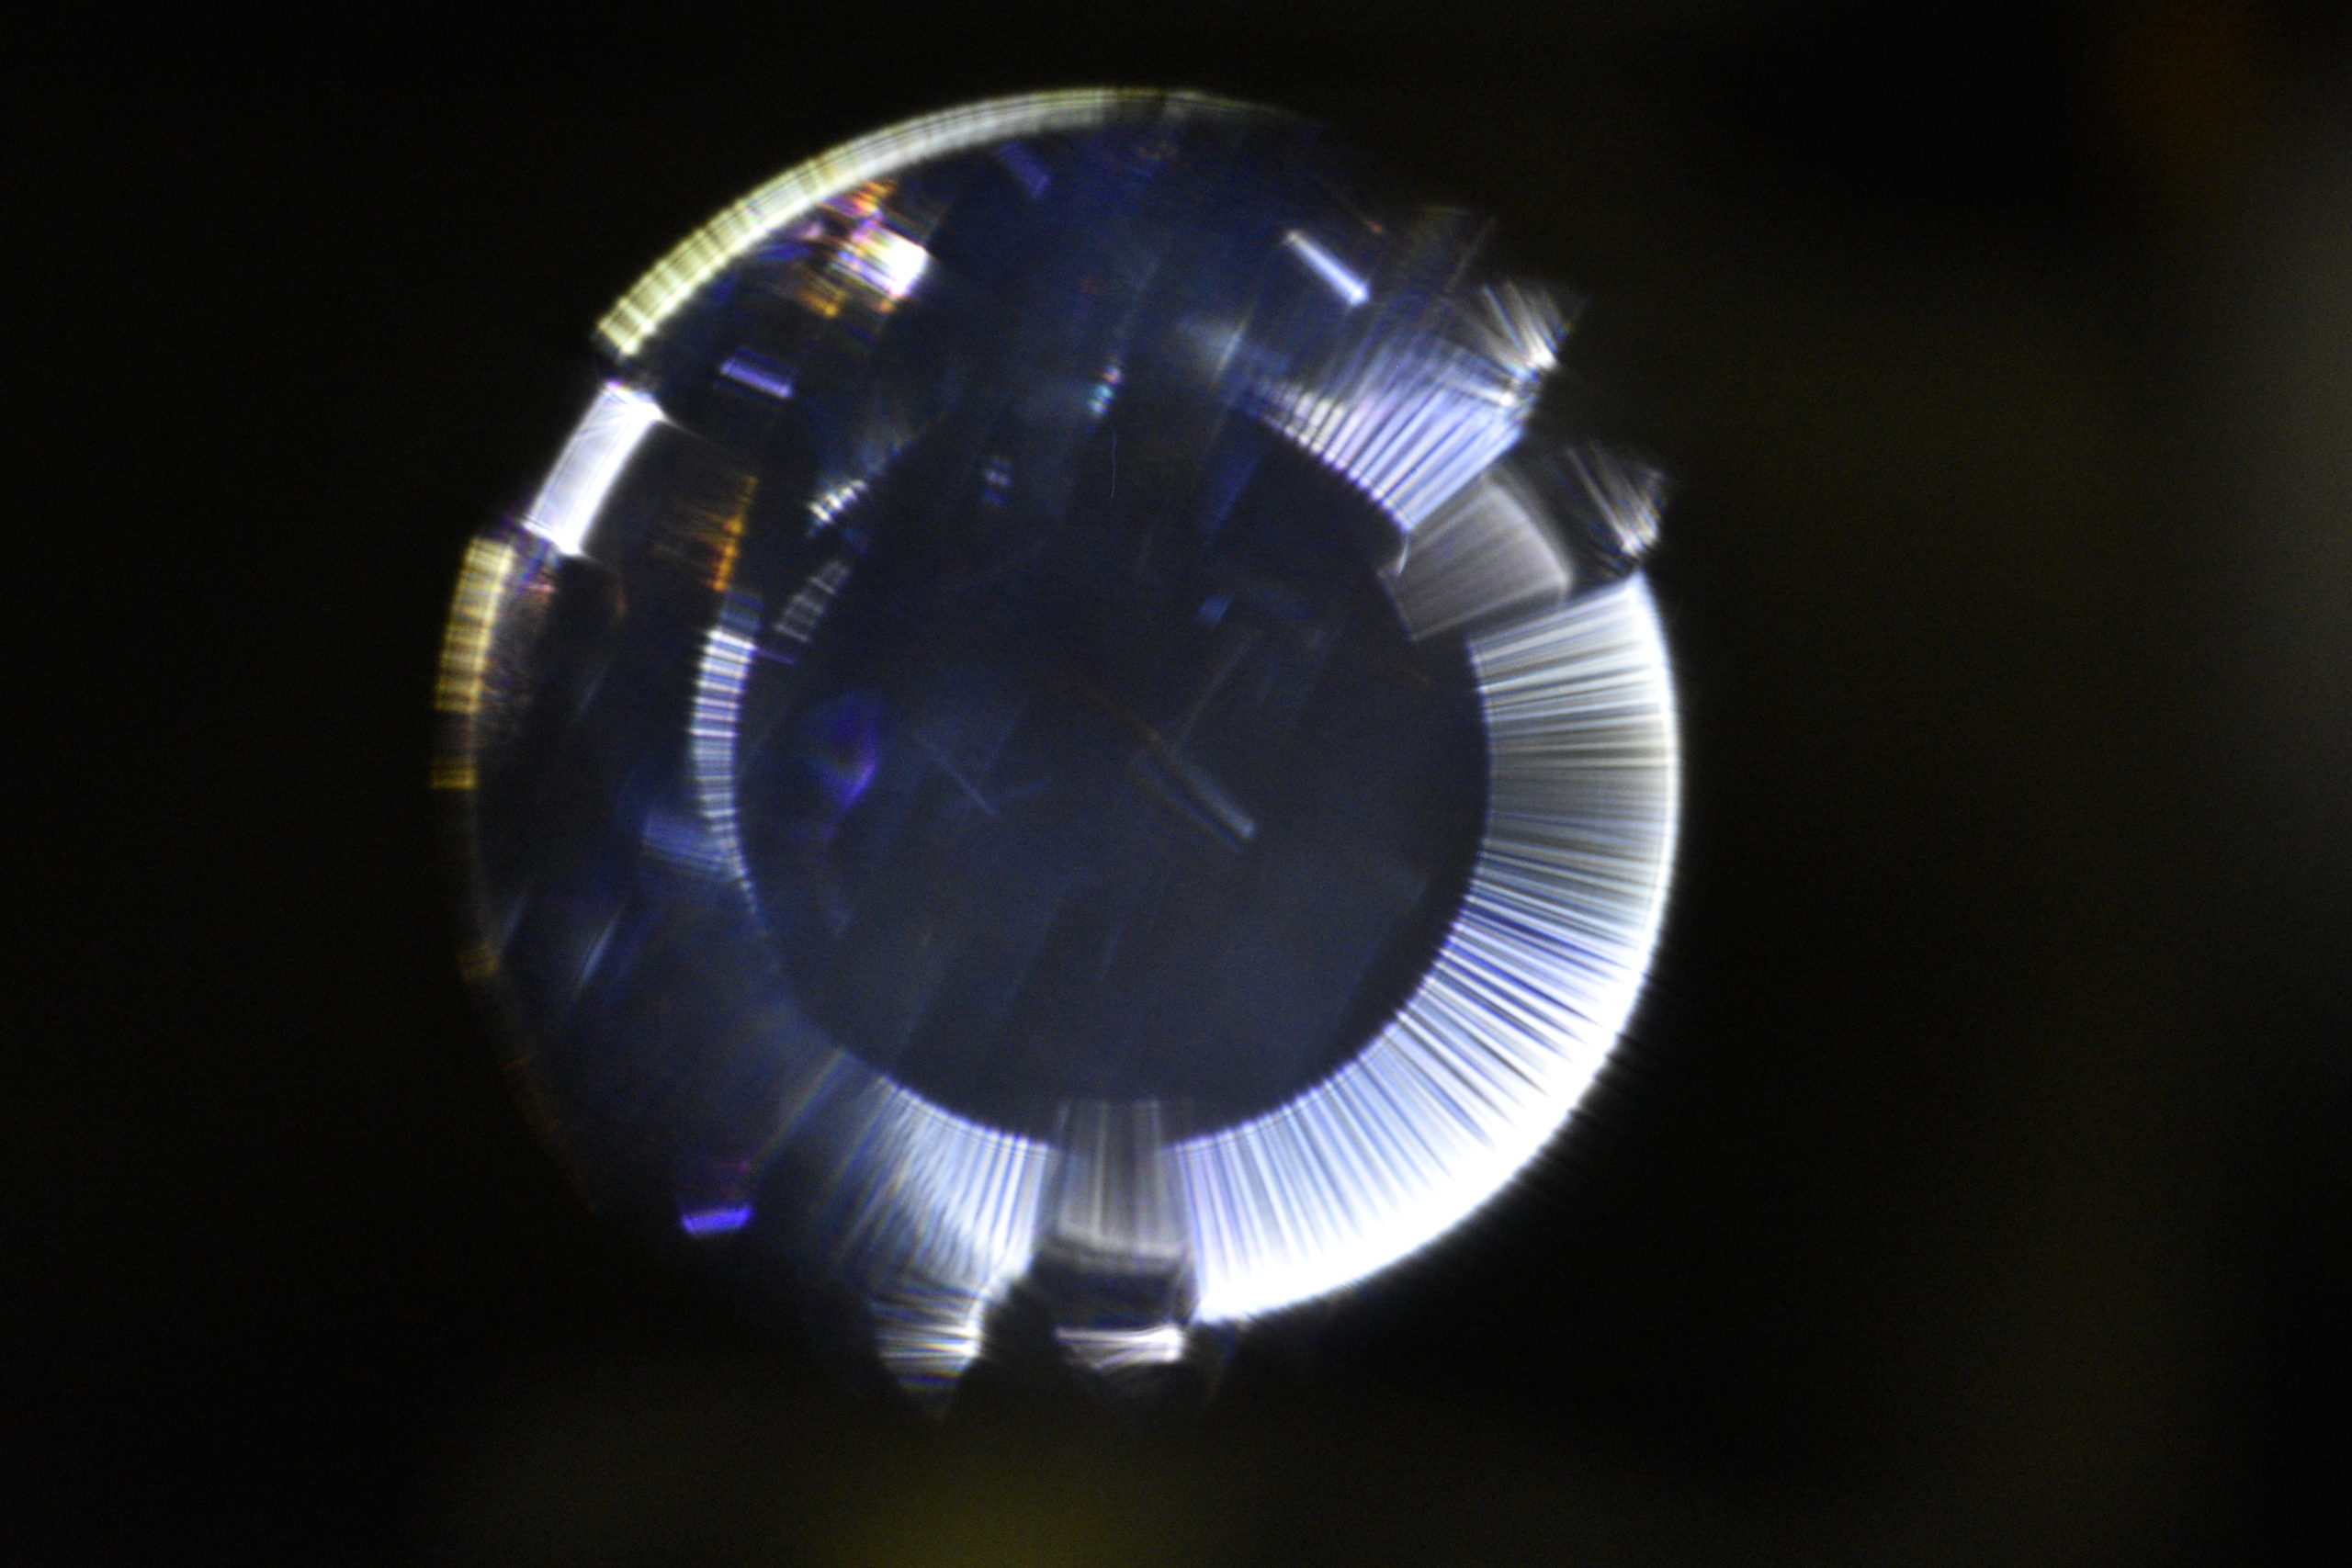
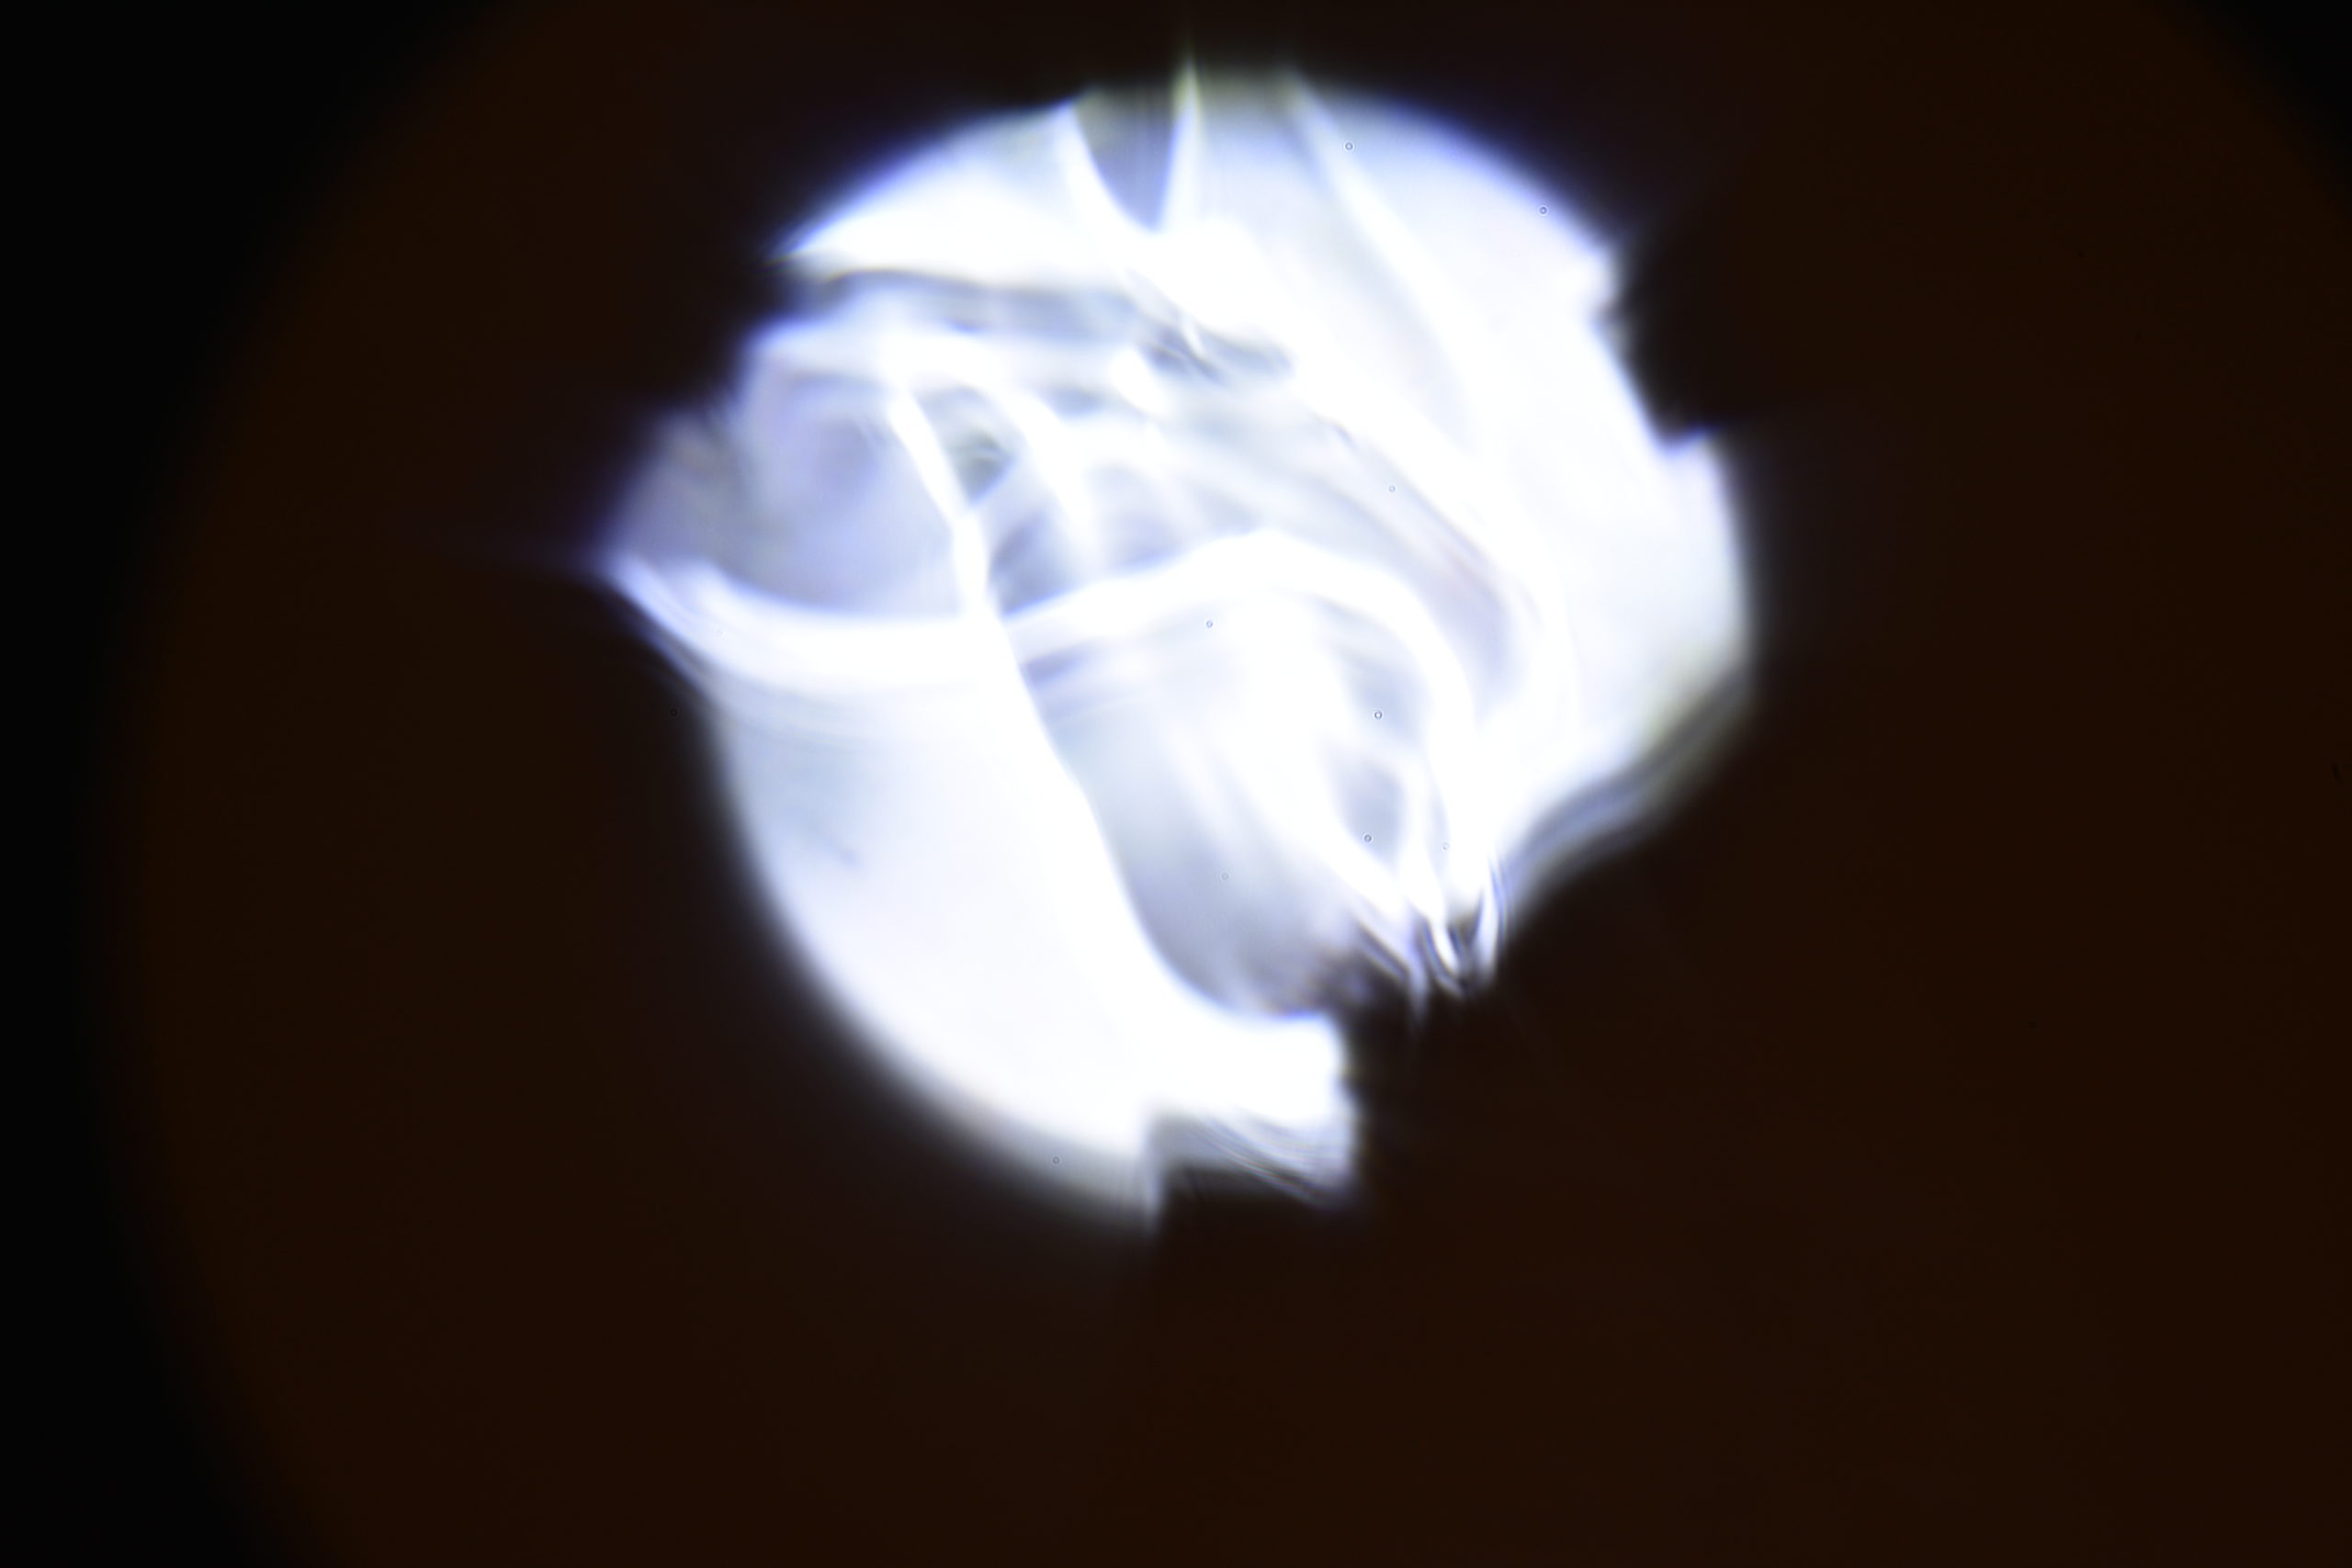
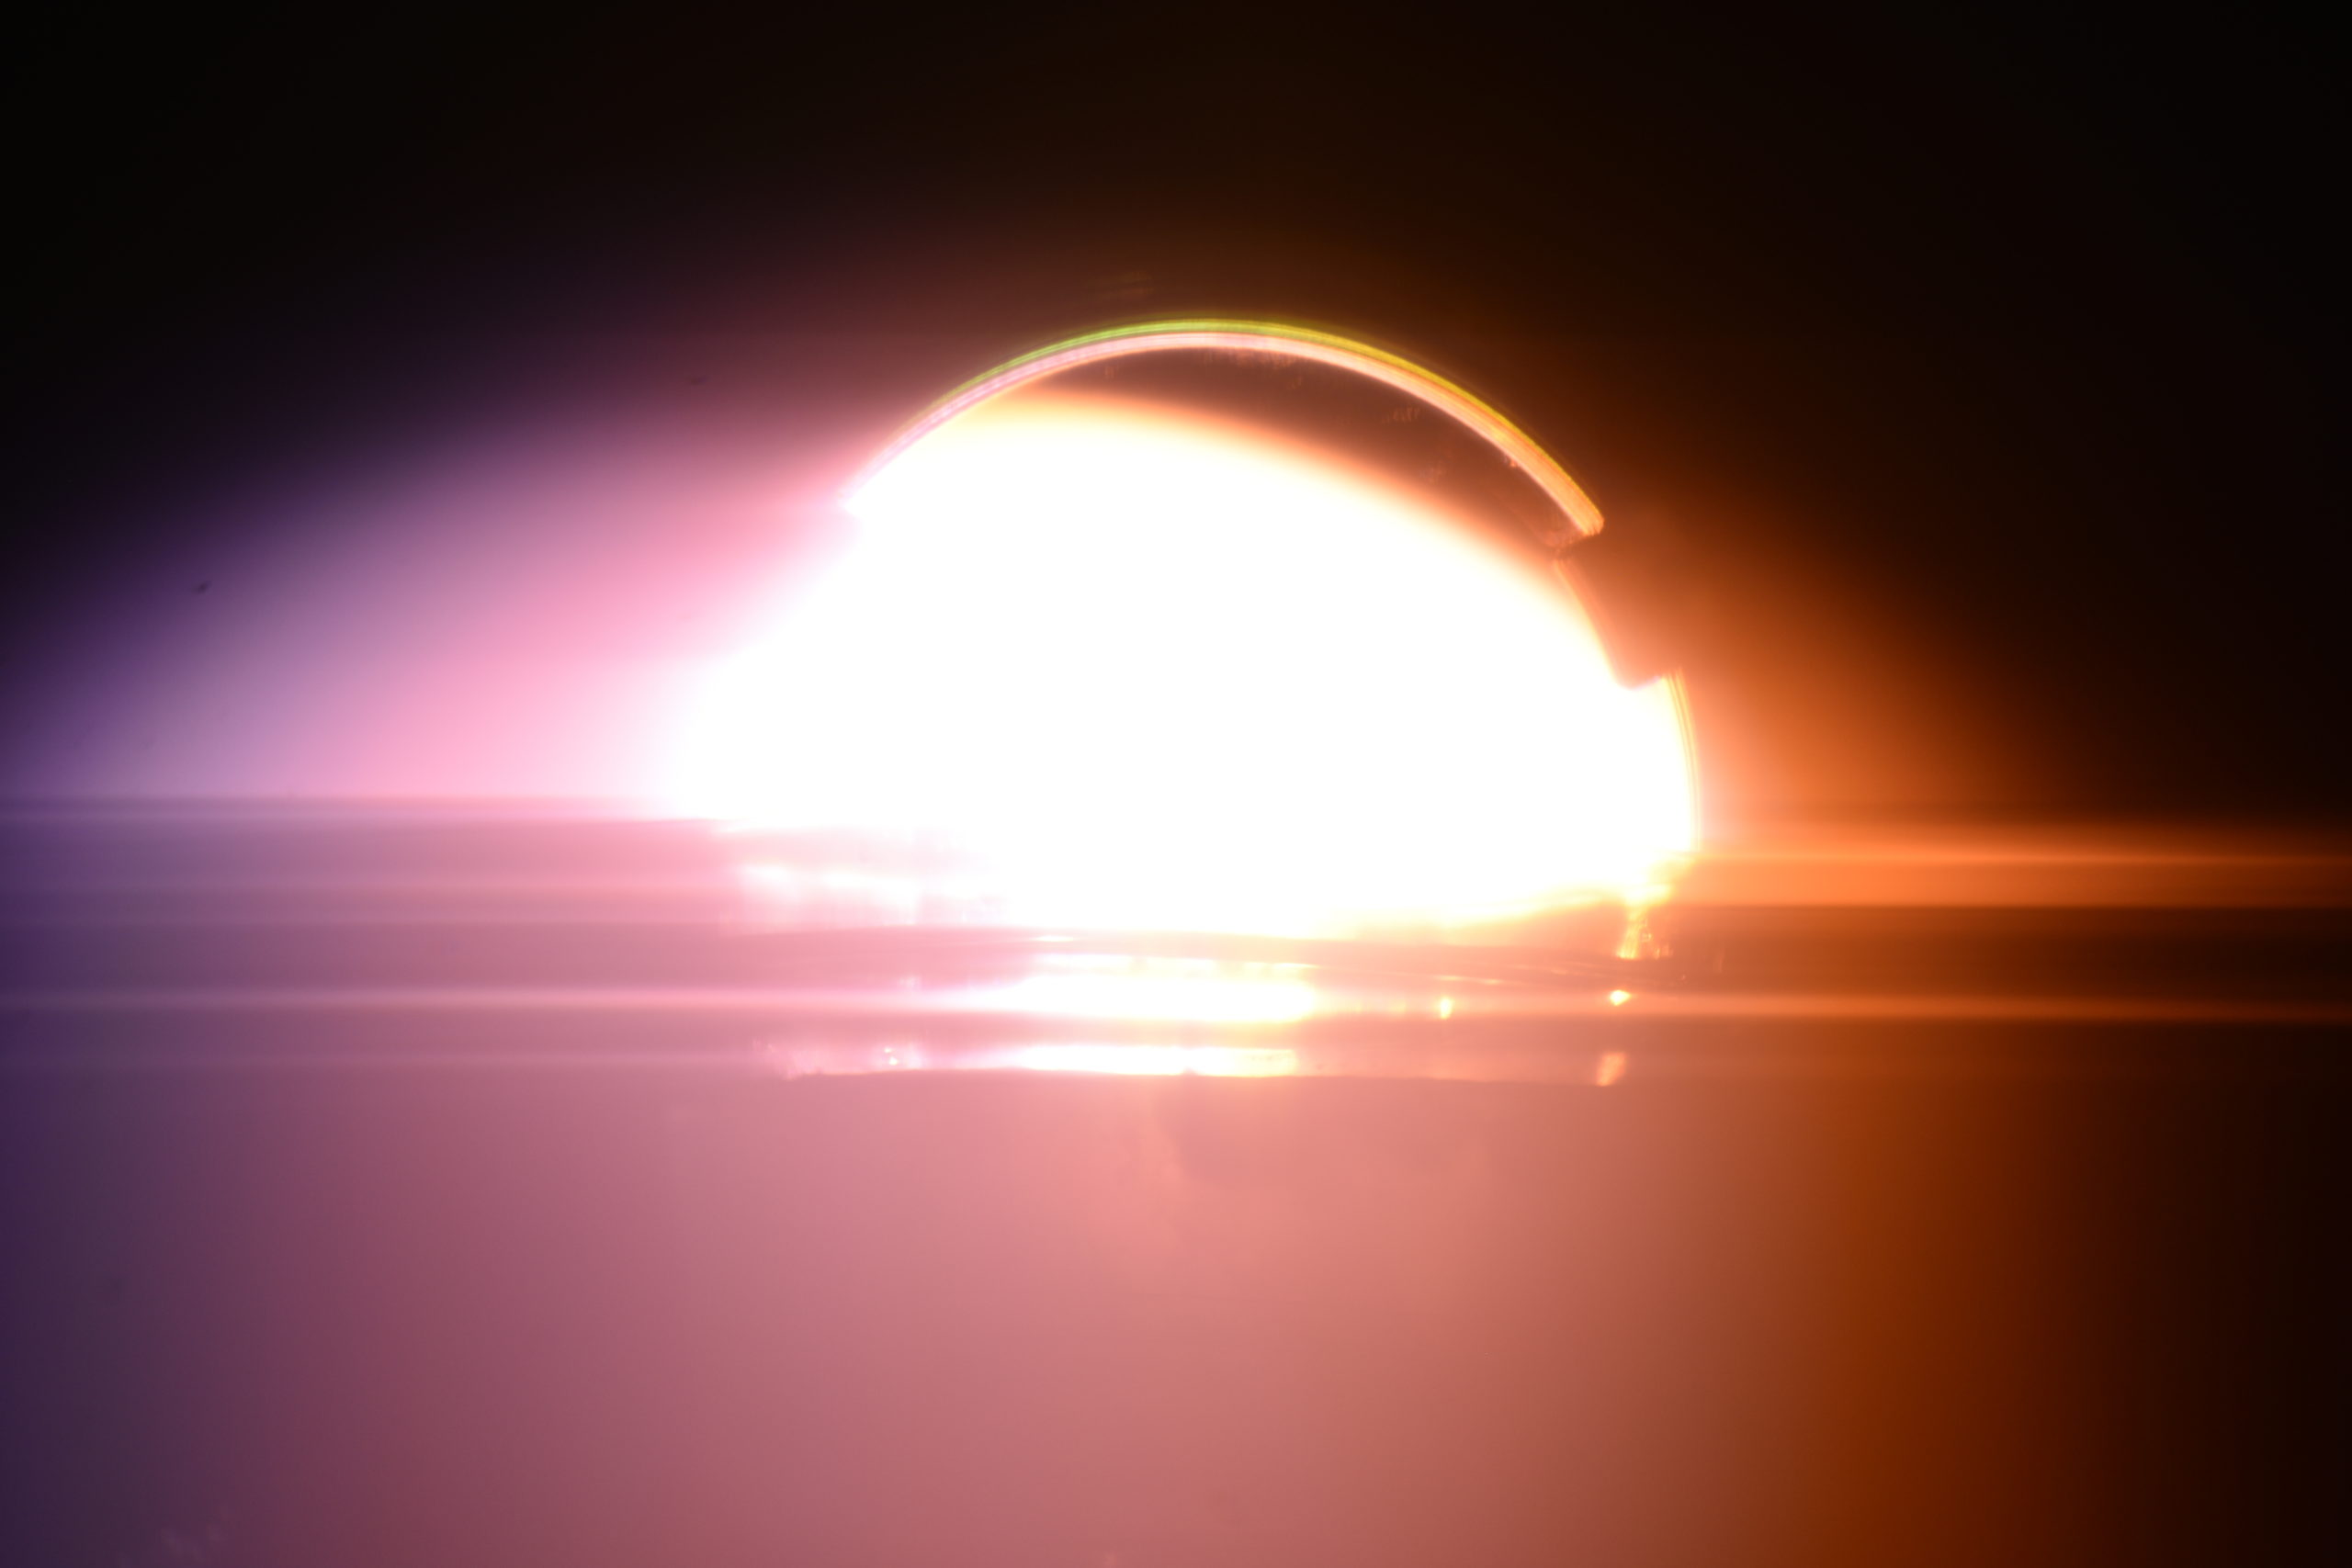
No design or experiment is complete if it doesn’t work. So, here are the images captured using the different setups of the Schlieren Imaging Aid. During various experimental shoots and calibration, a number of interesting phenomena presented themselves, so these images (although they don’t show the Schlieren Effect) have been included at the end of this section.
Initial:
SIA1:
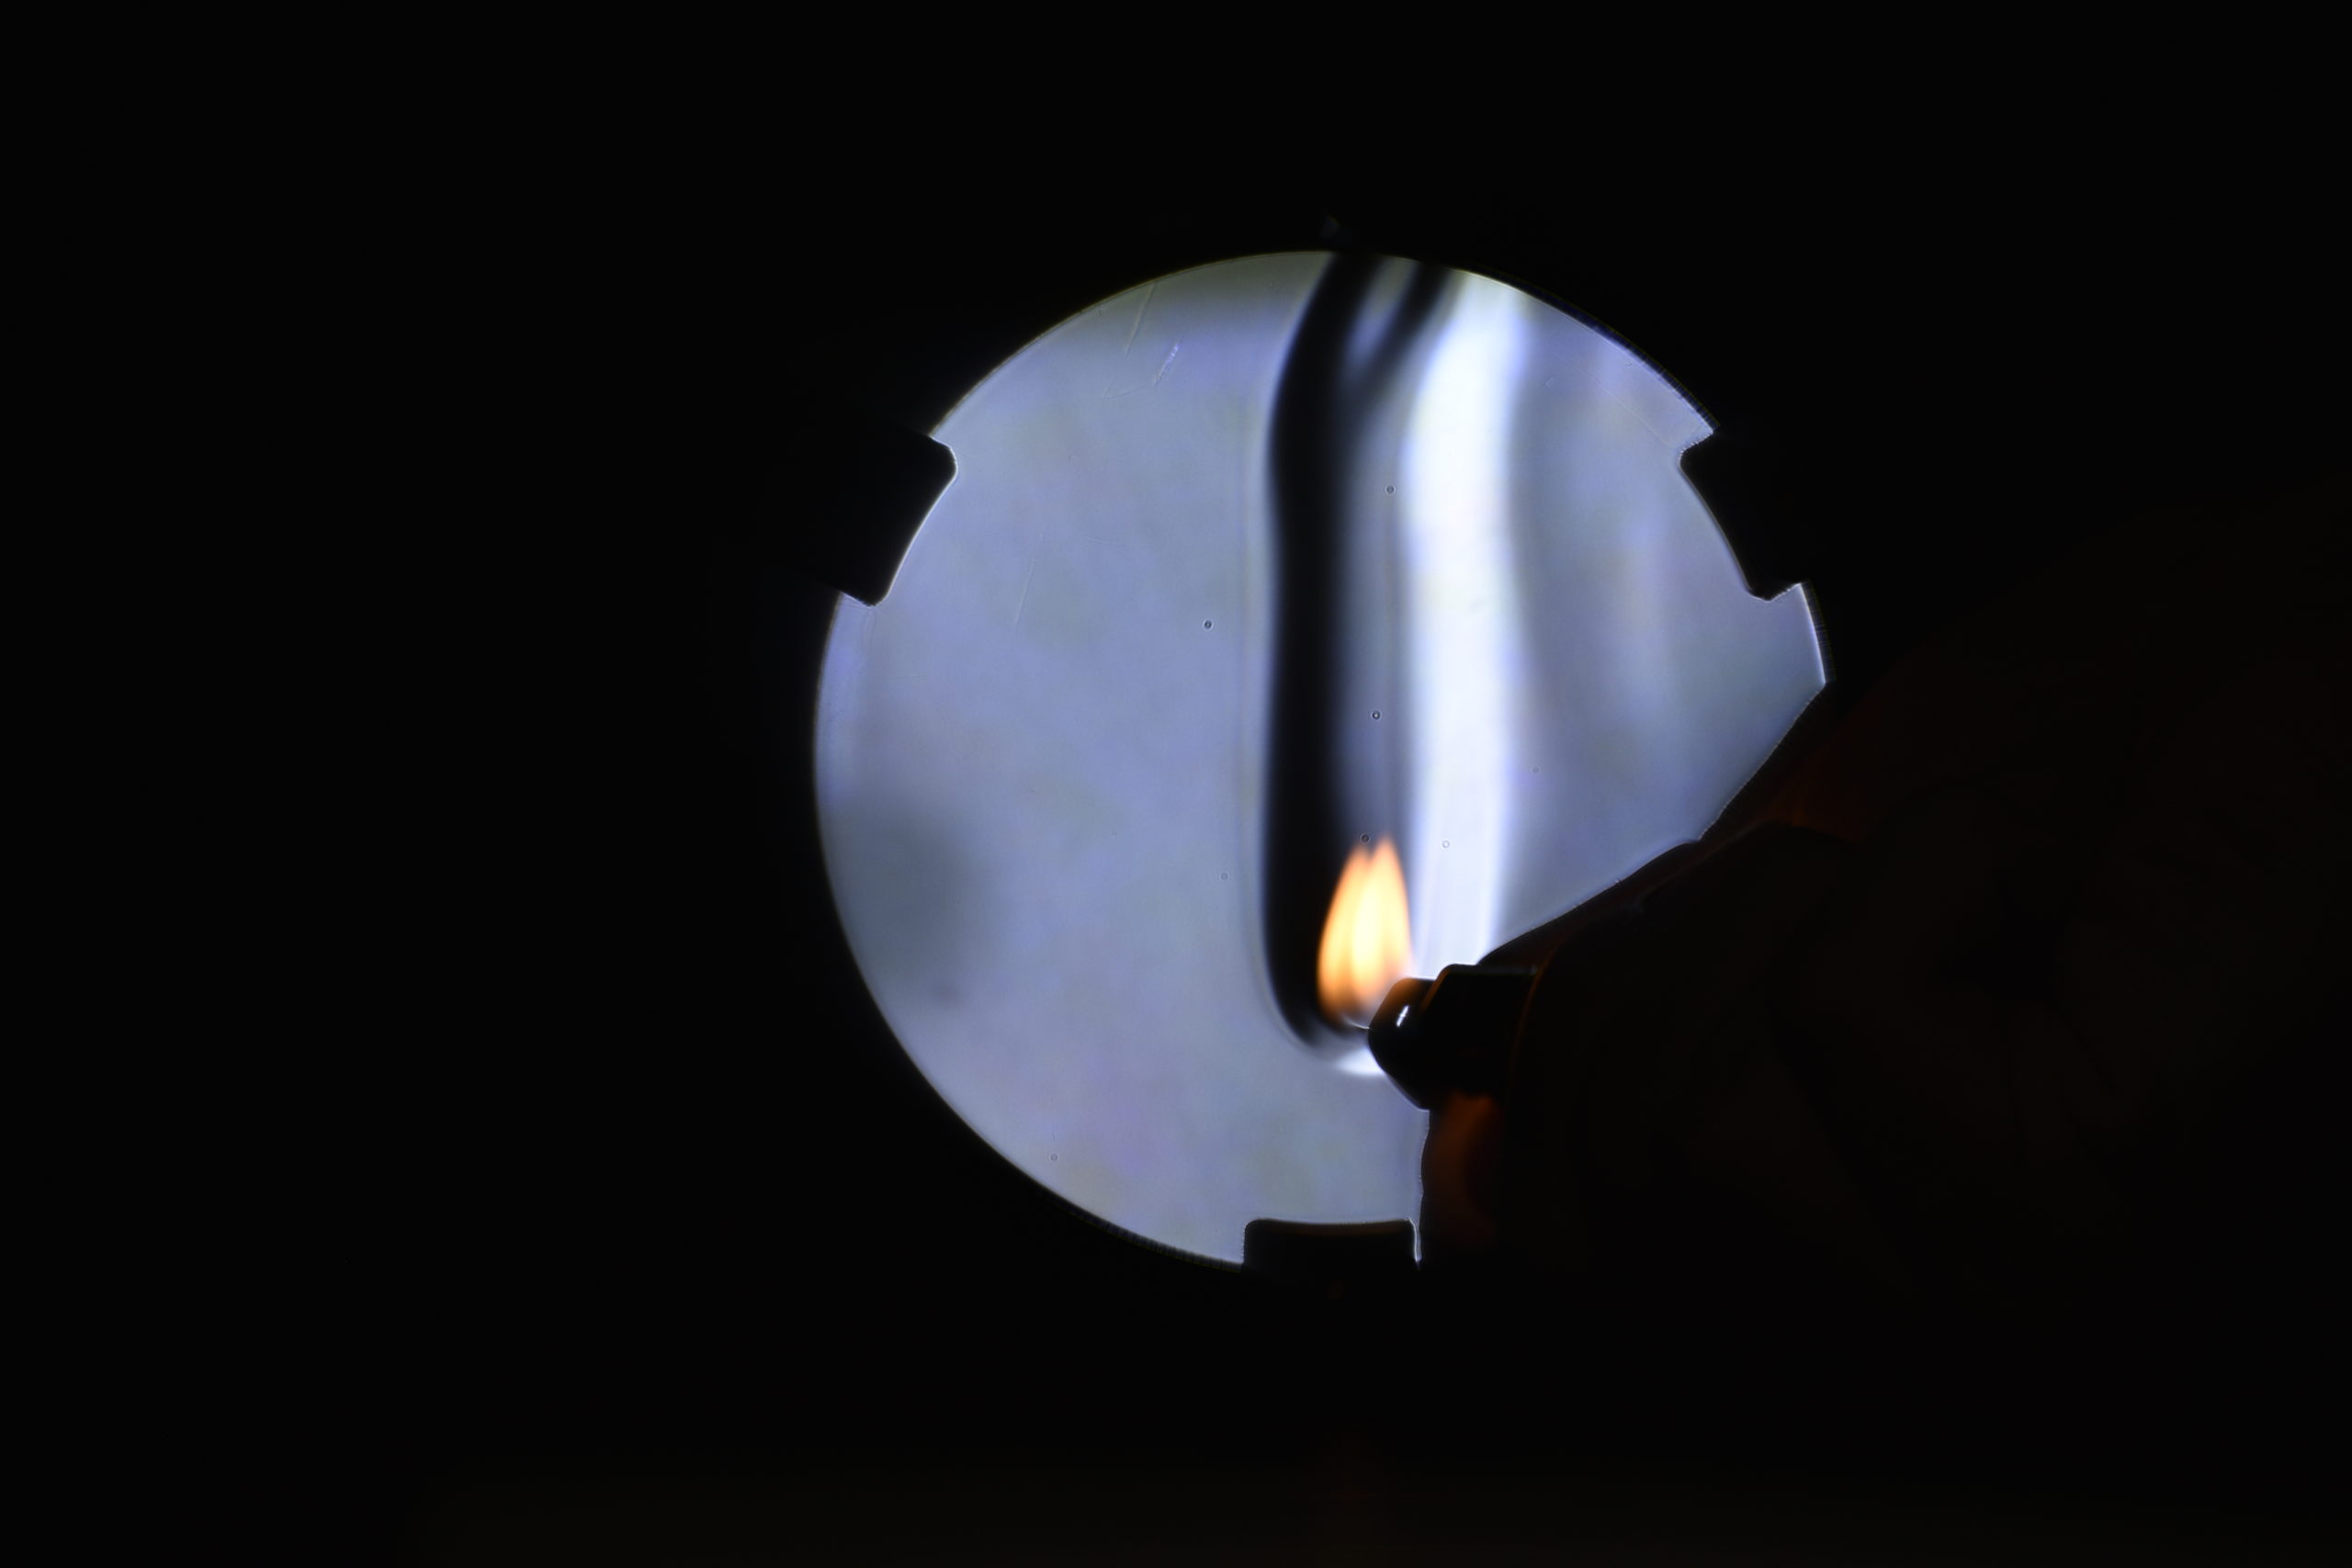
SIA2:
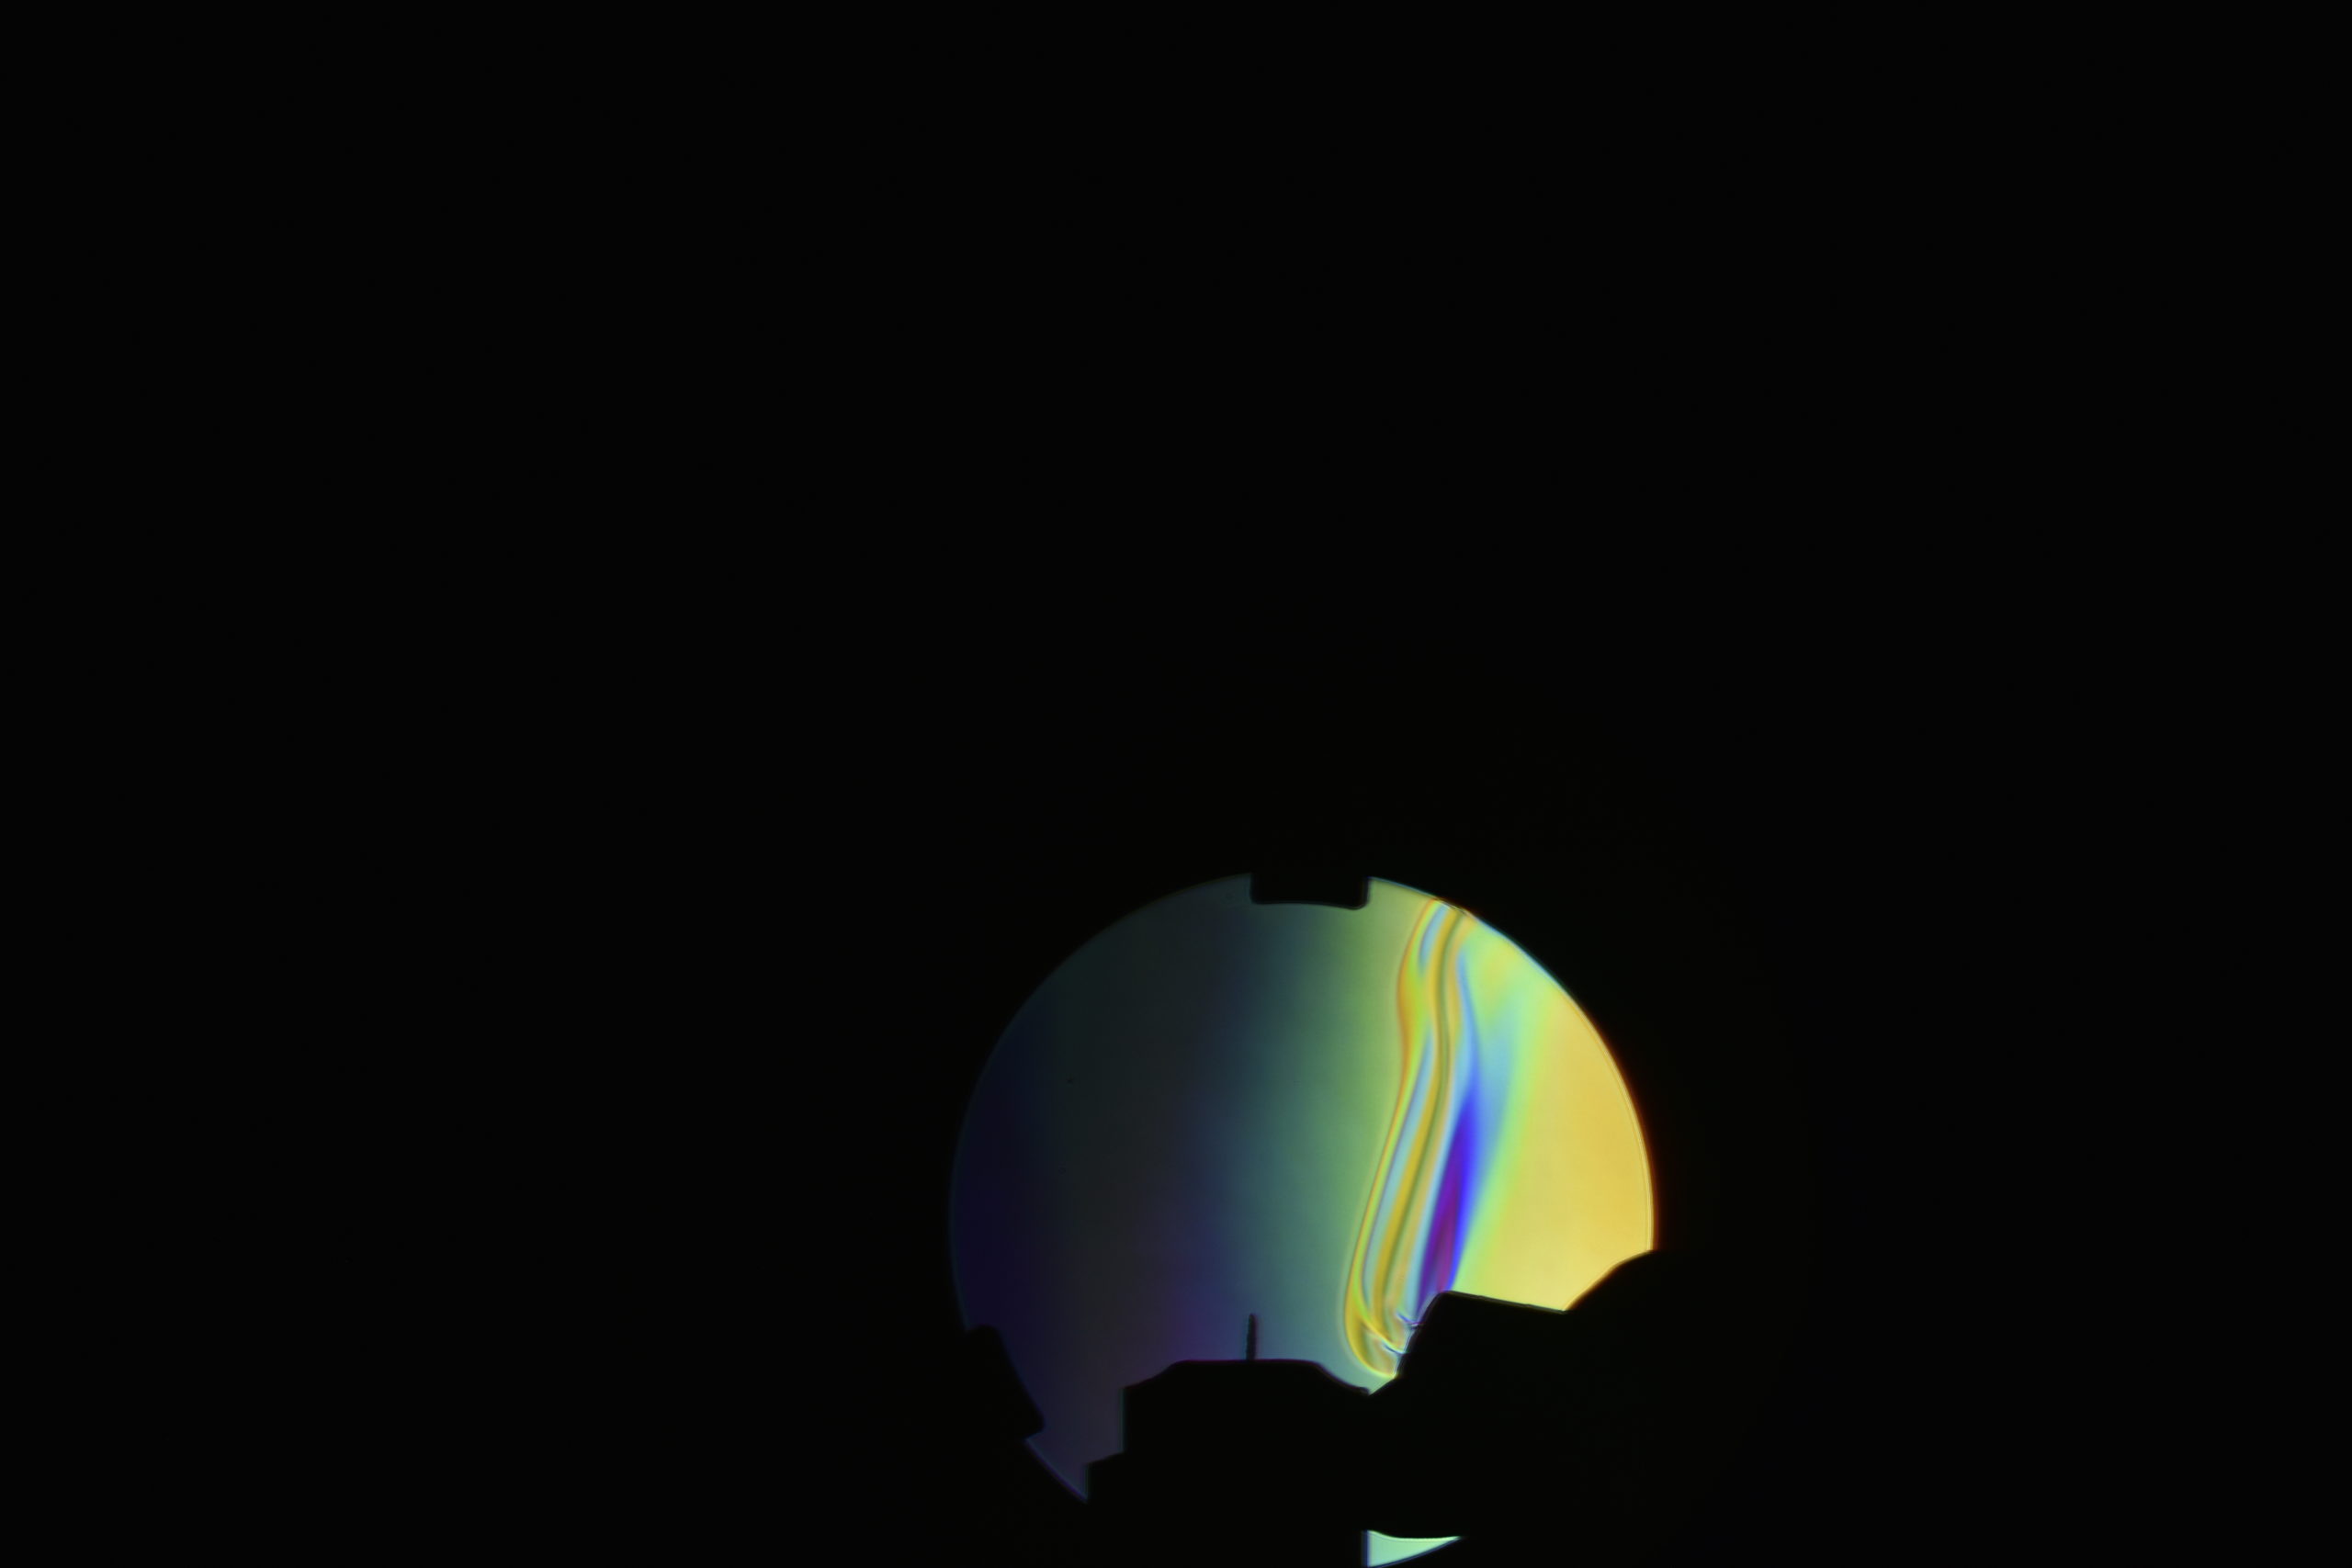
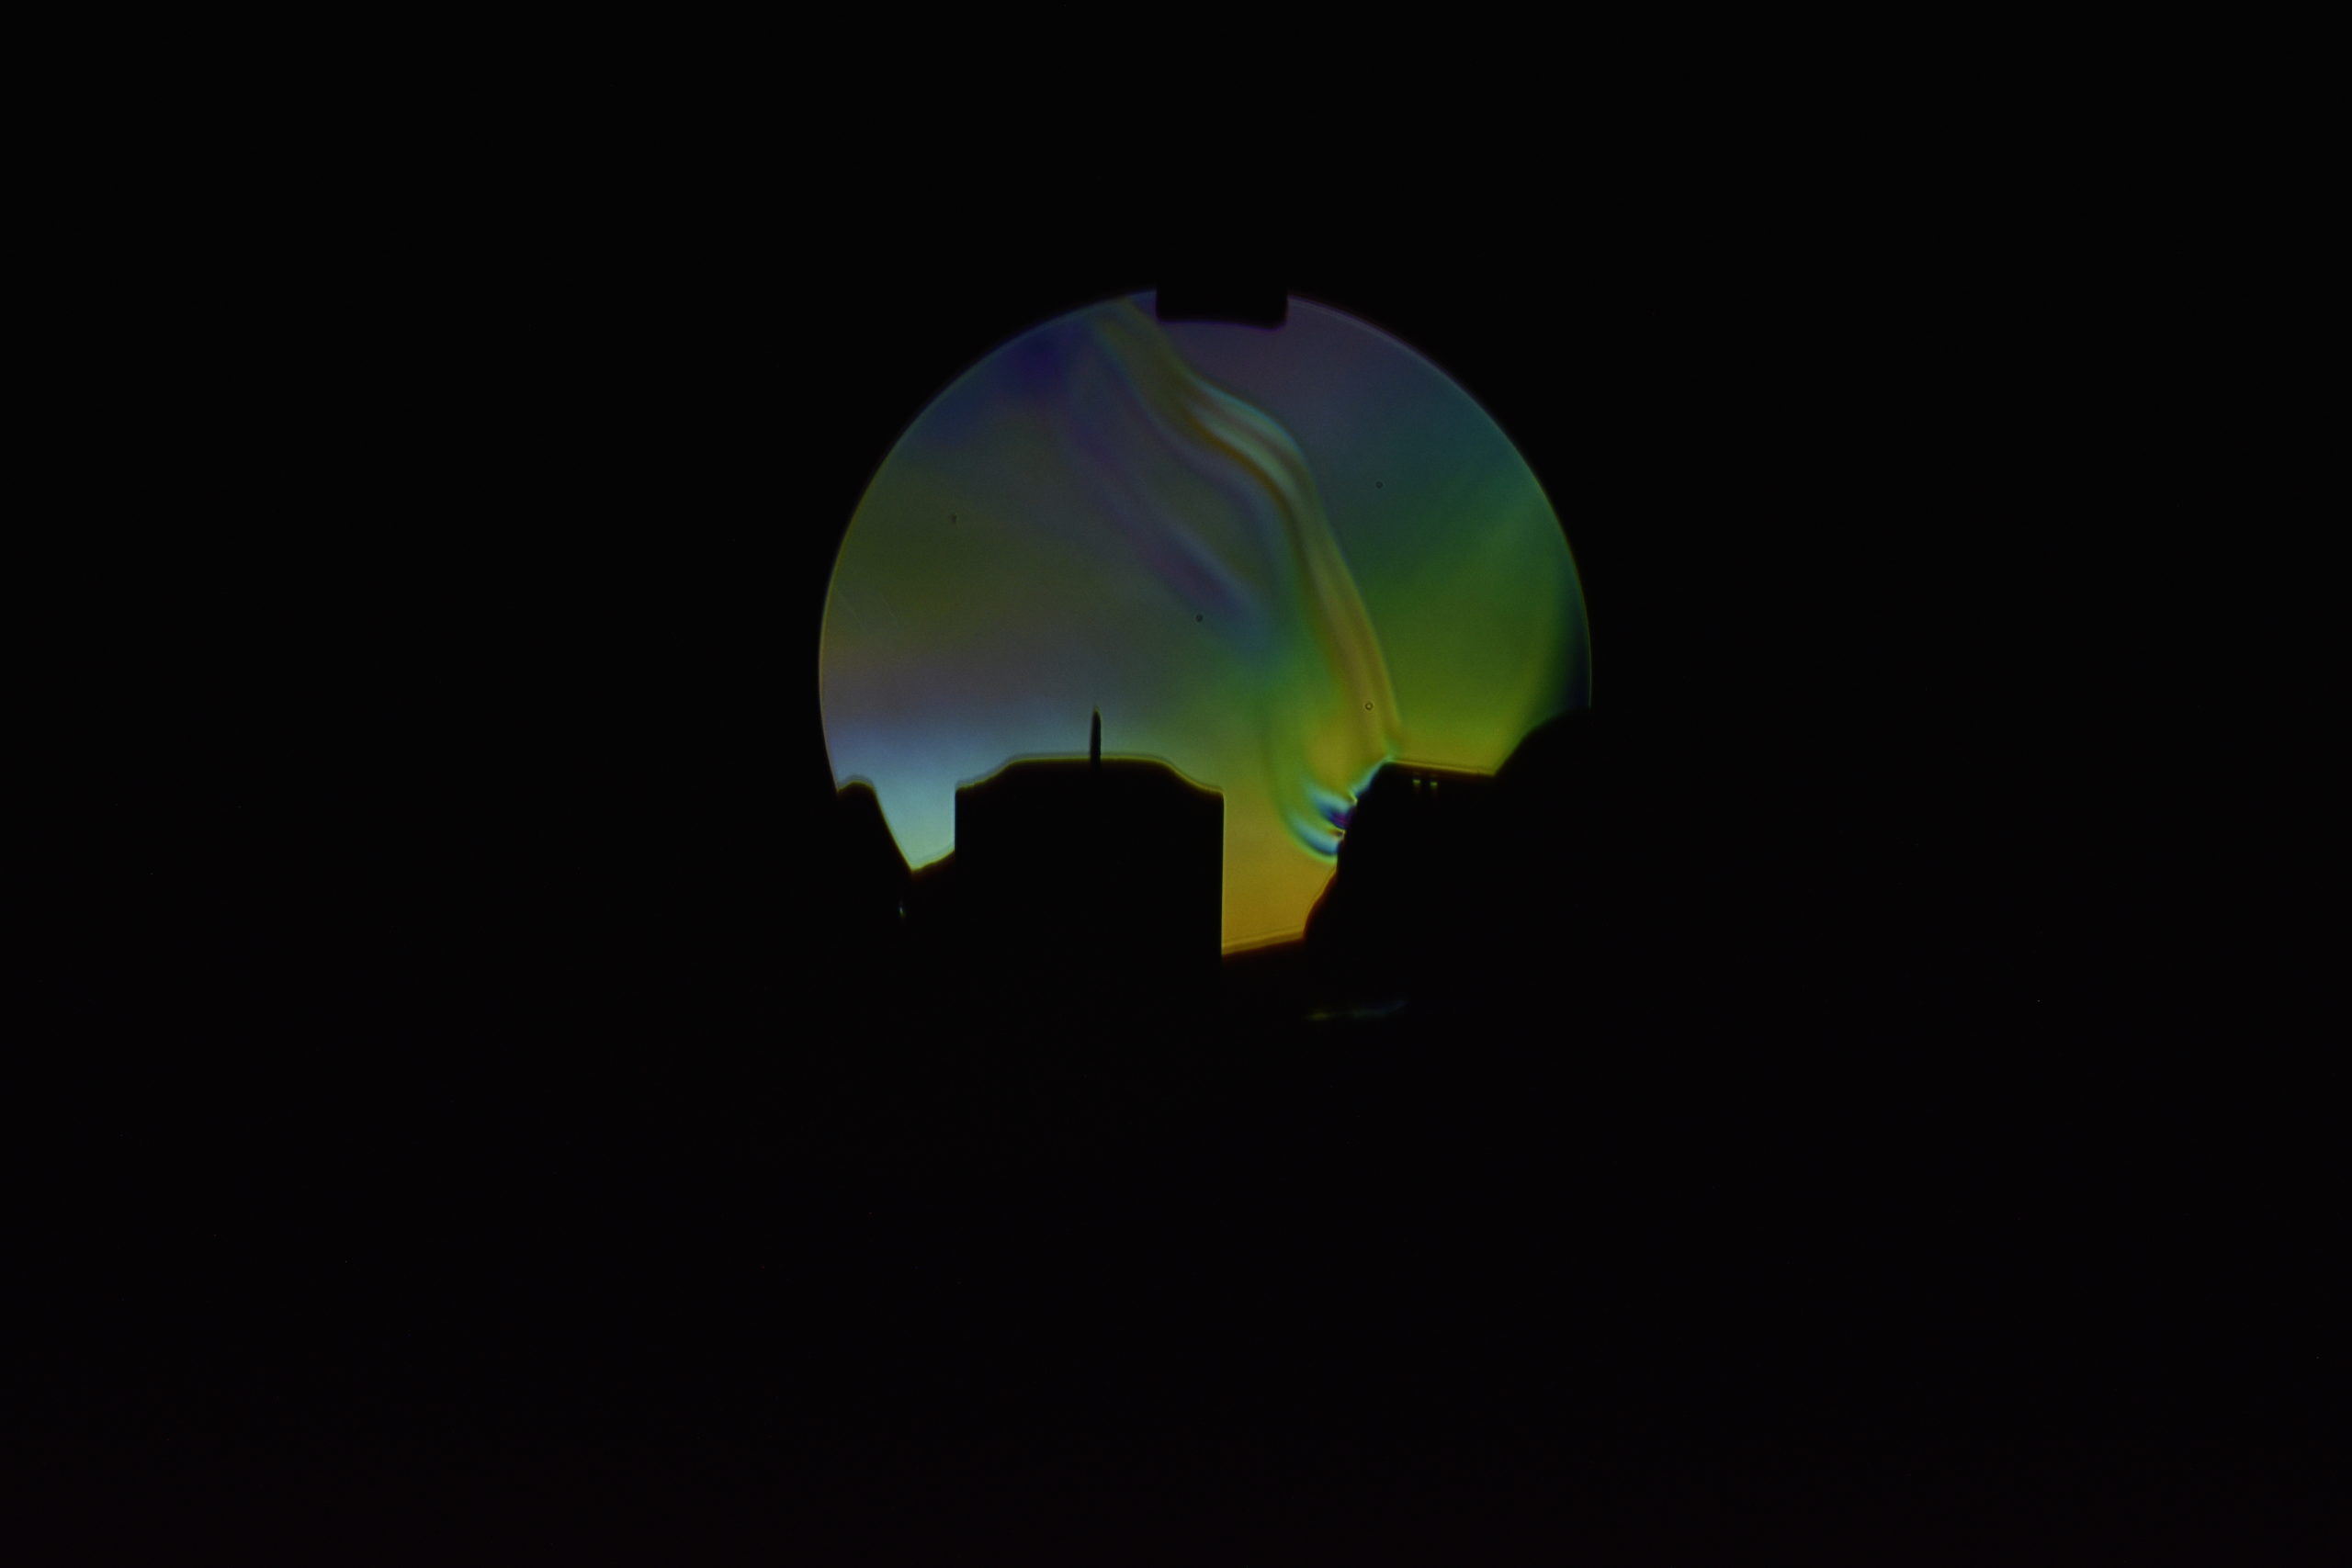
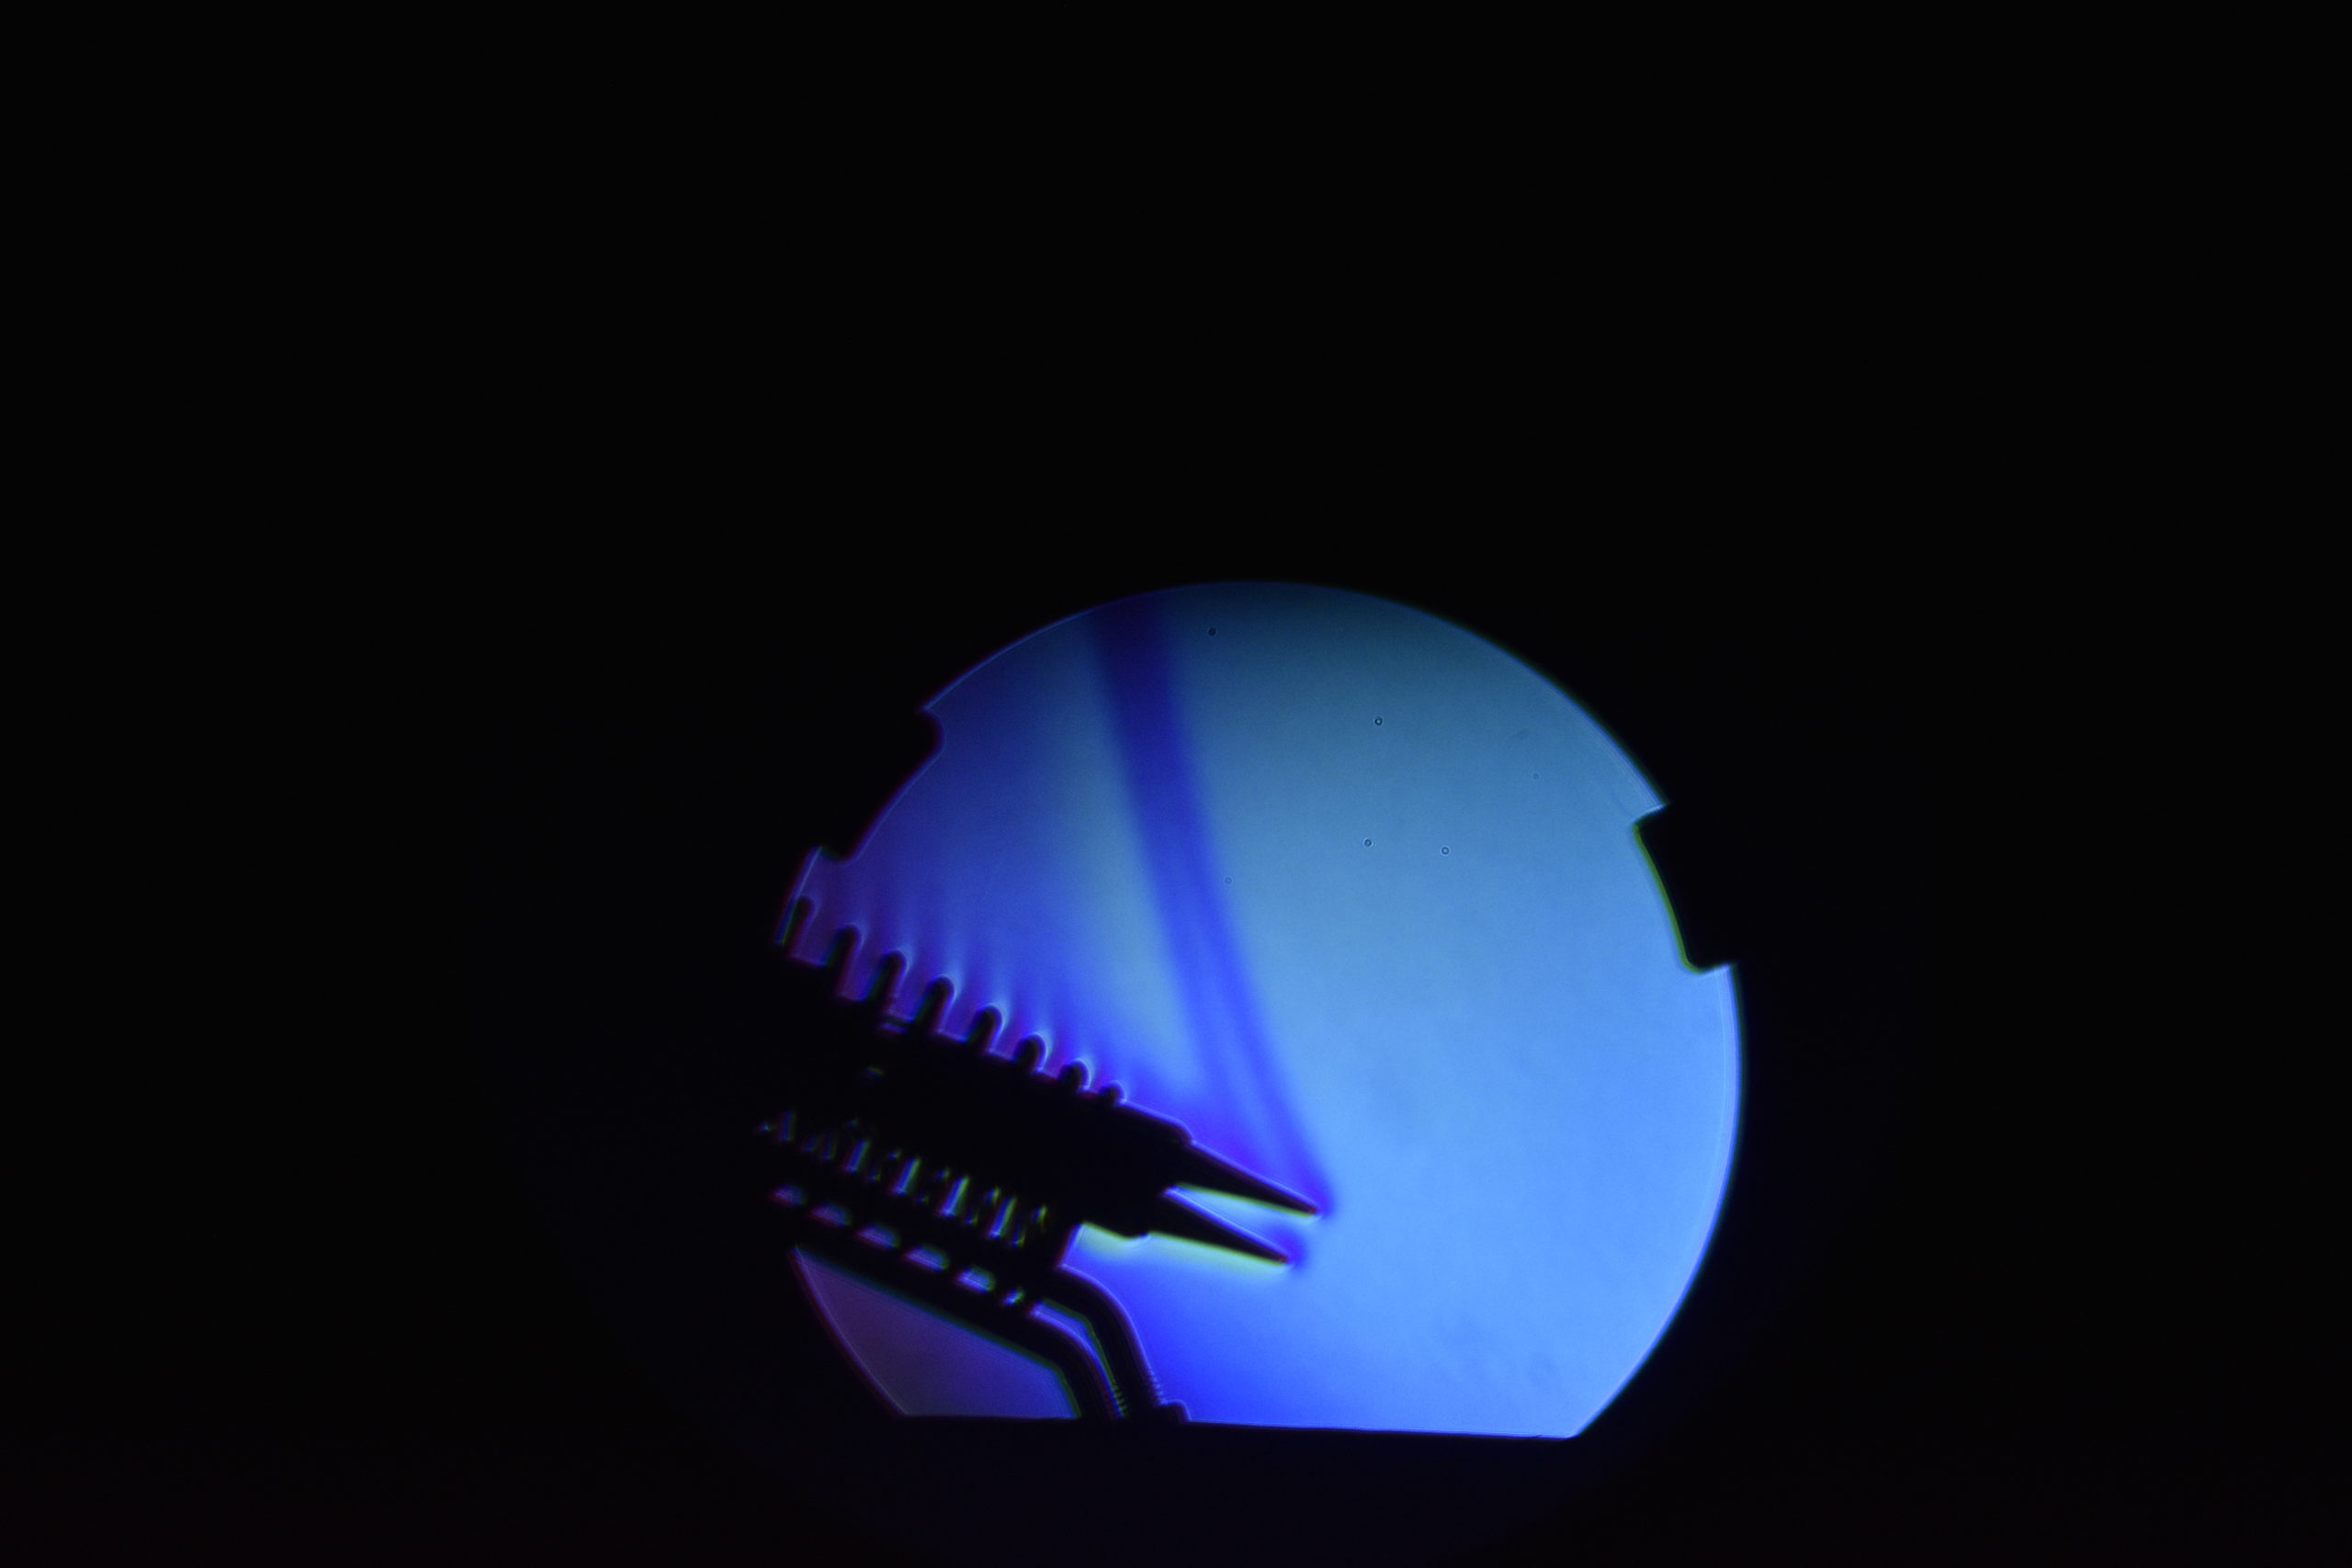
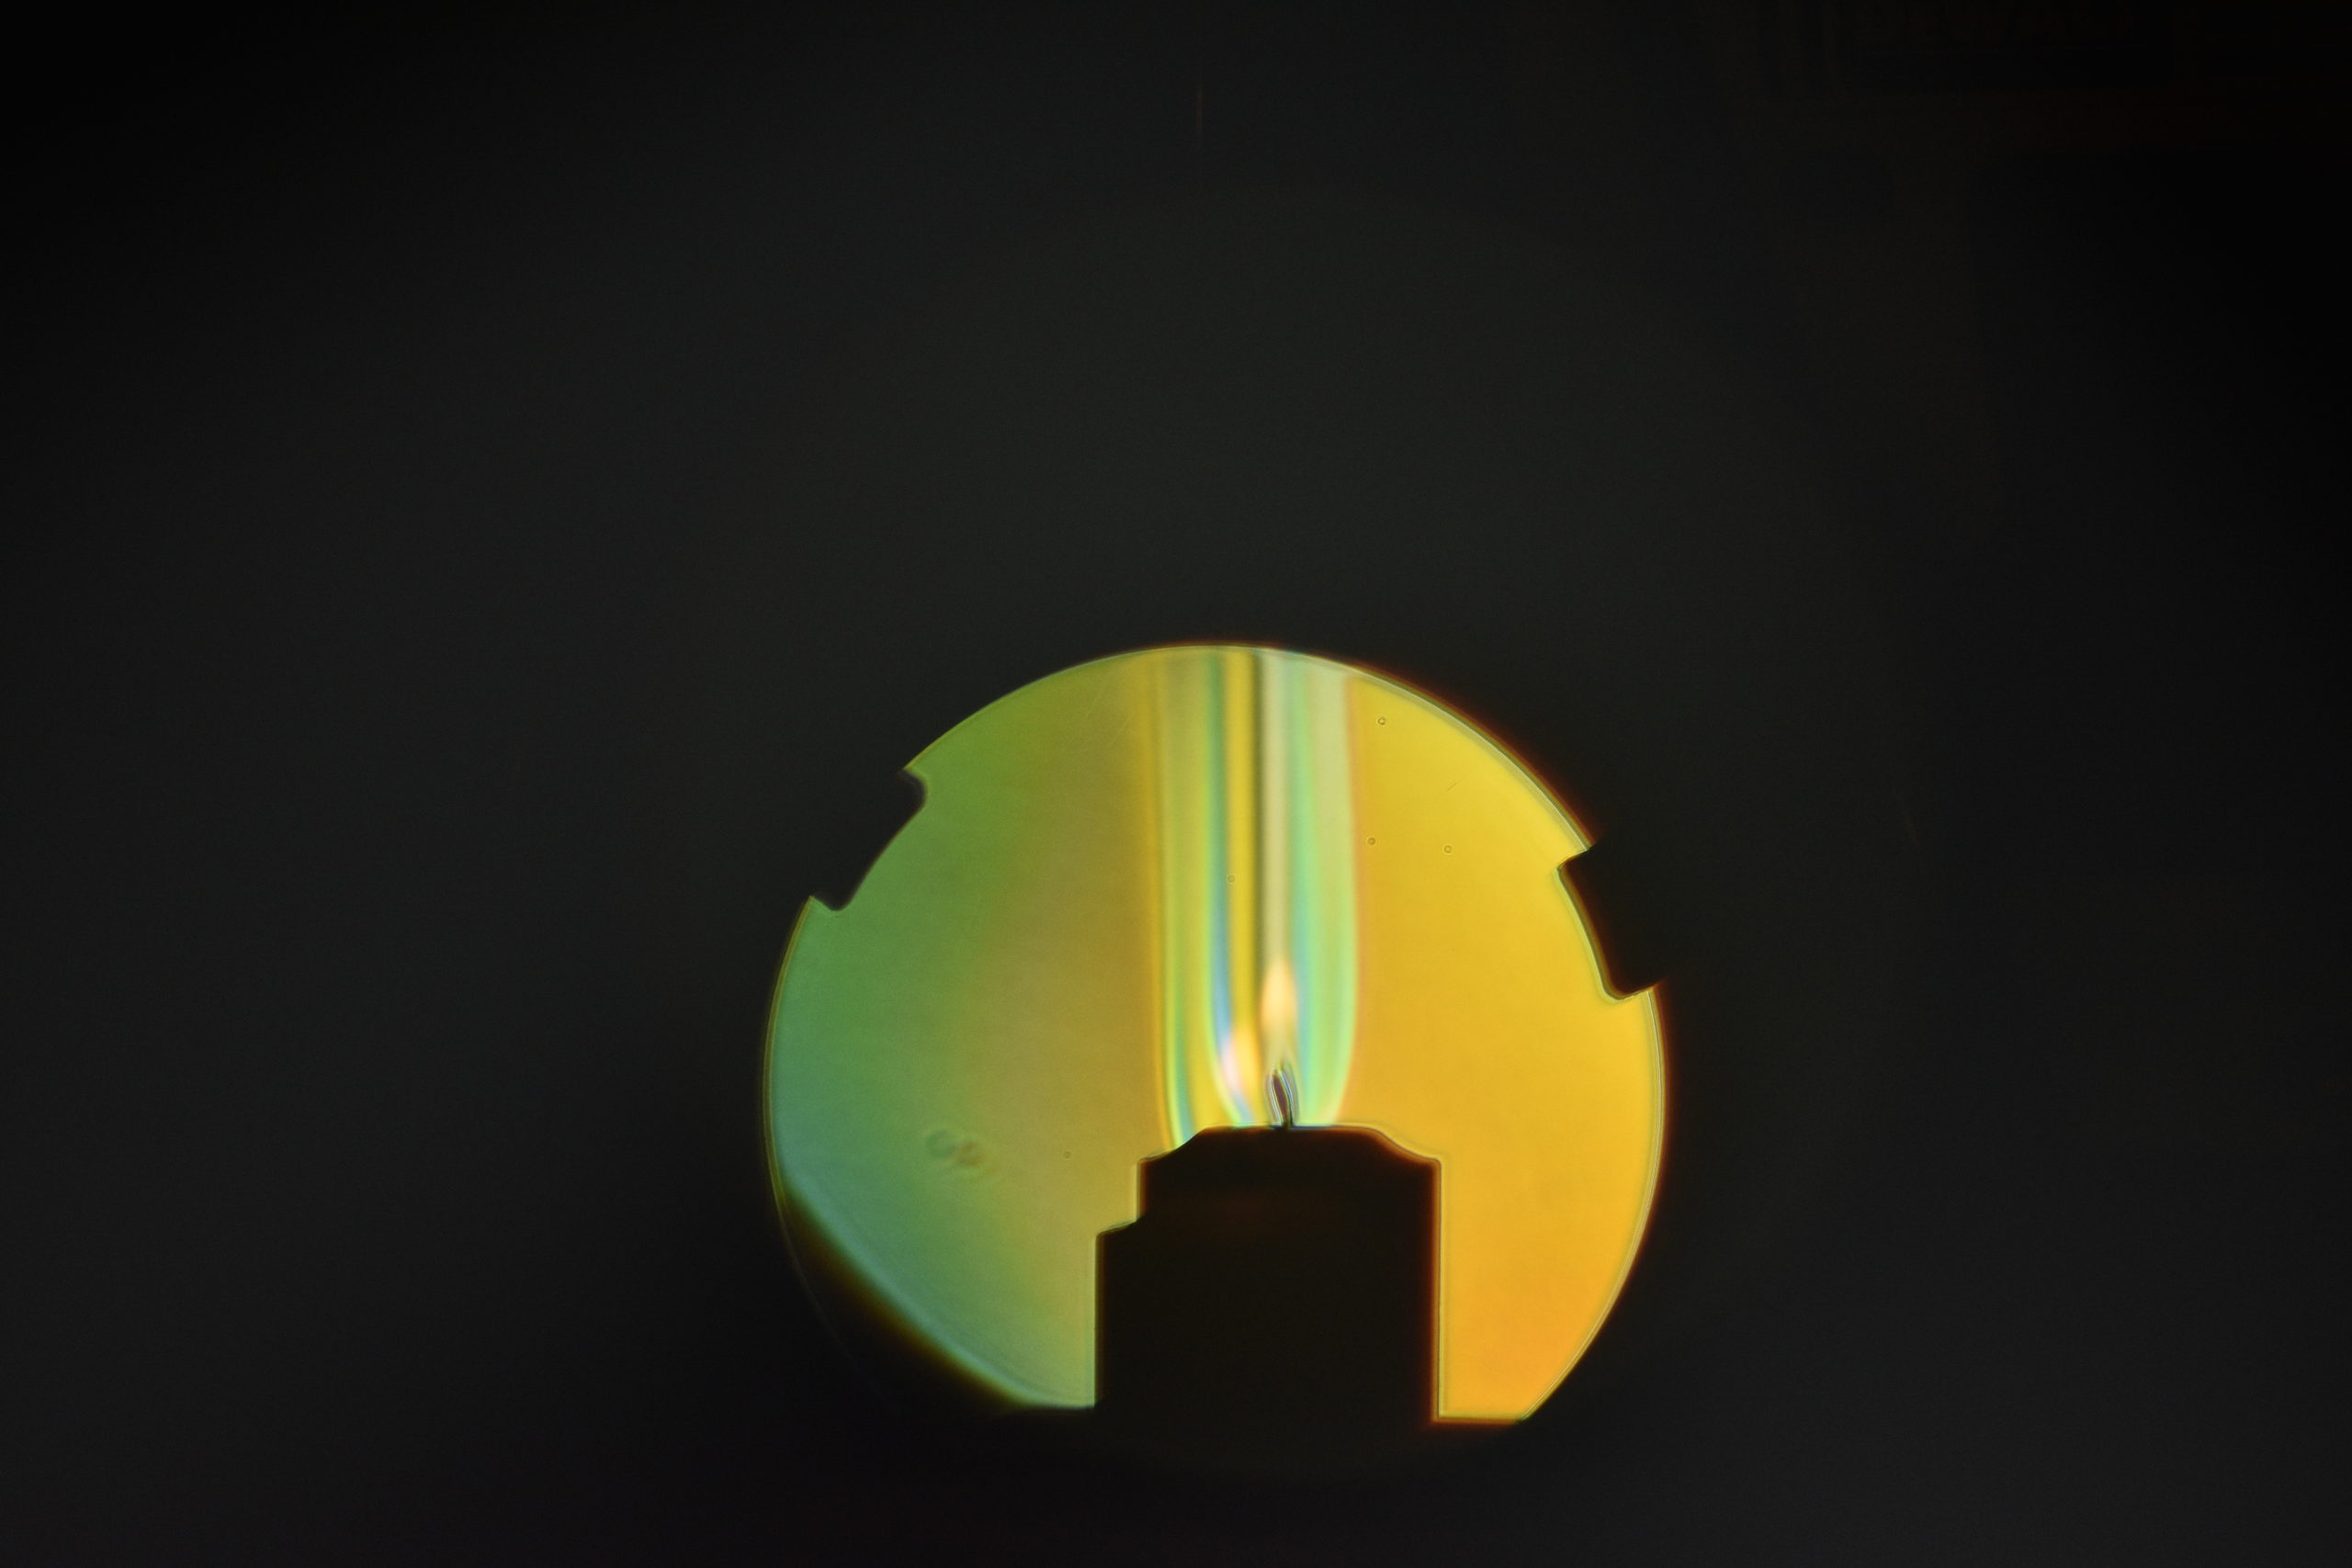
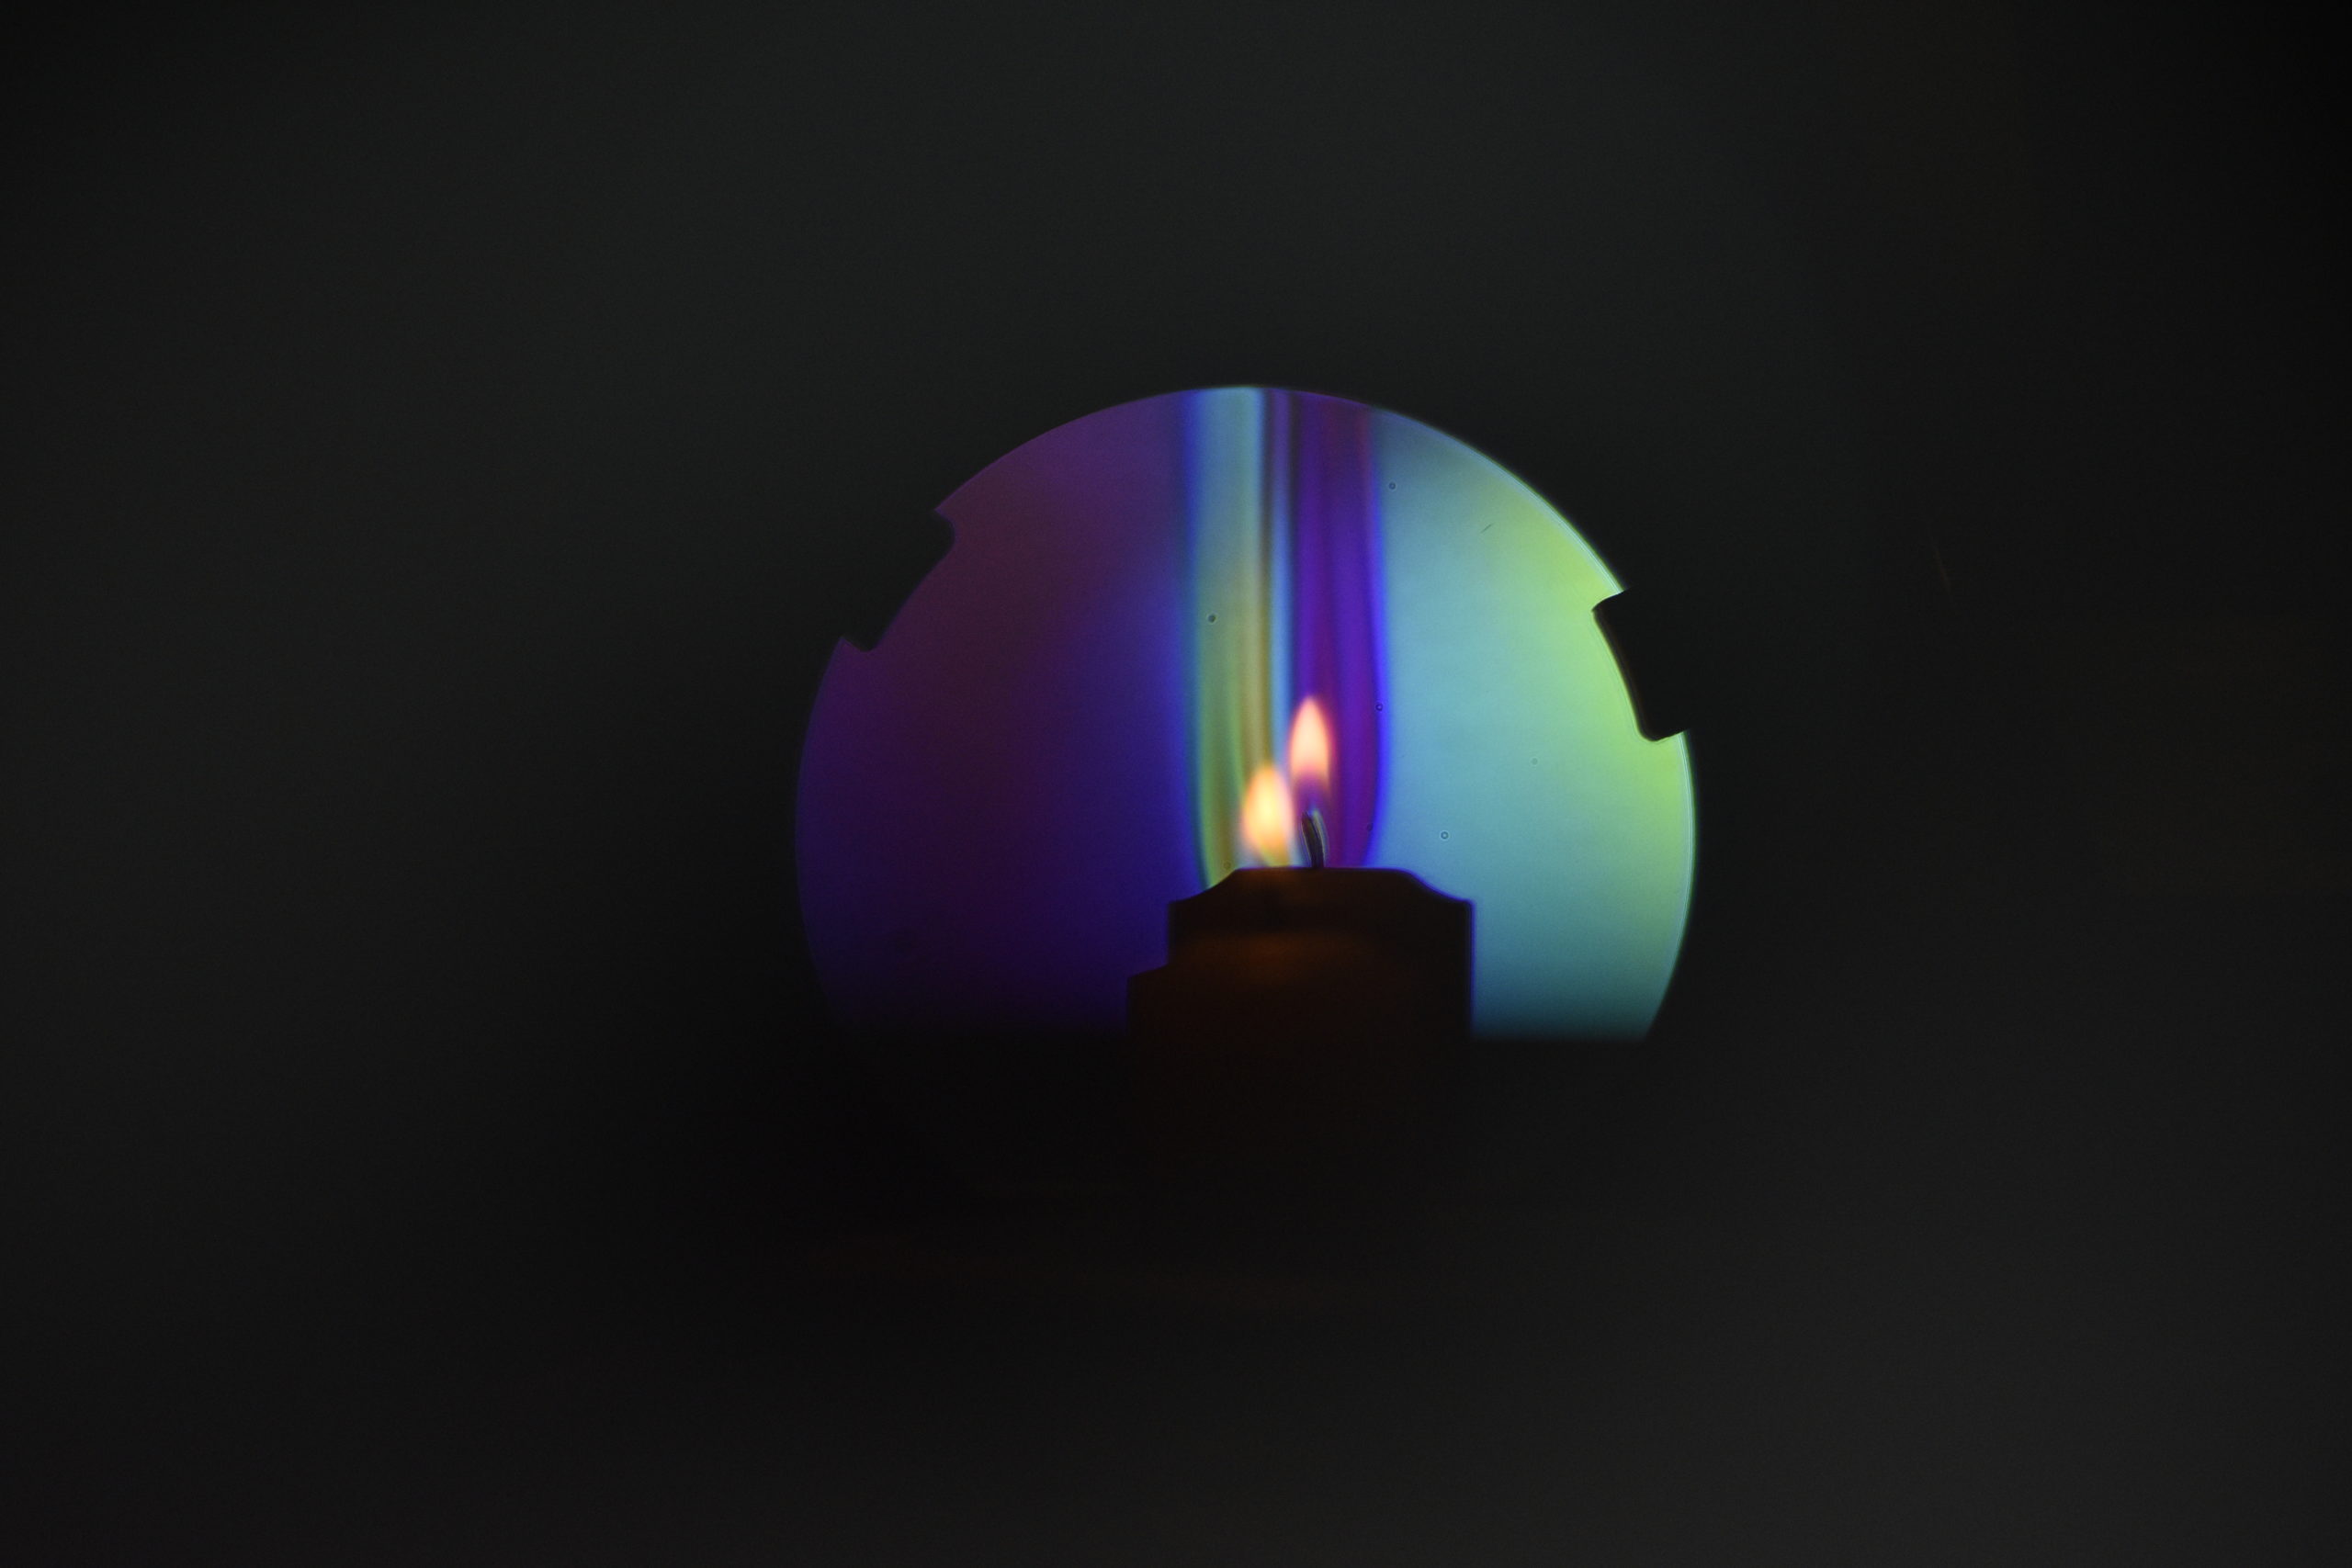
Misc:

Step 5: The Release
The SIA System was released at the end of the Summer of 2020 with the parts and SIA System Use Guide available through the WSU Libraries Research Exchange.