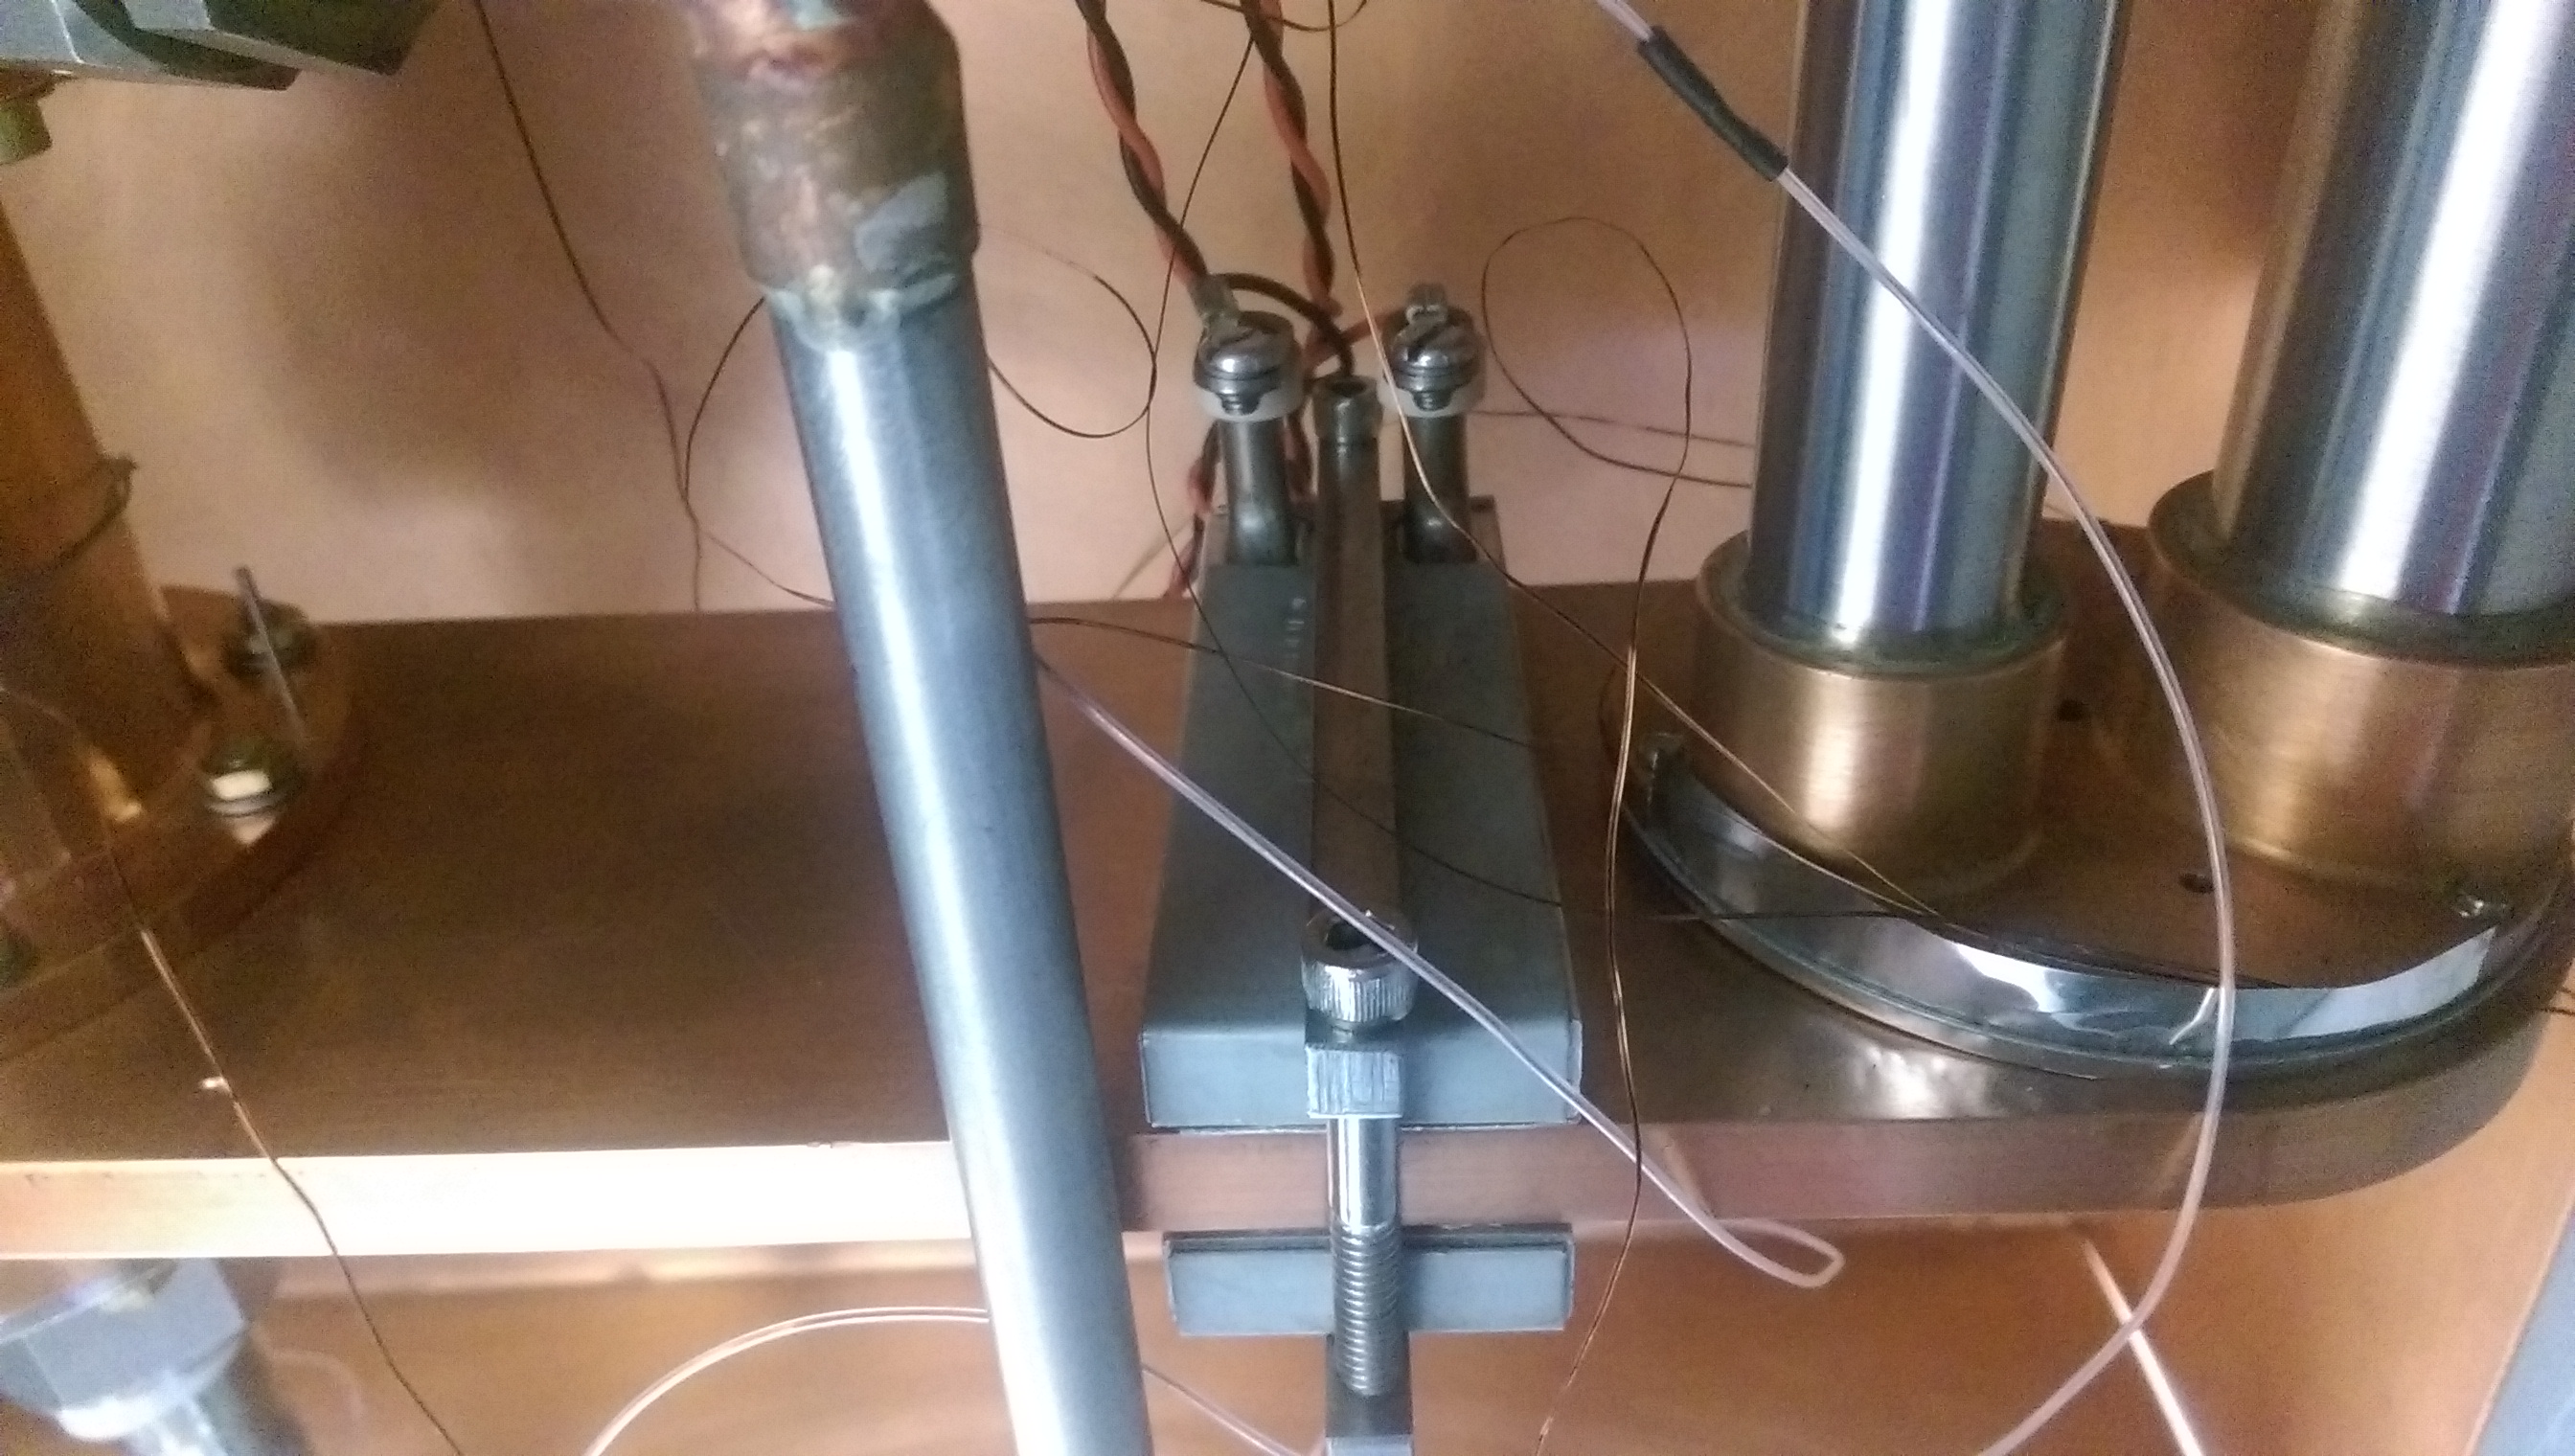
Alright, so you have a test chamber, you have a vacuum pump (I’ll get more in depth into in a future post), and you have a cryocooler. Now what? Well now we get down to the nitty gritty, now it’s all about designing the experiment itself. First you need to figure out what kind of measurements you need, and what other peripherals are necessary. In my case, so far I have figured that I need thermocouples for temperature measurements and fiber optical cable rated at cryogenic temperatures for my Raman Spectroscopy measurements. I also need some wires to run to my heater so that I can adjust the temperature from the baseline that the cryocooler tries to go to when it is operating. All these wires need to get out of the test chamber as well, so some sort of connector through one of the walls is necessary. Fortunately for me, there is already a connector so I can adapt it to my uses; this also means that for now I won’t learn exactly what components are necessary to make a new one. Below are some pictures for the current setup, including the heater along with many cords, the connector on the inside, as well as the connector through the wall.
After all the cables and wiring, we need to look at some of the bigger components. The cold head is what really makes everything work in our cryostat (this can be seen on the right hand side of the chamber pictures). With the version that we have, it only has ‘on’ and ‘off’ as settings, so we use a small heater to make up the difference necessary to bring our experiment to our required temperature. To get the thermal energy from the experiment to the cold head however we need some path way; this is often accomplished with some metal with a high thermal conductivity, such as OFHC (Oxygen-free high thermal conductivity) copper which can reach thermal conductivities as high as 2400 W/m-K at 20 K! This means that we can get more heat out of the test item at a faster rate, thereby reducing the overall time that an experiment takes. I am currently looking at thermal straps made of copper that connect the cold head to the test item, some examples of this can be easily found by searching for ‘thermal straps’ on Google. An advantage that these have over a traditional bar of copper connecting the cold head to test item is the significantly reduced thermal mass, if cutting this in half can save even a few hours of time that it takes to cool our experiment down to test temperature that this can be a very helpful thing overall! The advice my advisor has given me in the past ties in very well to this previous point: a piece of metal or equipment that you leave outside the cryostat is one extra piece that you don’t have to take below room temperature. Another advantage is the vibration dampening characteristics: as the cold head is operating it has small vibrations run through it, if we can isolate our experimental setup from this as much as possible then we can reduce unnecessary energy introduced as well as giving us better, steadier, measurements when doing optical microscopy as we are planning for this experiment.
Now we come to the test item setup itself. In my case I will be running my experiment in a SAC (Sapphire Anvil Cell), this is Bridgman type anvil cell that uses Sapphires instead of the more traditional Diamonds in a DAC (Diamond Anvil Cell). I am still designing how best to hold it in place with the least mass. The only real requirements that I have right now are that I can hook a thermal strap to it, that I can easily install it into its holder, and that it be at a thermal ‘dead end’. The last of these three is important because we want to draw the energy away from SAC without any way for more energy to be replenished to the system. This means that our supports to the overall structure will be on the other side of where the thermal strap hooks on.
To keep as little new energy from entering the SAC and holder, and helping to make it a thermal ‘dead end’, we have to look at the 3 basic ways that energy moves from Heat Transfer: Conduction, Convection, and Radiation. Conduction, heat transfer from through a sold, is very important in our experiment as noted above because it is how we get the energy to the cold head. Because we want the heat transfer from the cold head to the outside structure to be minimized, the walls of it are often very thin, meaning that it can’t handle large bending or torsion loads. This means that the supporting structure for the SAC and holder must attach directly to the wall of the test chamber. Using a material such as a G-10 epoxy fiberglass is a very appealing option for this as it has a very low coefficient of thermal expansion so it won’t move the attached equipment very much as the temperature lowers while having an extremely low thermal conductivity so very little heat from the surrounding walls are able to conduct through. Graphs with information about G-10 are shown below and are from ‘Experimental Techniques in Low Temperature Measurements’ by Jack Ekin. All the figures from the book are available here to look at for everyone: http://www.researchmeasurements.com/.
Convection, heat transfer through a fluid or gas, is one of the easier heat transfer pathways that we can block. We get around this by using a vacuum pump to evacuate the chamber of as much gas as we can, essentially isolating the SAC from the surrounding walls. This is exactly how most thermos bottles work. And lastly is Radiation, this is an issue for two reasons. One is that it requires no medium to travel across, so even in a vacuum it is still able to work, and the other reason that it is an issue is that the heat transfer is proportional to the difference in surface temperatures to the fourth power! This means that when temperature difference are small it is not very noticeable, but when the walls of the cryostat are around 290 K and our test apparatus is at 20 K we have a difference of 270 K!!! Luckily we can get around this by using a radiation shield. This is a two-fold shield, using a copper metal exterior and an MLI (multi-layer insulation) shroud. MLI shrouds can often be seen on satellites as space craft, are highly reflective, and are often gold, copper, or silver colored depending the material used.
Well I feel that about wraps up everything I have to say about interior components for today! In my upcoming posts I hope to talk more about the materials selection, seals/sealing surfaces, and the concept of a vacuum.