In the Fall of 2016 ME seniors Ryan Pitzer, Jake Enslow, and Austin Rapp designed the CLEAN (Cougar Lean) workbench. The CLEAN workbench is designed to maximize organization and accessibility in the work-space. These benches can easily be attached together to create a larger work-space, which can be largely beneficial in any research lab. This is an improvement from the work-benches previously found in the HYPER lab; while they were functional as a work-space, they did not have the practical modular features that the CLEAN workbenches include.
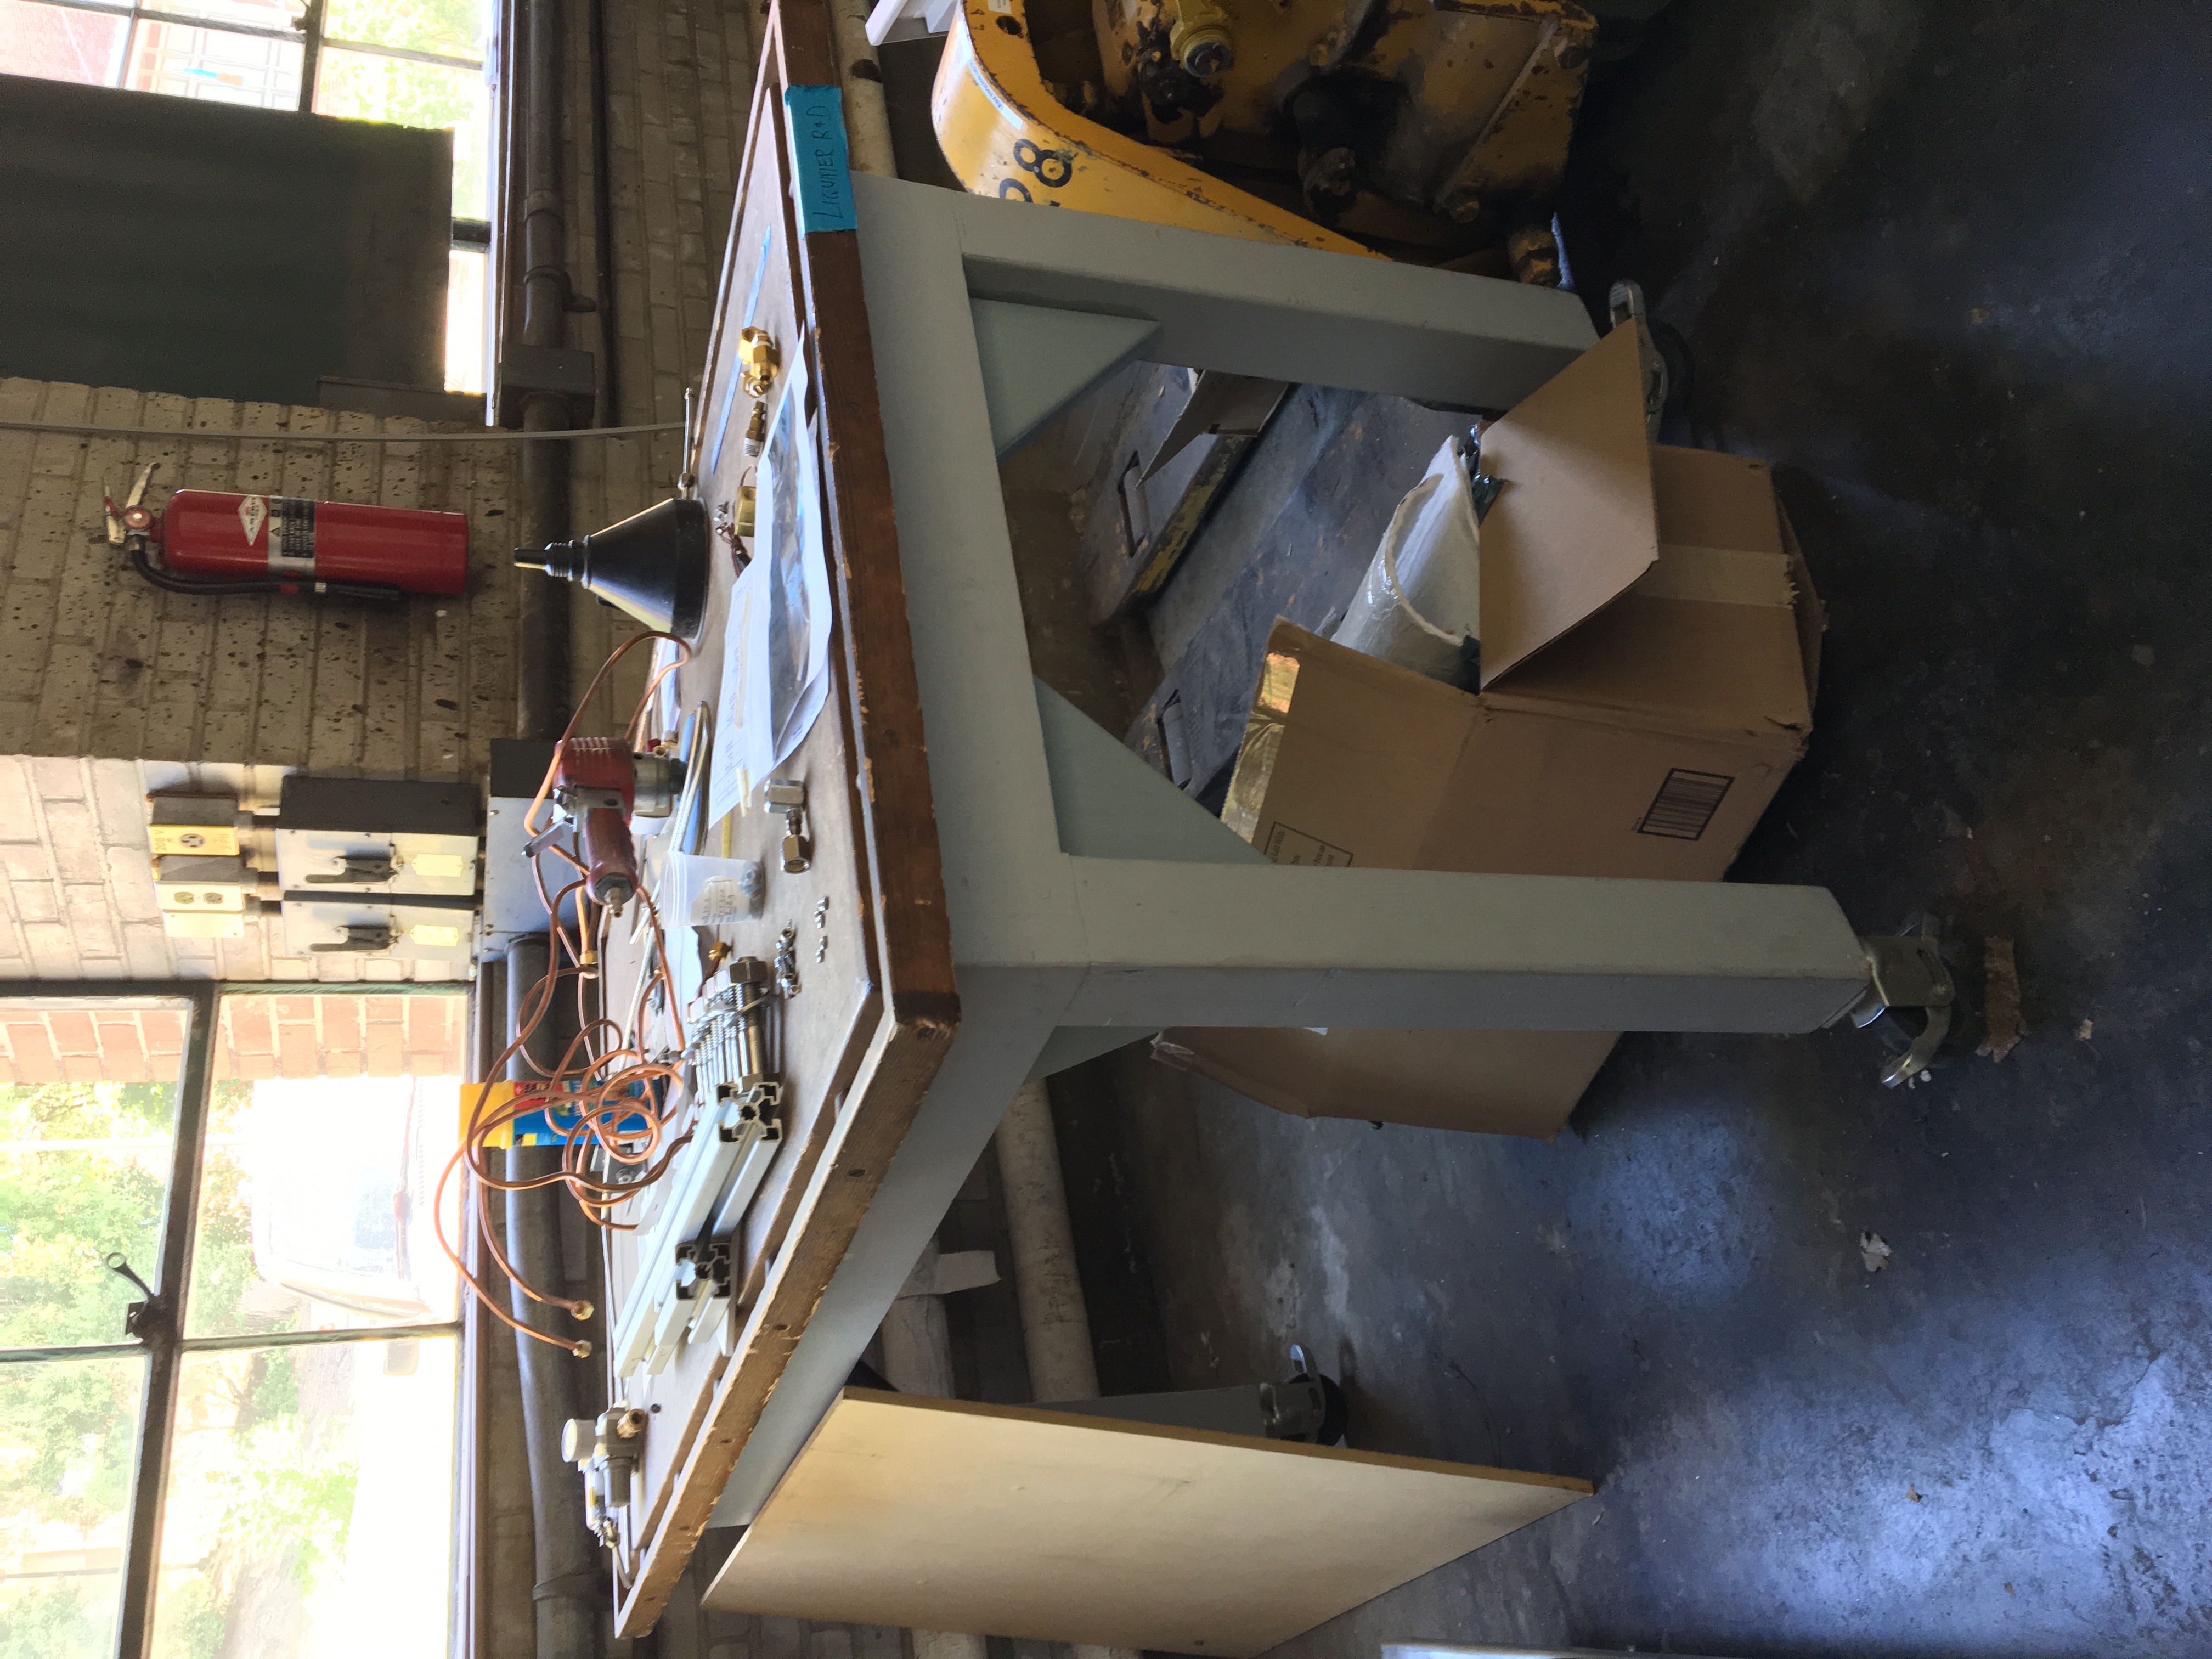
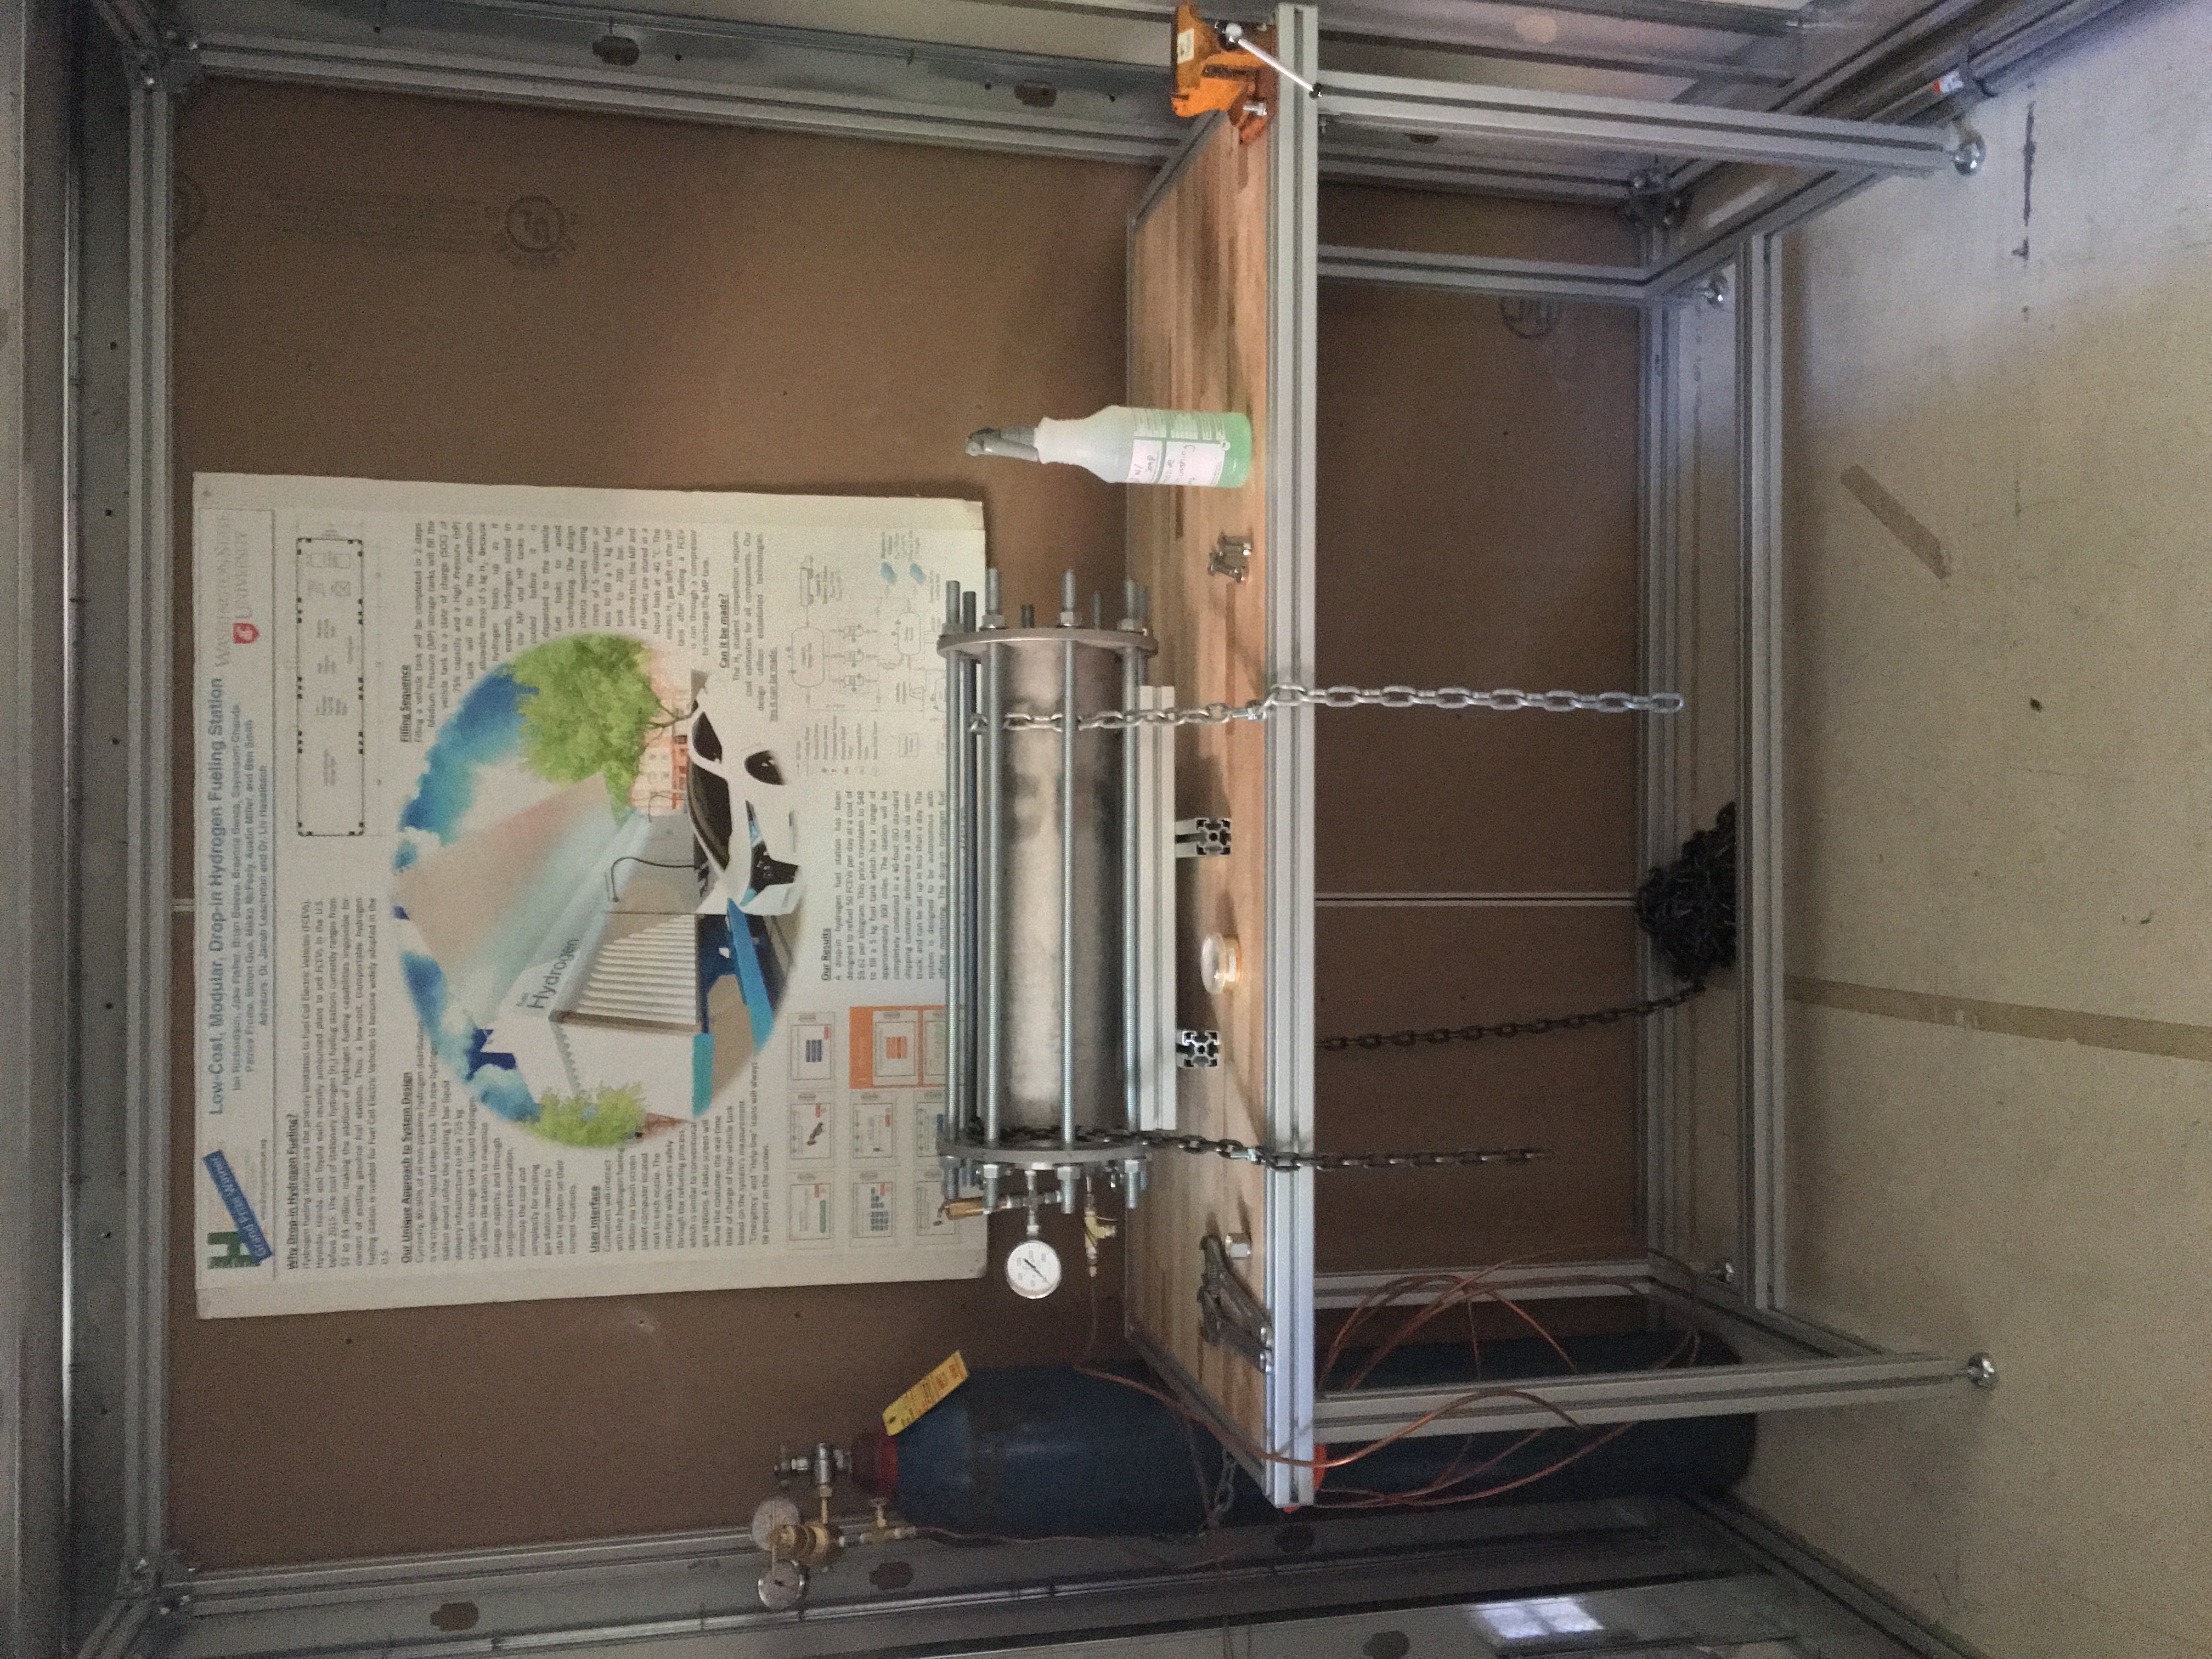
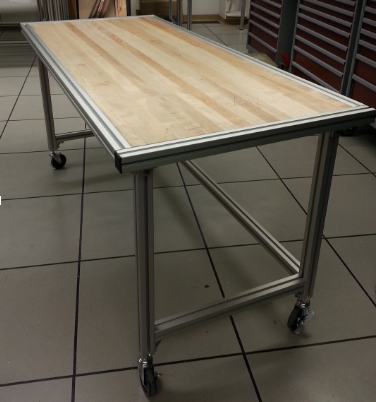
Old work-benches in the HYPER Lab provided a functional work-space, but were bulky, heavy, and lacked the modularity to properly implement all of our tools. New CLEAN work-bench (right) used during initial N2 cooling tests in the HYPER lab!
MATERIALS:
- 2 Bosch Tubes, 20′ long
- 1 Maple wood workbench top 60″ x 24″, straight edge
- 12 Bosch Horizontal Quick Connects
- 12 Bosch Vertical Quick Connects
- 8 Bosch T-Nut bolt fastening kit, L-19
- 4 Tube end covers, 45 mm profile
- 8 L-Mounting brackets
- 4 Leveling feet, M12 x 44 OR 128 mm locking casters
- Aluminum cutting oil
TOOLS:
- Chop saw
- Aluminum chop saw blade
- Cordless drill
- Drill bits: (43/64″), (7/16″)
- 8mm Allen wrench
- Drill Press, DVR preferred
- Phillips Screwdriver
- Adjustable wrench
- Rubber Mallet
- Clamps
- M12 x 1.75 tap
PROCEDURE:
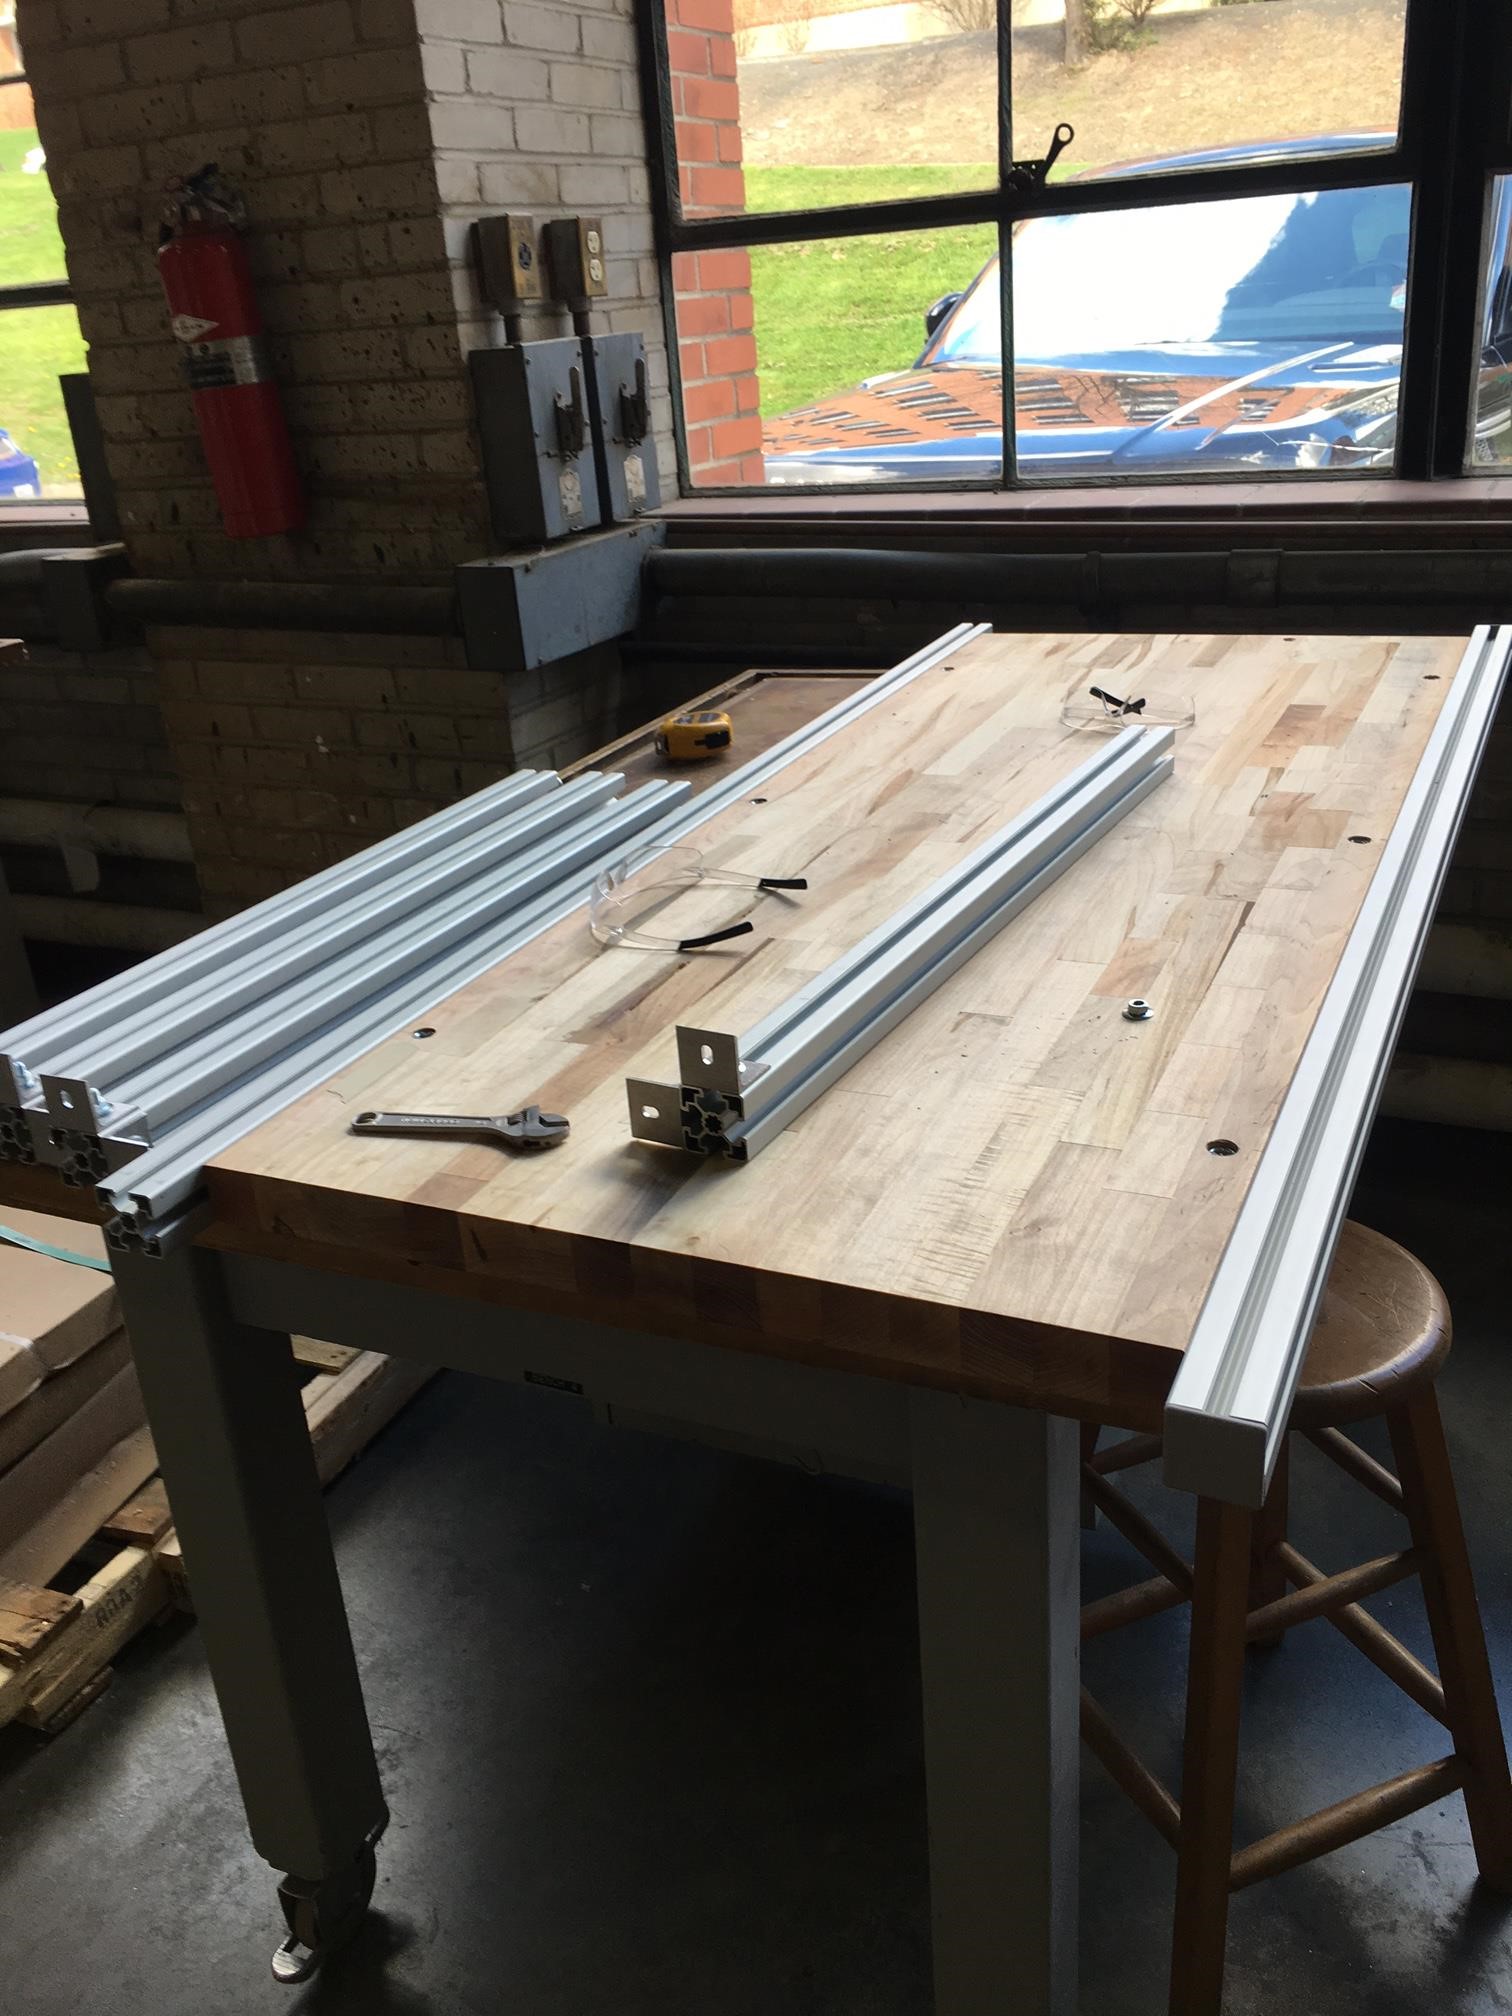
1. After ensuring that the chop saw has the aluminum cutting blade properly installed, and the tubes are properly clamped in place, cut the Bosch tubes in accordance to the following cut list:

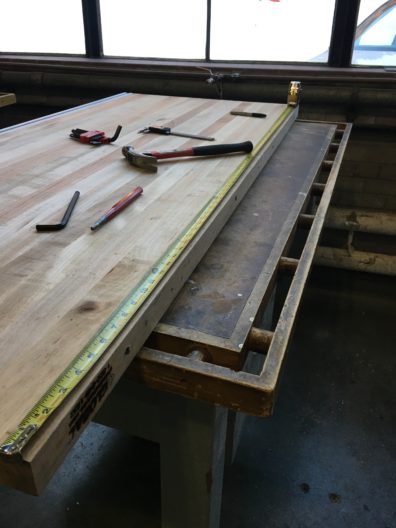
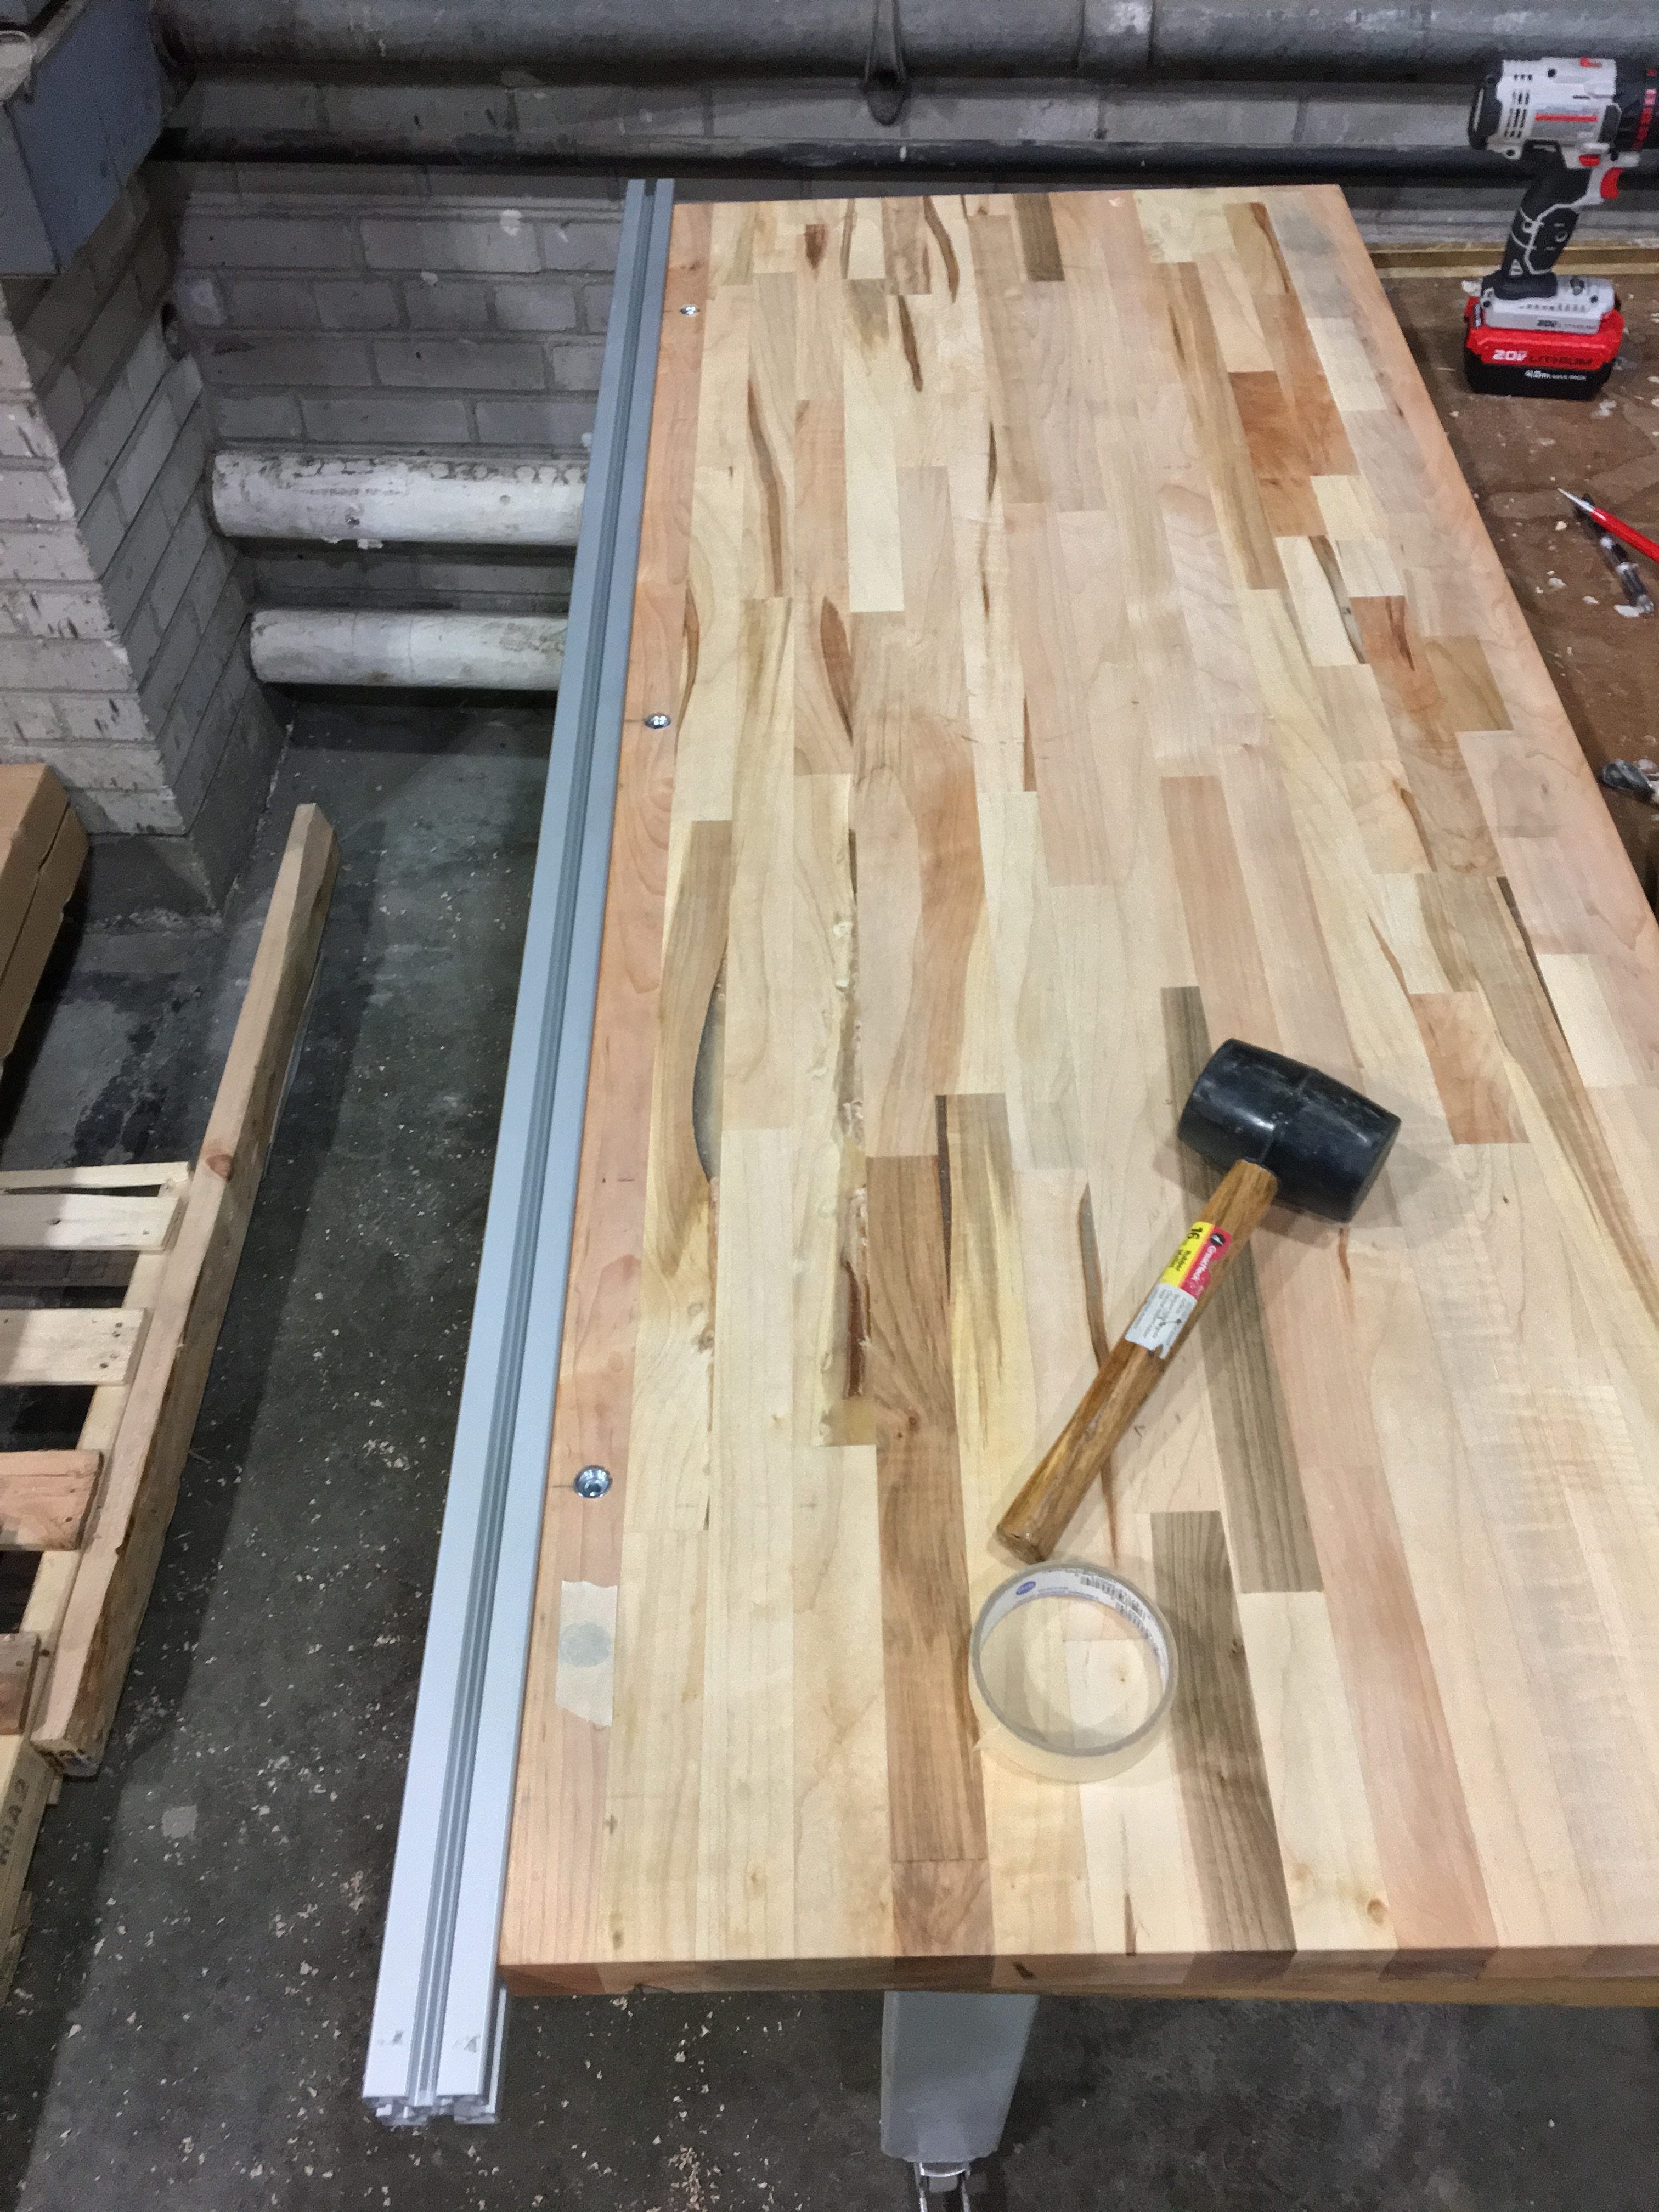
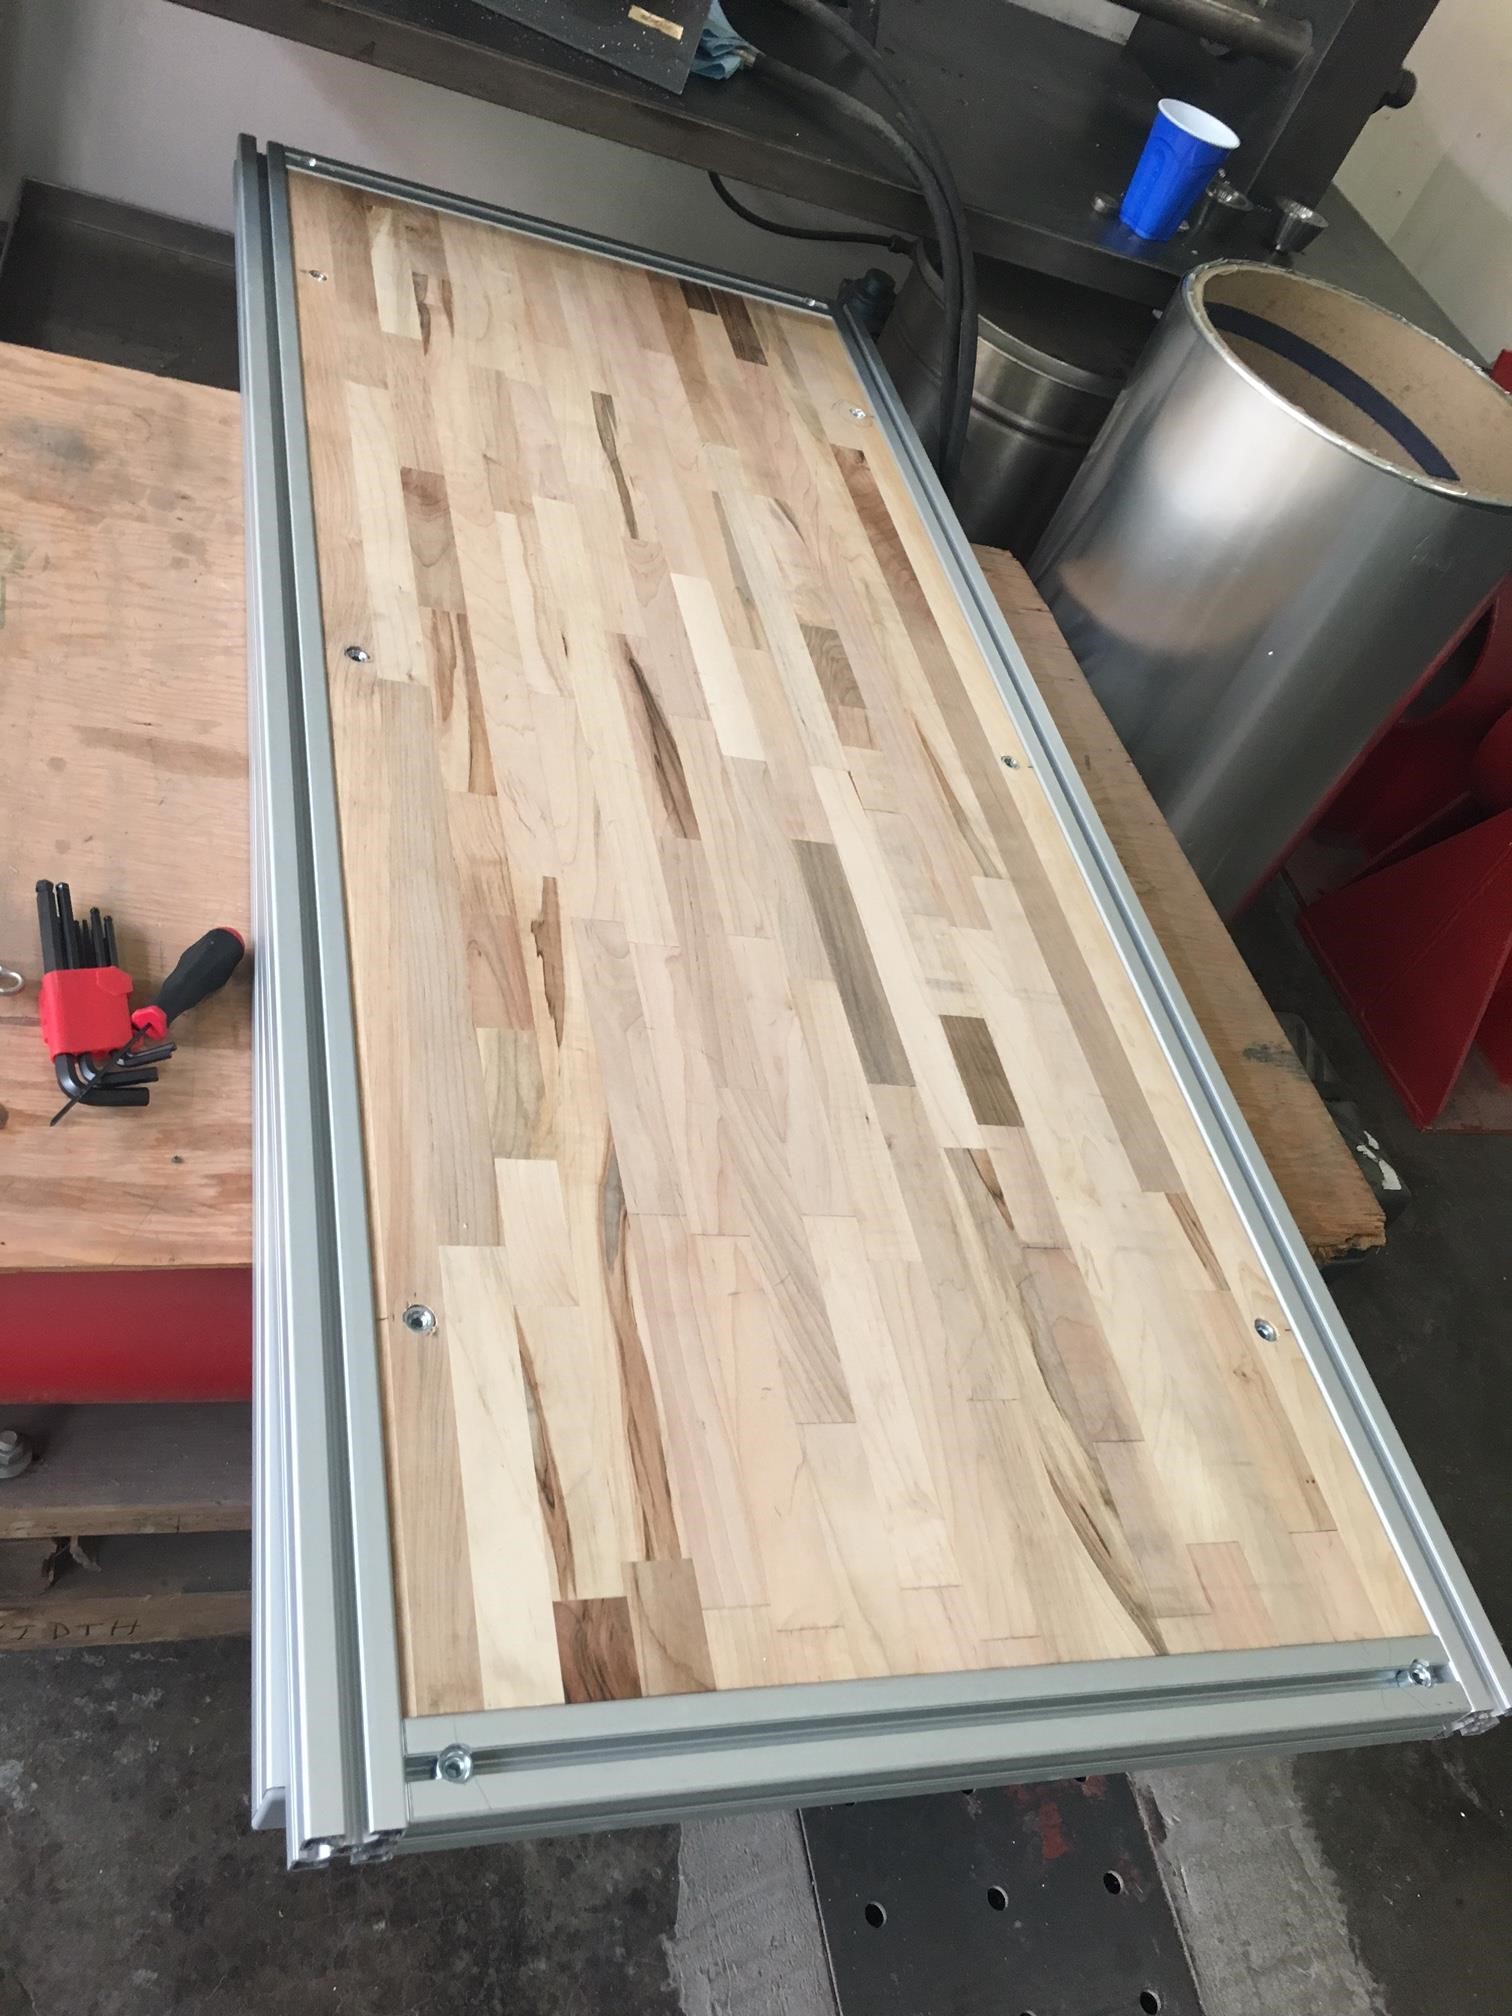
2. Lay the maple top upside-down on the work surface and use the cordless drill with the (43/64″) bit to cut holes for the Horizontal Quick Connect barrels. Drill in a pattern shown below:
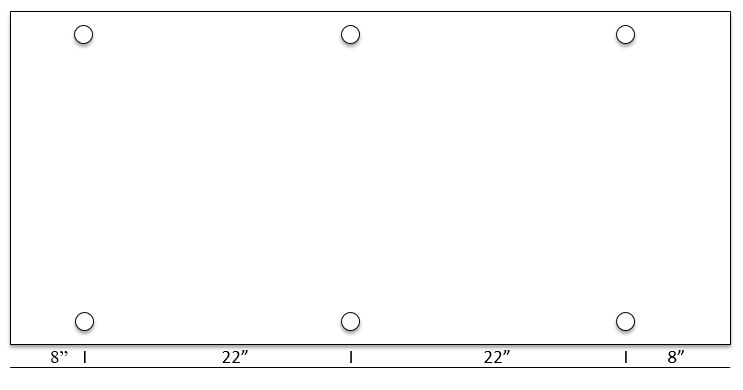
The center of the holes are to be marked 22.5 mm in from the side edges of the block. This ensures that the T-bolt notch for the Quick Connect is within tolerance.

The illustration above shows how a Quick Connect piece can clamp Bosch tubing up against the maple top. Above the notch rests a screw which pulls the head of the T-bolt in closer towards the barrel as it is tightened down.
3. In order for the Quick Connect assembly to work, a (7/16″) wide hole must be drilled on the side of the maple top perpendicular to the previously cut holes. This allows for the T-bolt to slide into the side of the barrel component of the Quick Connect.
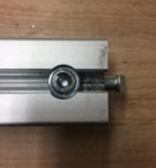
4. Drop the barrel component of the quick connect piece into the maple block with the threaded side up. Then insert the T-bolt into the side of the maple block, and into the barrel. The notch on the T-bolt must be visible inside of the barrel. Slide the T-Bolt in to the point where the rubber seal is flush with the maple block. Next, slide pieces D1 and D2 on either side of the maple block, while the T-bolts are threaded through the Bosch tube. Tighten using the 8 mm Allen wrench.
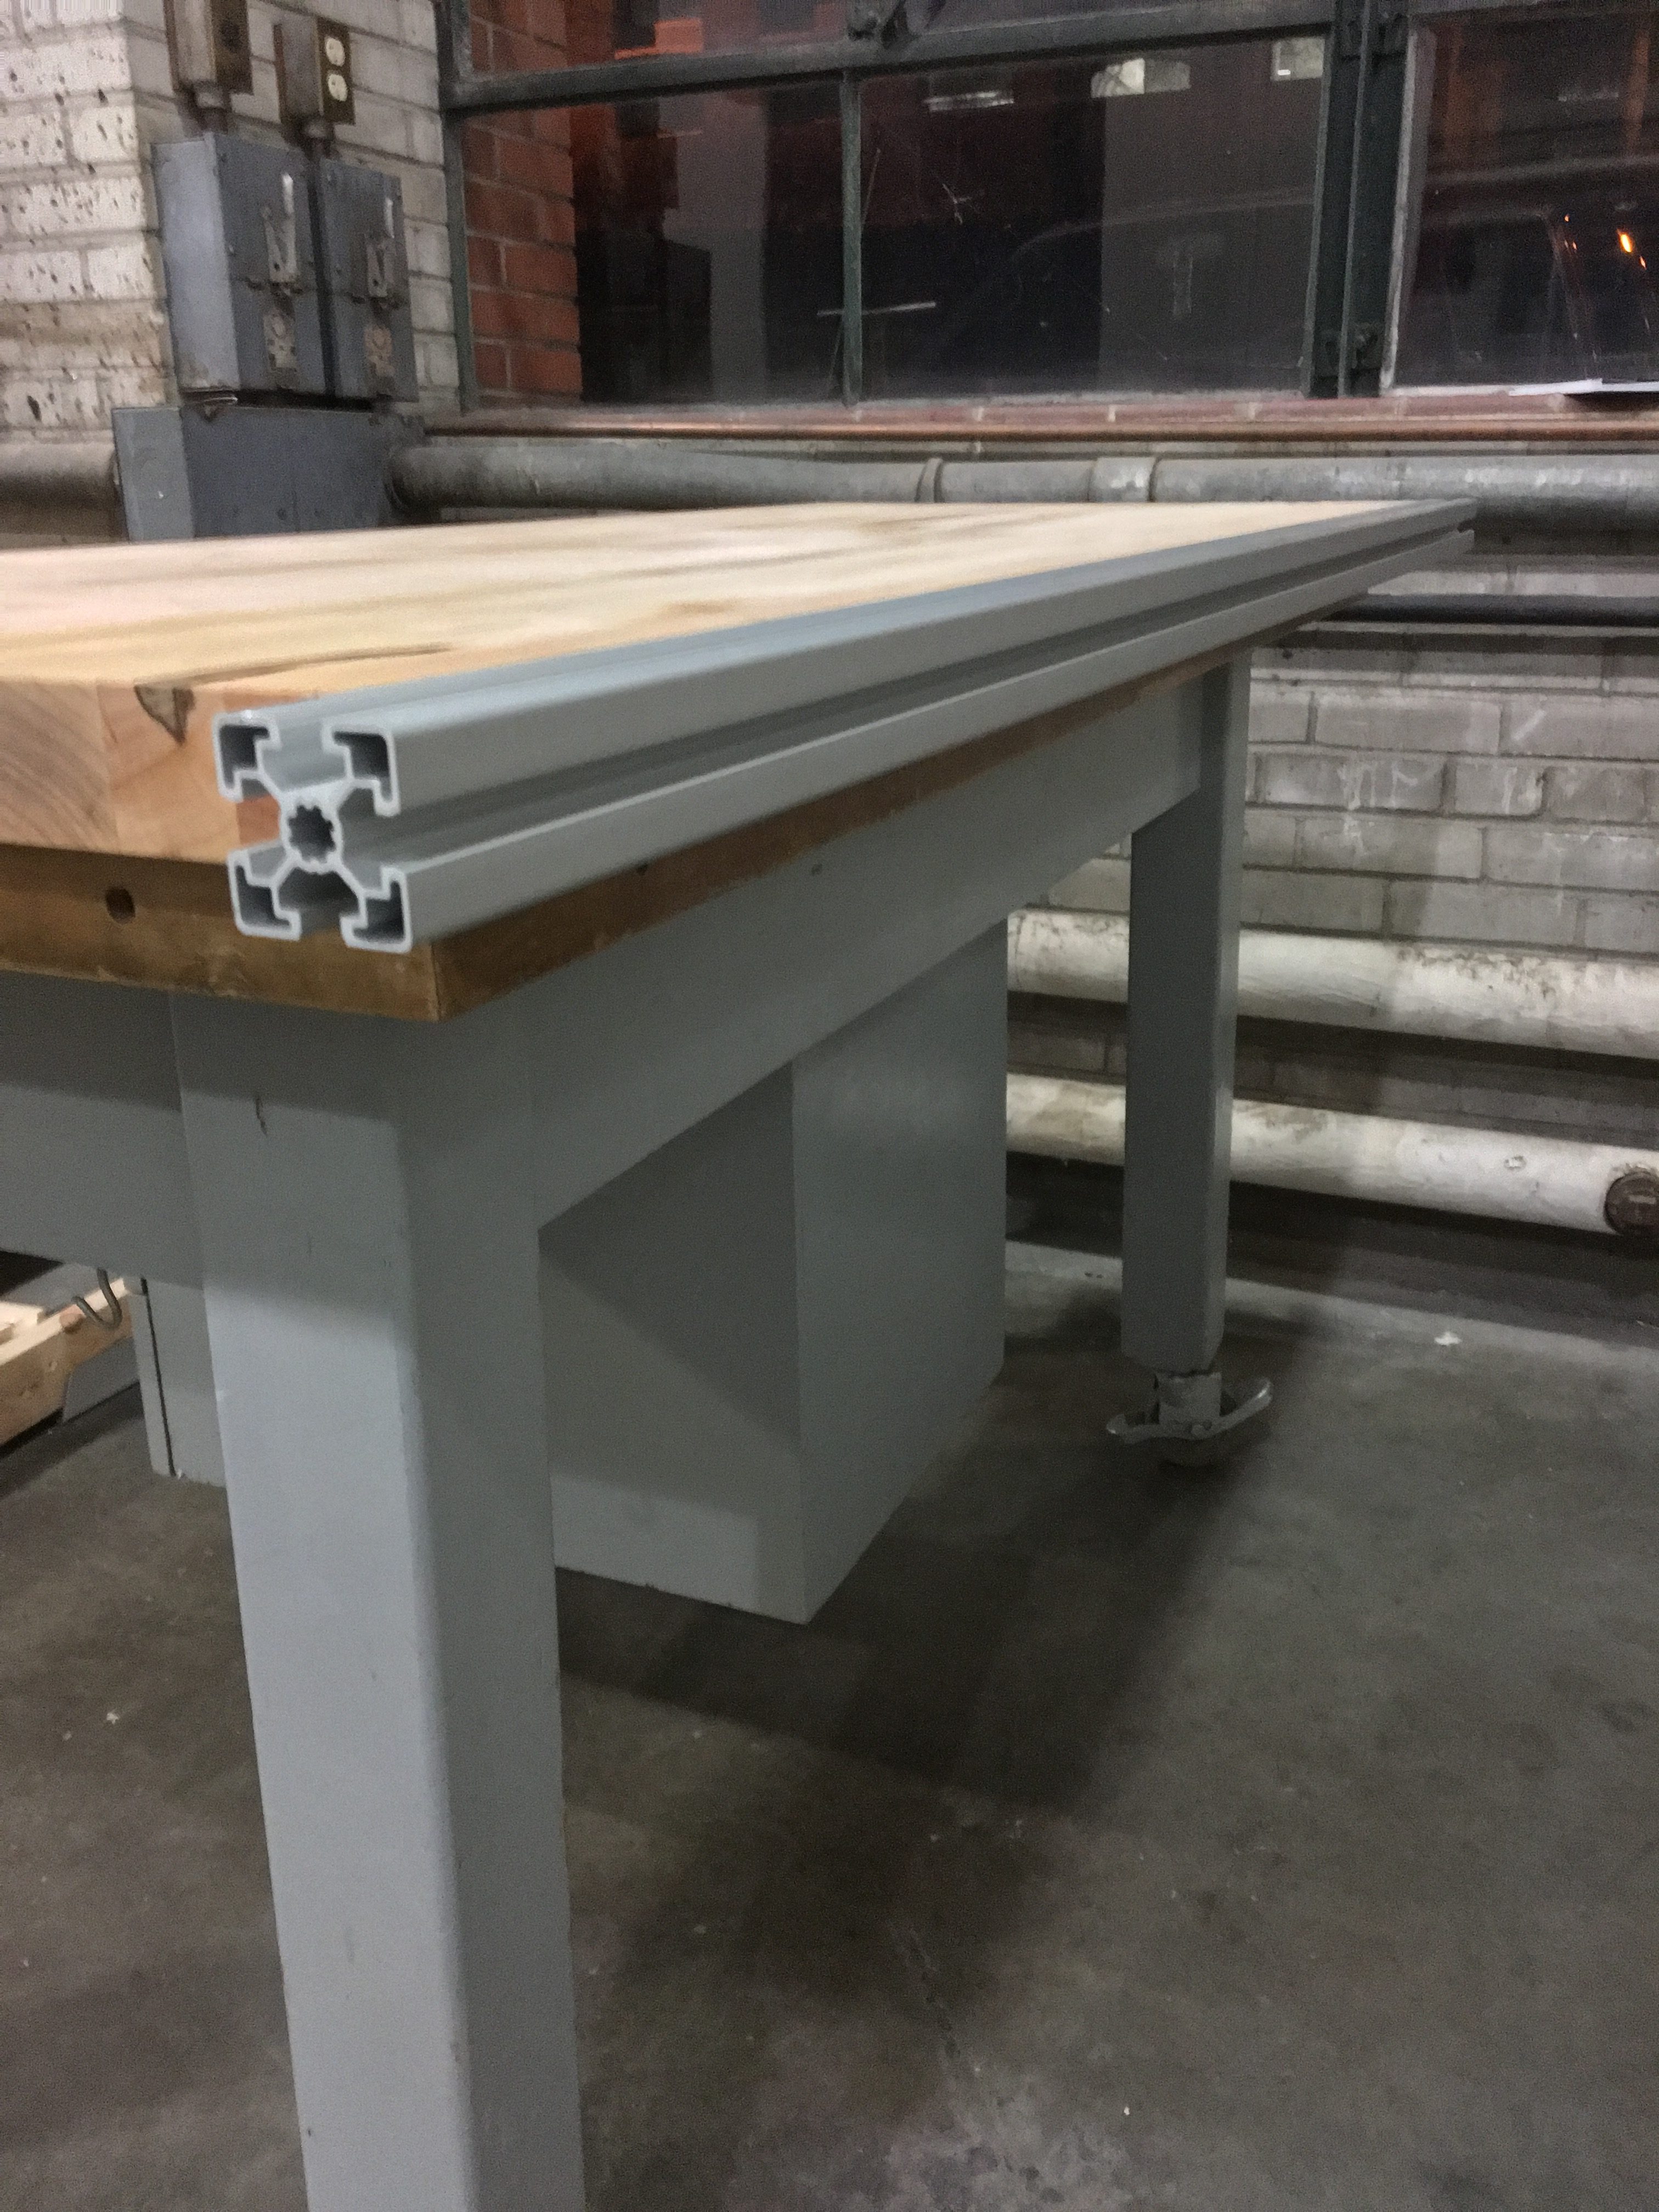
The method we use here to connect the Bosch tubes to the maple block leaves a clean, seamless finish on the surface of the workbench.
5. Collect parts B1, B2, C1, E1, and E2. Prep the drill press with the (43/64″) drill bit. On each of the listed pieces, use a Sharpie pen and draw a dot marked 22.5 mm away from the edge of the tube. Repeat this process once for each tube so that one face of each tube is marked twice, once on each end. Align the drill press so the the bit is centered over the Sharpie mark. Drill through the tube. If using a drill press with a DVR, then align the drill bit on the corner of each tube. Move the drill bit so that the DVR reads -22.5 mm in both the x and y direction.
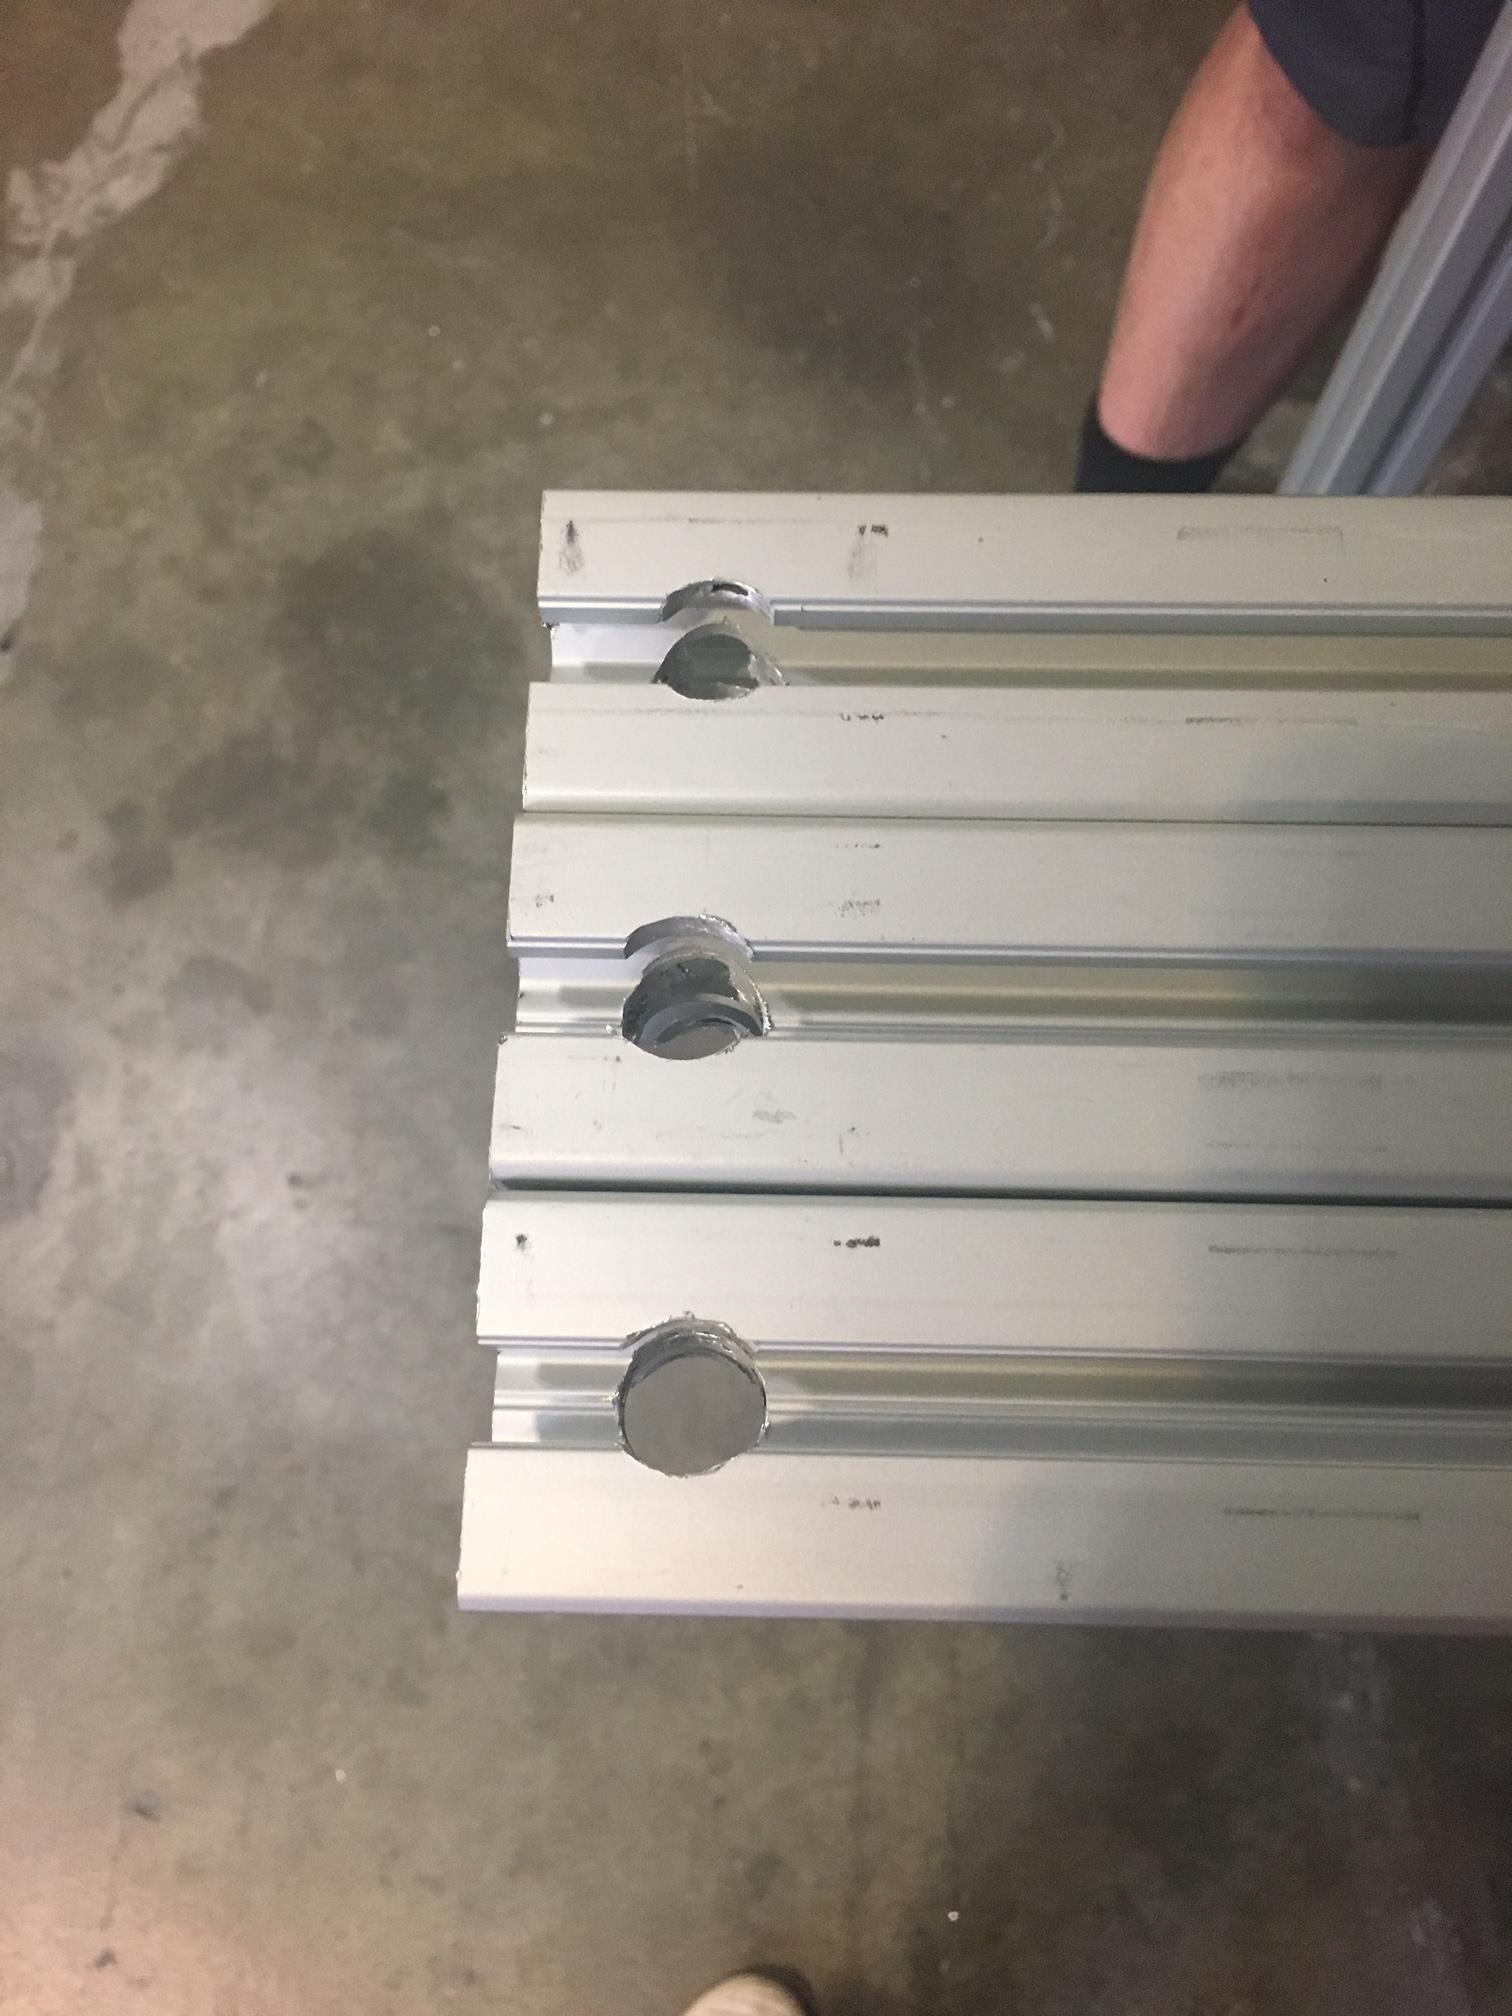
Then insert Horizontal Quick Connects on both ends of parts E1 and E2 as shown below:
6. Slide pieces E1 and E2 onto the short ends of the maple block. Tighten the Quick Connectors to complete the upper portion of the workbench.
Apply the end caps.
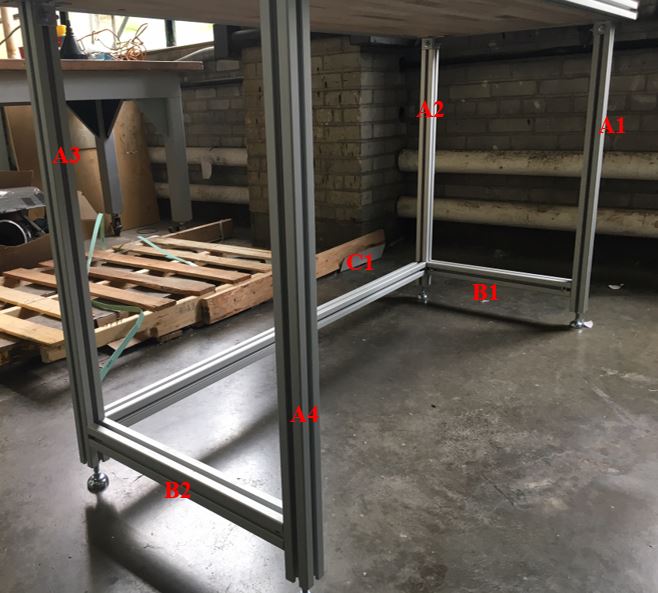
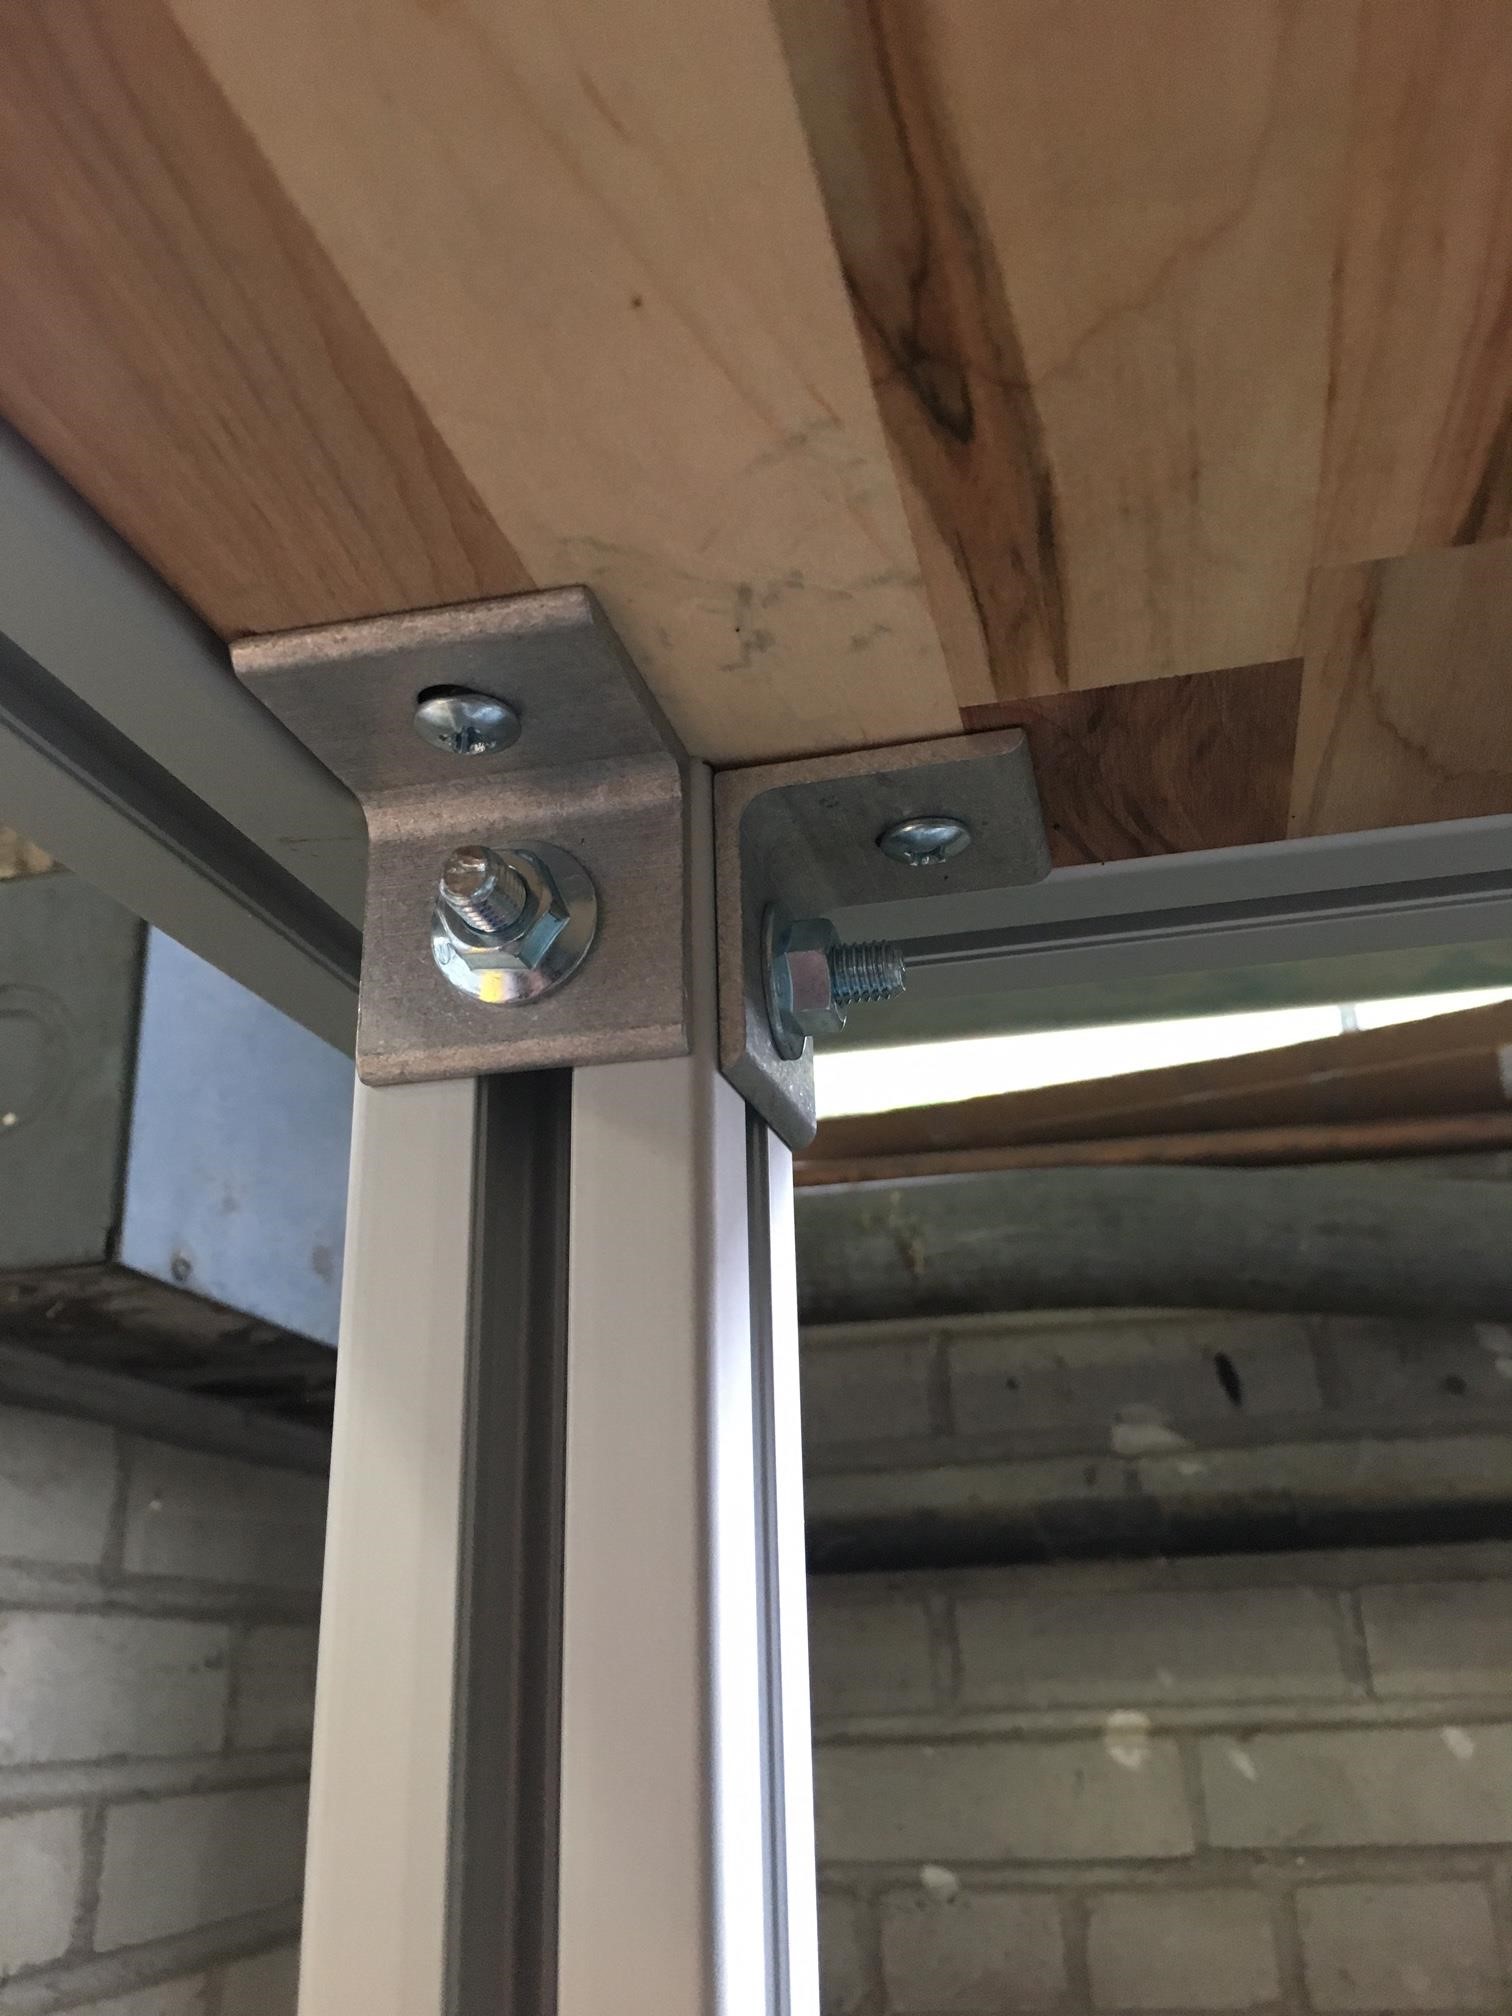
7. Collect parts A1-A4, L-mounting brackets, T-Bolt fasteners, and mounting hardware that is included with the purchase of the maple block. On one end of each tube, install the mounting brackets using the T-Bolt fasteners as shown below. Ensure that the mounting brackets are flush with the edge of the Bosch tube.
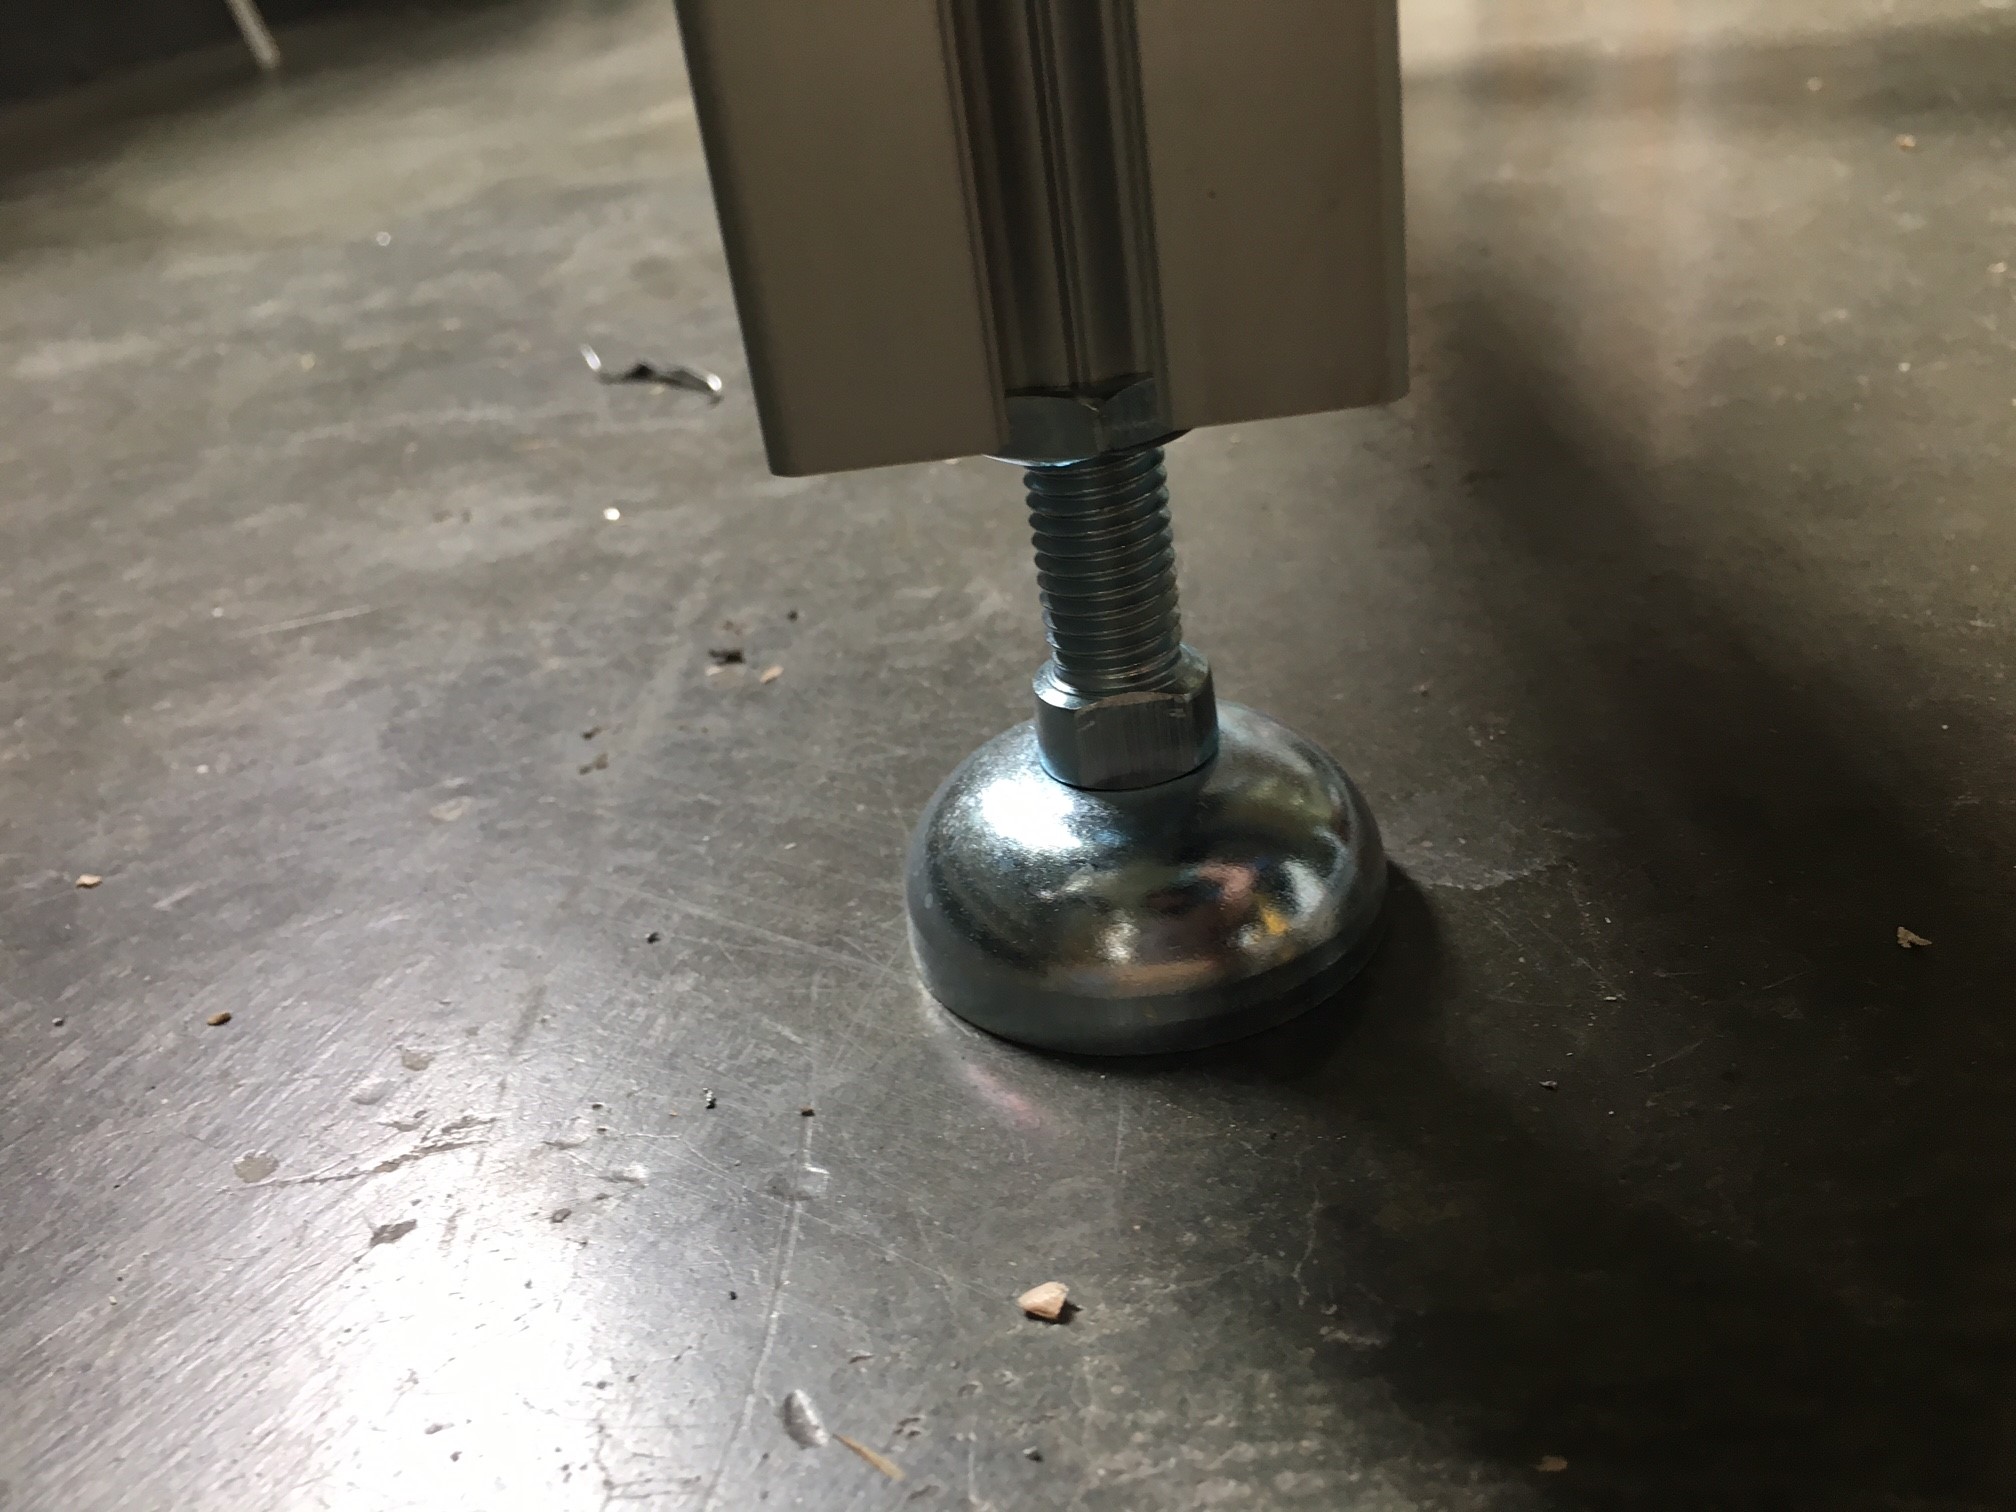
8. Using the same tubes from step 7. Before using the tap, apply a few drop of Aluminum cutting fluid to the area where you will be threading. Use the M12 x 1.75 tap to thread the four legs on the ends opposite to the mounting brackets.
Once completed, bolt on the adjustable feet or casters. When using casters, fully secure the bolt. When using leveling feet, ensure that all 4 leveling feet are extruded to the desired height.
9. The next step is to assemble the lower frame of the workbench. The lower frame requires nothing more than additional Quick Connects to assemble. Use the remaining Quick Connect pieces to assemble the lower frame as follows:
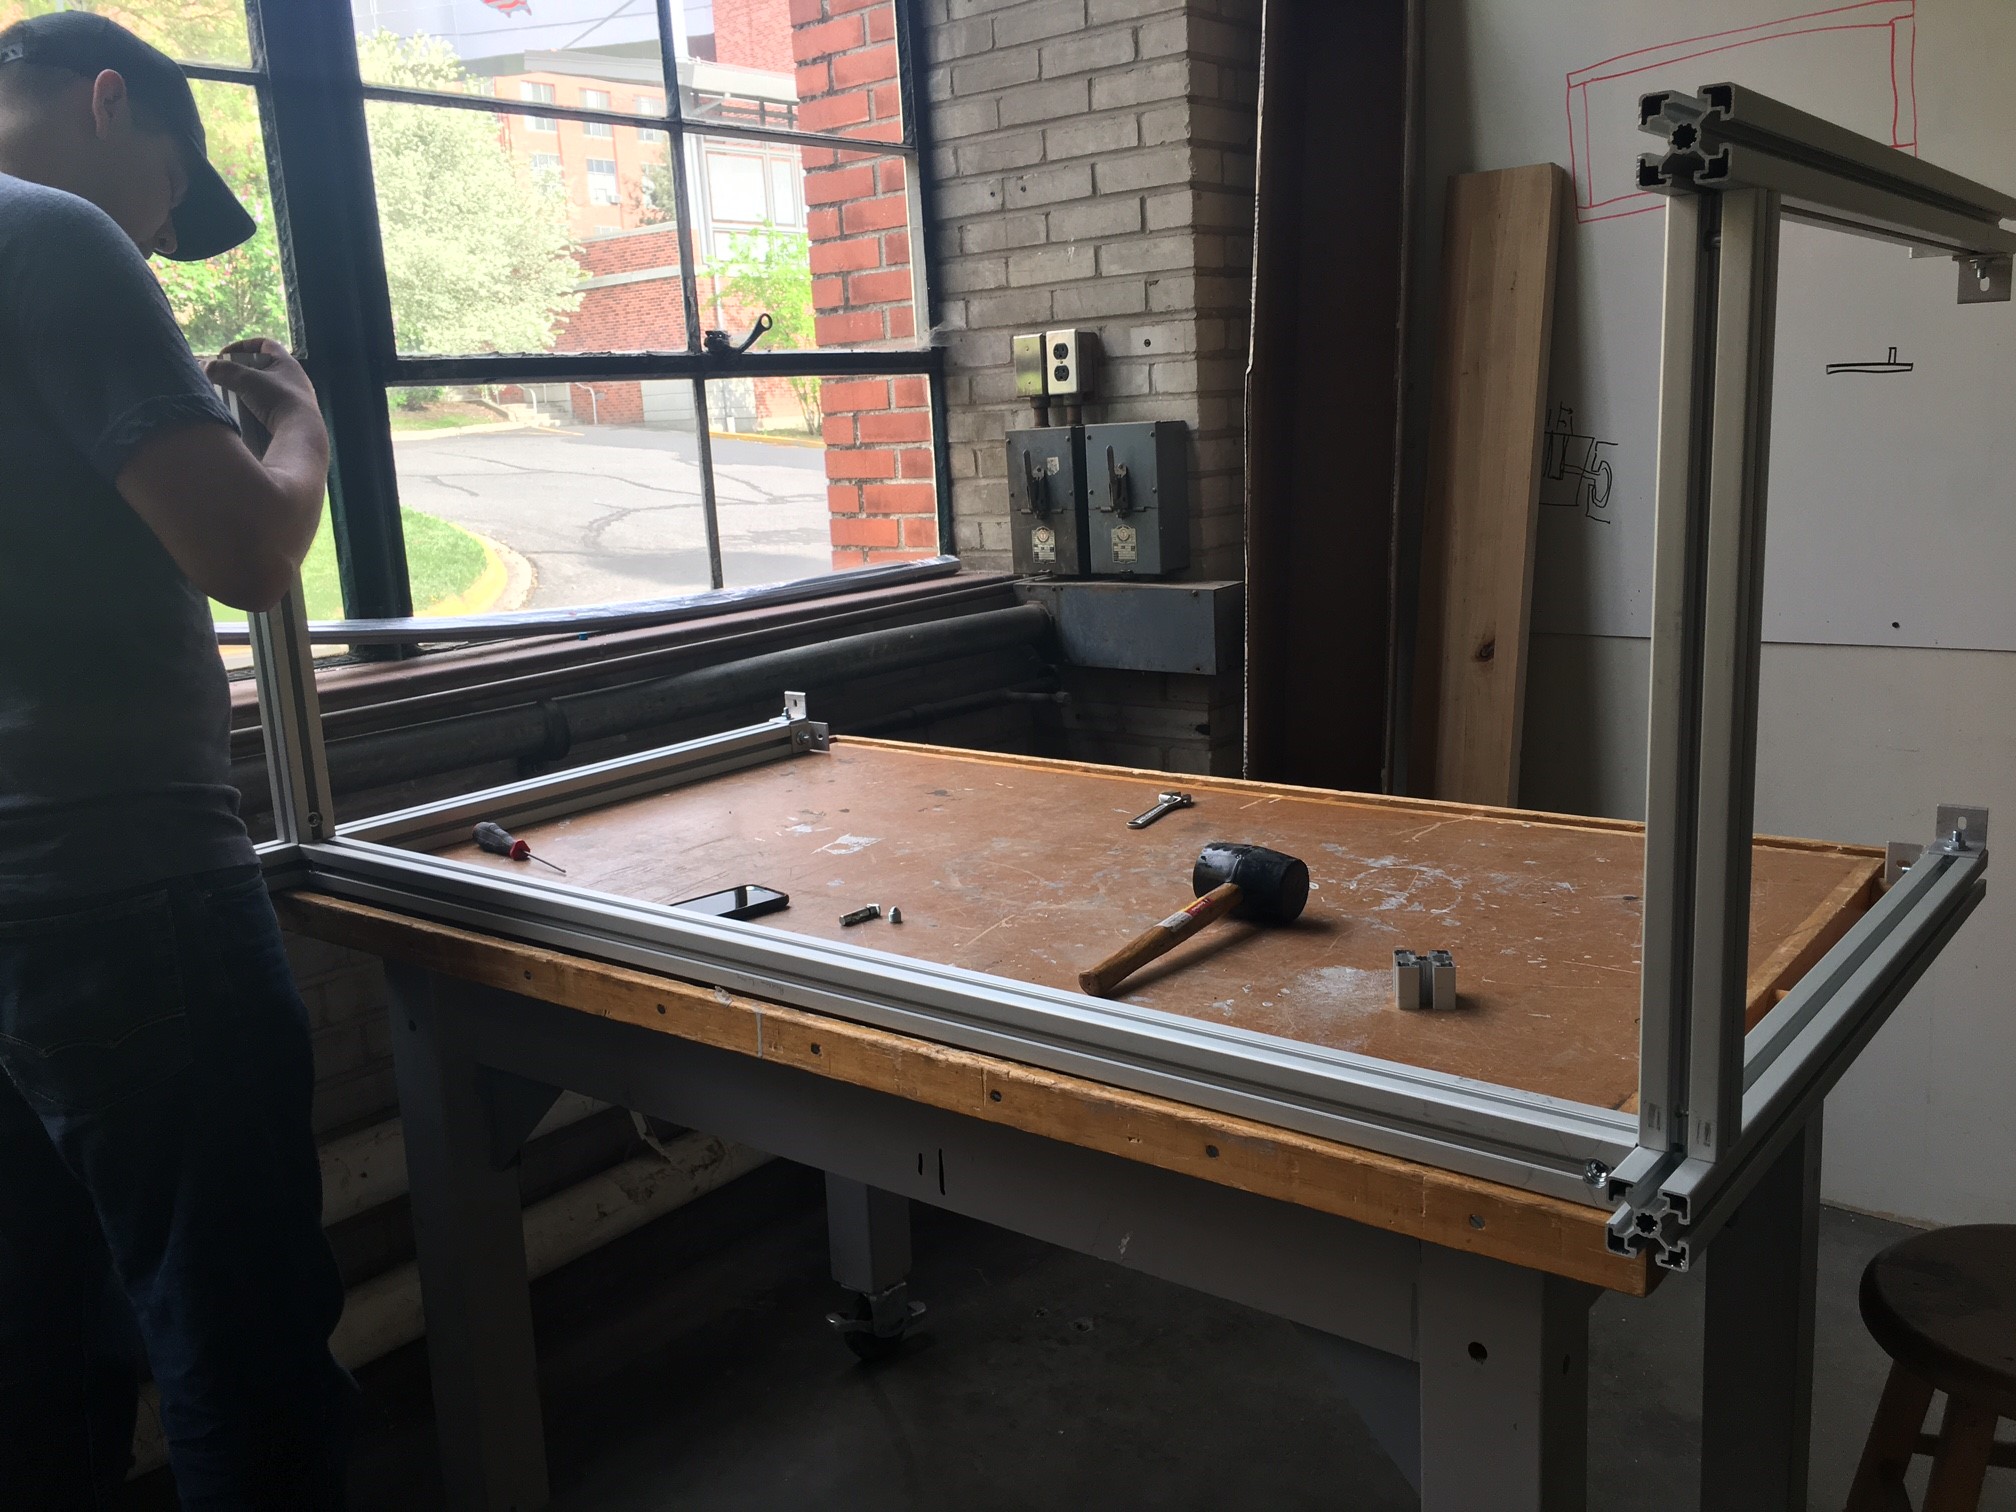
10. The final step to the CLEAN workbench assembly is to mount the upper half of the workbench to the lower half. Set the the maple block upside-down on the work-space. Set lower frame assembly upside-down on top of the maple block so that the four legs sit on the corners of the maple block. Use the included mounting hardware and cordless drill to connect the two halves together.
Complete CLEAN Workbench with casters ready for use in the HYPER Lab!
Estimated build time for each work-bench is 4-5 hours.
For any inquiries regarding CAD models and manufacturing contact jose.ramos@wsu.edu