We use indium wire for creating cryogenic seals in the HYPER lab. We buy most of our wire from Indium Wire Extrusion (IWE). Indium is expensive, however, quoted by IWE at $180/oz. Rather than selling the wire back for half its original price, we like to recycle our indium by melting it down and re-extruding it into usable indium wire. Indium’s low melting point of 156.6 °C (313.9 °F) and softness (Mohs hardness 1.2) make this process cheap and easy. We have the capability of extruding 0.0625 inch (1.5875 mm) and 0.1 inch (2.54 mm) diameter indium wire with the equipment we have in the lab.

The following article provides an easy-to-follow guide to the HYPER lab’s indium extrusion process. The hope is that this guide will serve as training for those working in the HYPER lab, as well as a good starting point for others who would wish to extrude indium for cryogenic applications.
MATERIALS:
- Extruder
- Hot plate capable of at least 200 °C (the higher the better)
- Flat plate
- Puck cast mold sized for extruder
- Indium scrap
- Empty spool
- Metal bin with 2-3 inches water for quenching
- 3/8″ Hex key
- Hammer
- Metal shaft with diameter smaller than puck diameter
- Slip-joint adjustable pliers
- Retractable blade knife
- Large pipe wrench
- 2 wood or metal blocks of the same size
STEPS:
- Gather indium scrap. Make sure scrap pieces are small enough to fit into puck mold.

Indium scraps in a cup and in the puck mold. Notice the puck mold is placed on top of a plate. - Place plate onto hot plate. Place puck mold onto plate.
- Heat the hot plate to around 250 °C (or higher for faster melt).
- Put indium scrap into the mold and wait for indium to melt. For faster melting, push indium down into the mold.
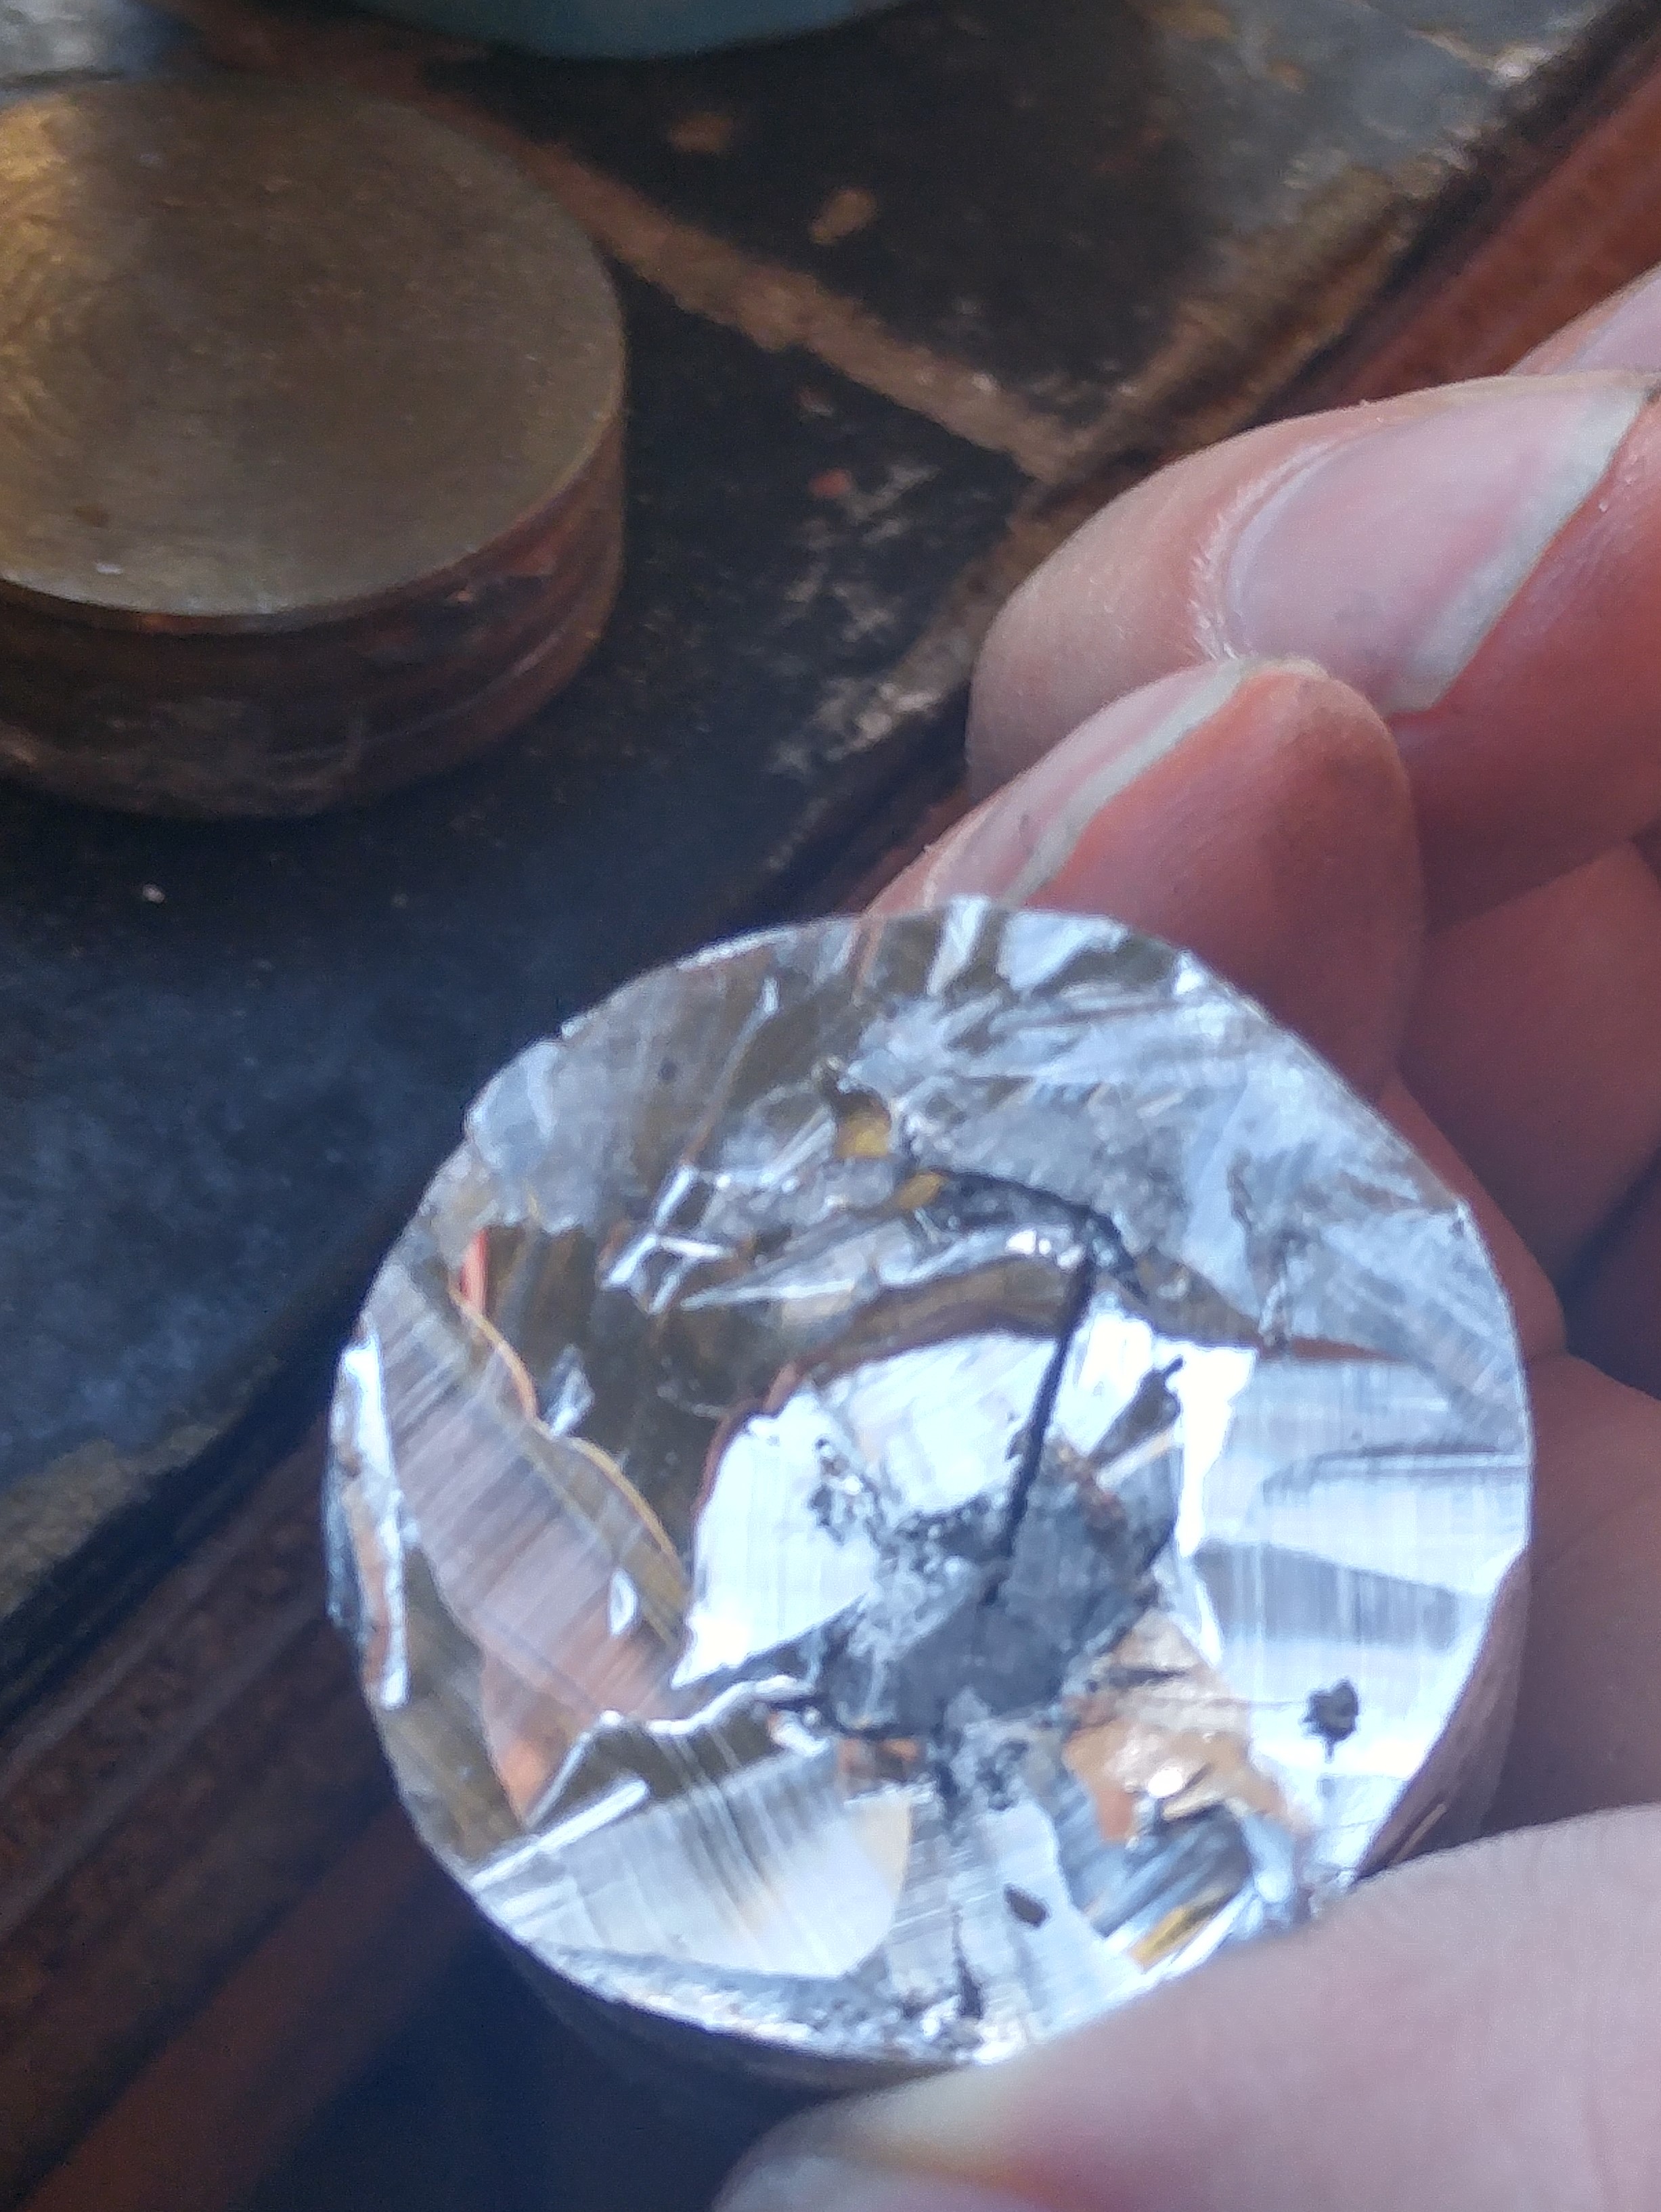
- Once indium has begun to melt, it will fill the mold cavity. At this point, add more indium scrap until the mold is full.

Melted indium. - Using the adjustable pliers, grab the hot plate (with mold on top) and dip plate, mold, and indium into the water to quickly cool the assembly. You may now turn off the hot plate.

Quenching of indium slug. - Once the water has stopped boiling and making sure all parts of the assembly have been cooled, take the assembly back out of the water.
- Placing the mold with indium stuck inside it onto two wood or metal blocks, use a hammer and shaft to knock the indium out of the mold.

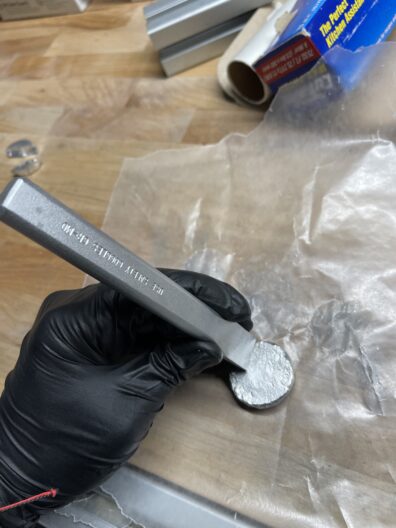
Here’s one way to get the indium out… - Cut off impurities using the retractable blade knife.


- Use a chisel to cut down the Indium puck to the desired width as shown.
- Place indium puck into wire extruding portion of extruder.
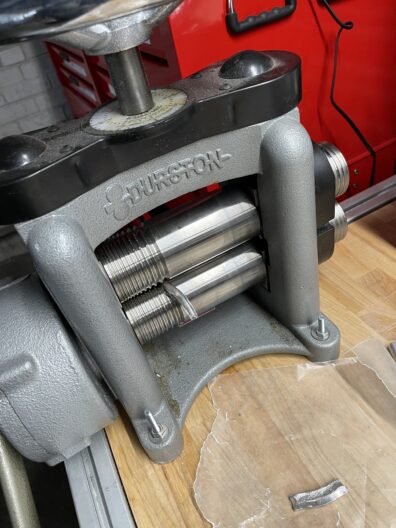
- Proceed to pass the Indium wire back and forth through the extruder while reducing the gap until desired wire cross-section is obtained.
- You should now have a spool of indium wire.

The final product.